

Clock Project- Helping Restore an Ansonia Wall Clock
The Ansonia Clock Project-
The newest completed project from the shop is a set of parts for an Ansonia wall clock. I really do not do a great deal of flat work in the shop. We do a few tables now and then, but for the most part we do projects which required a good bit of wood turning. I enjoyed completing this project, in order to help the client fulfill a promise to his mother. He gifted the clock to his mother and promised one day to restore the clock for her. She has since passed away, but he is well on the way to fulfilling the promise to his mother. Now that I have completed making the missing parts for the clock, it will be sent over to the finisher to be completely restored. Once the restoration is complete, I will post some pictures of the restored clock.
Originally based out of Connecticut, the Ansonia Clock Company made a variety of clocks starting in 1851. The company began manufacturing brass pieces for other clock makers, and in 1851 transitioned to making both the brass clock pieces and complete clocks.
A few examples of an Ansonia wall clock-
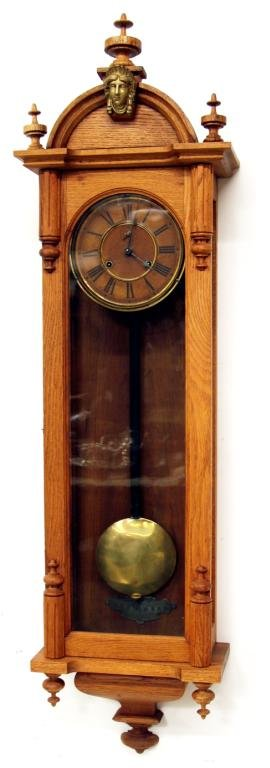
An example of an Oak Ansonia wall clock
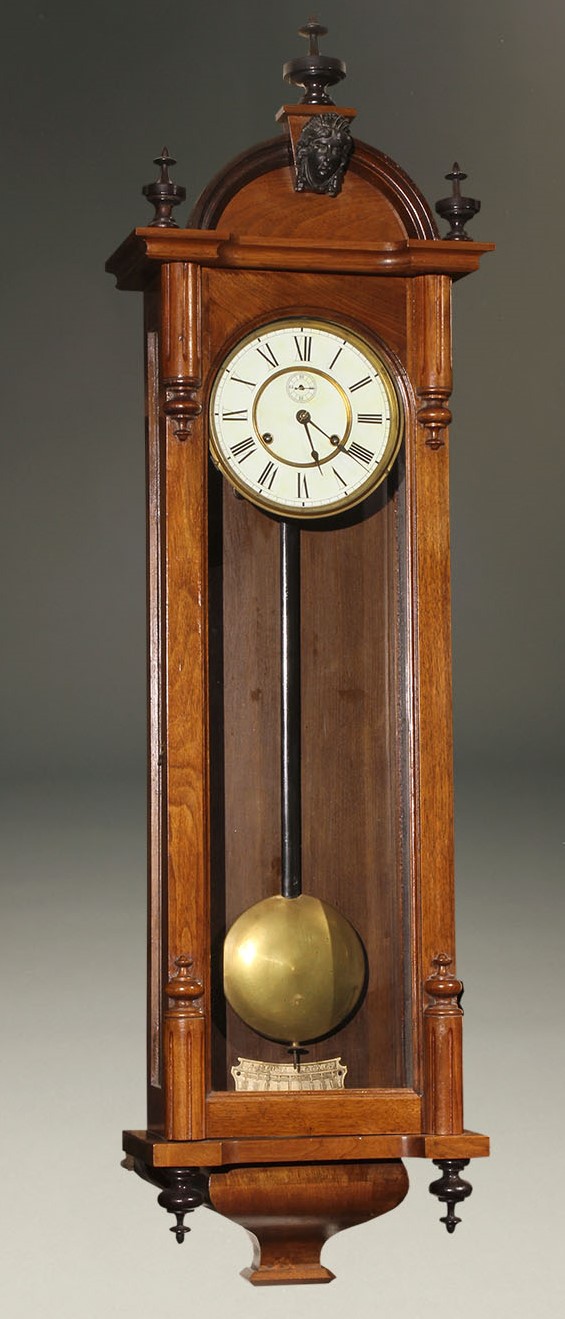
Cherry Ansonia clock example
What I started with-
The clock project was a referral from our great friend and master re-finisher Ronnie Holland. He had a client who was looking to restore a clock which was missing almost all of the original parts for the outside of the clock case. The client was able to restore the clock movement, but the clock body needed major help. The project was delivered to the shop and we started immediately doing research and understanding the scope of what needed to be done. The clock is not rare, but researching the clock was difficult as there is not really a ton of information or images to base the restoration on. The example image above was blown up considerably and used to base the restoration on. The clock is about 40 inches tall before all of the finials are added to the height to give some perspective size to the images. It is a pretty good sized clock to hang on a wall.
Below are some mages of the project clock case. It is missing the 3 finials on the bottom of the case, the crown at the top of the case, and the three finials on the top of the case. The clock works have been removed and are being restored as well. The mechanical movement is fairly simple, but it is a thing of beauty!
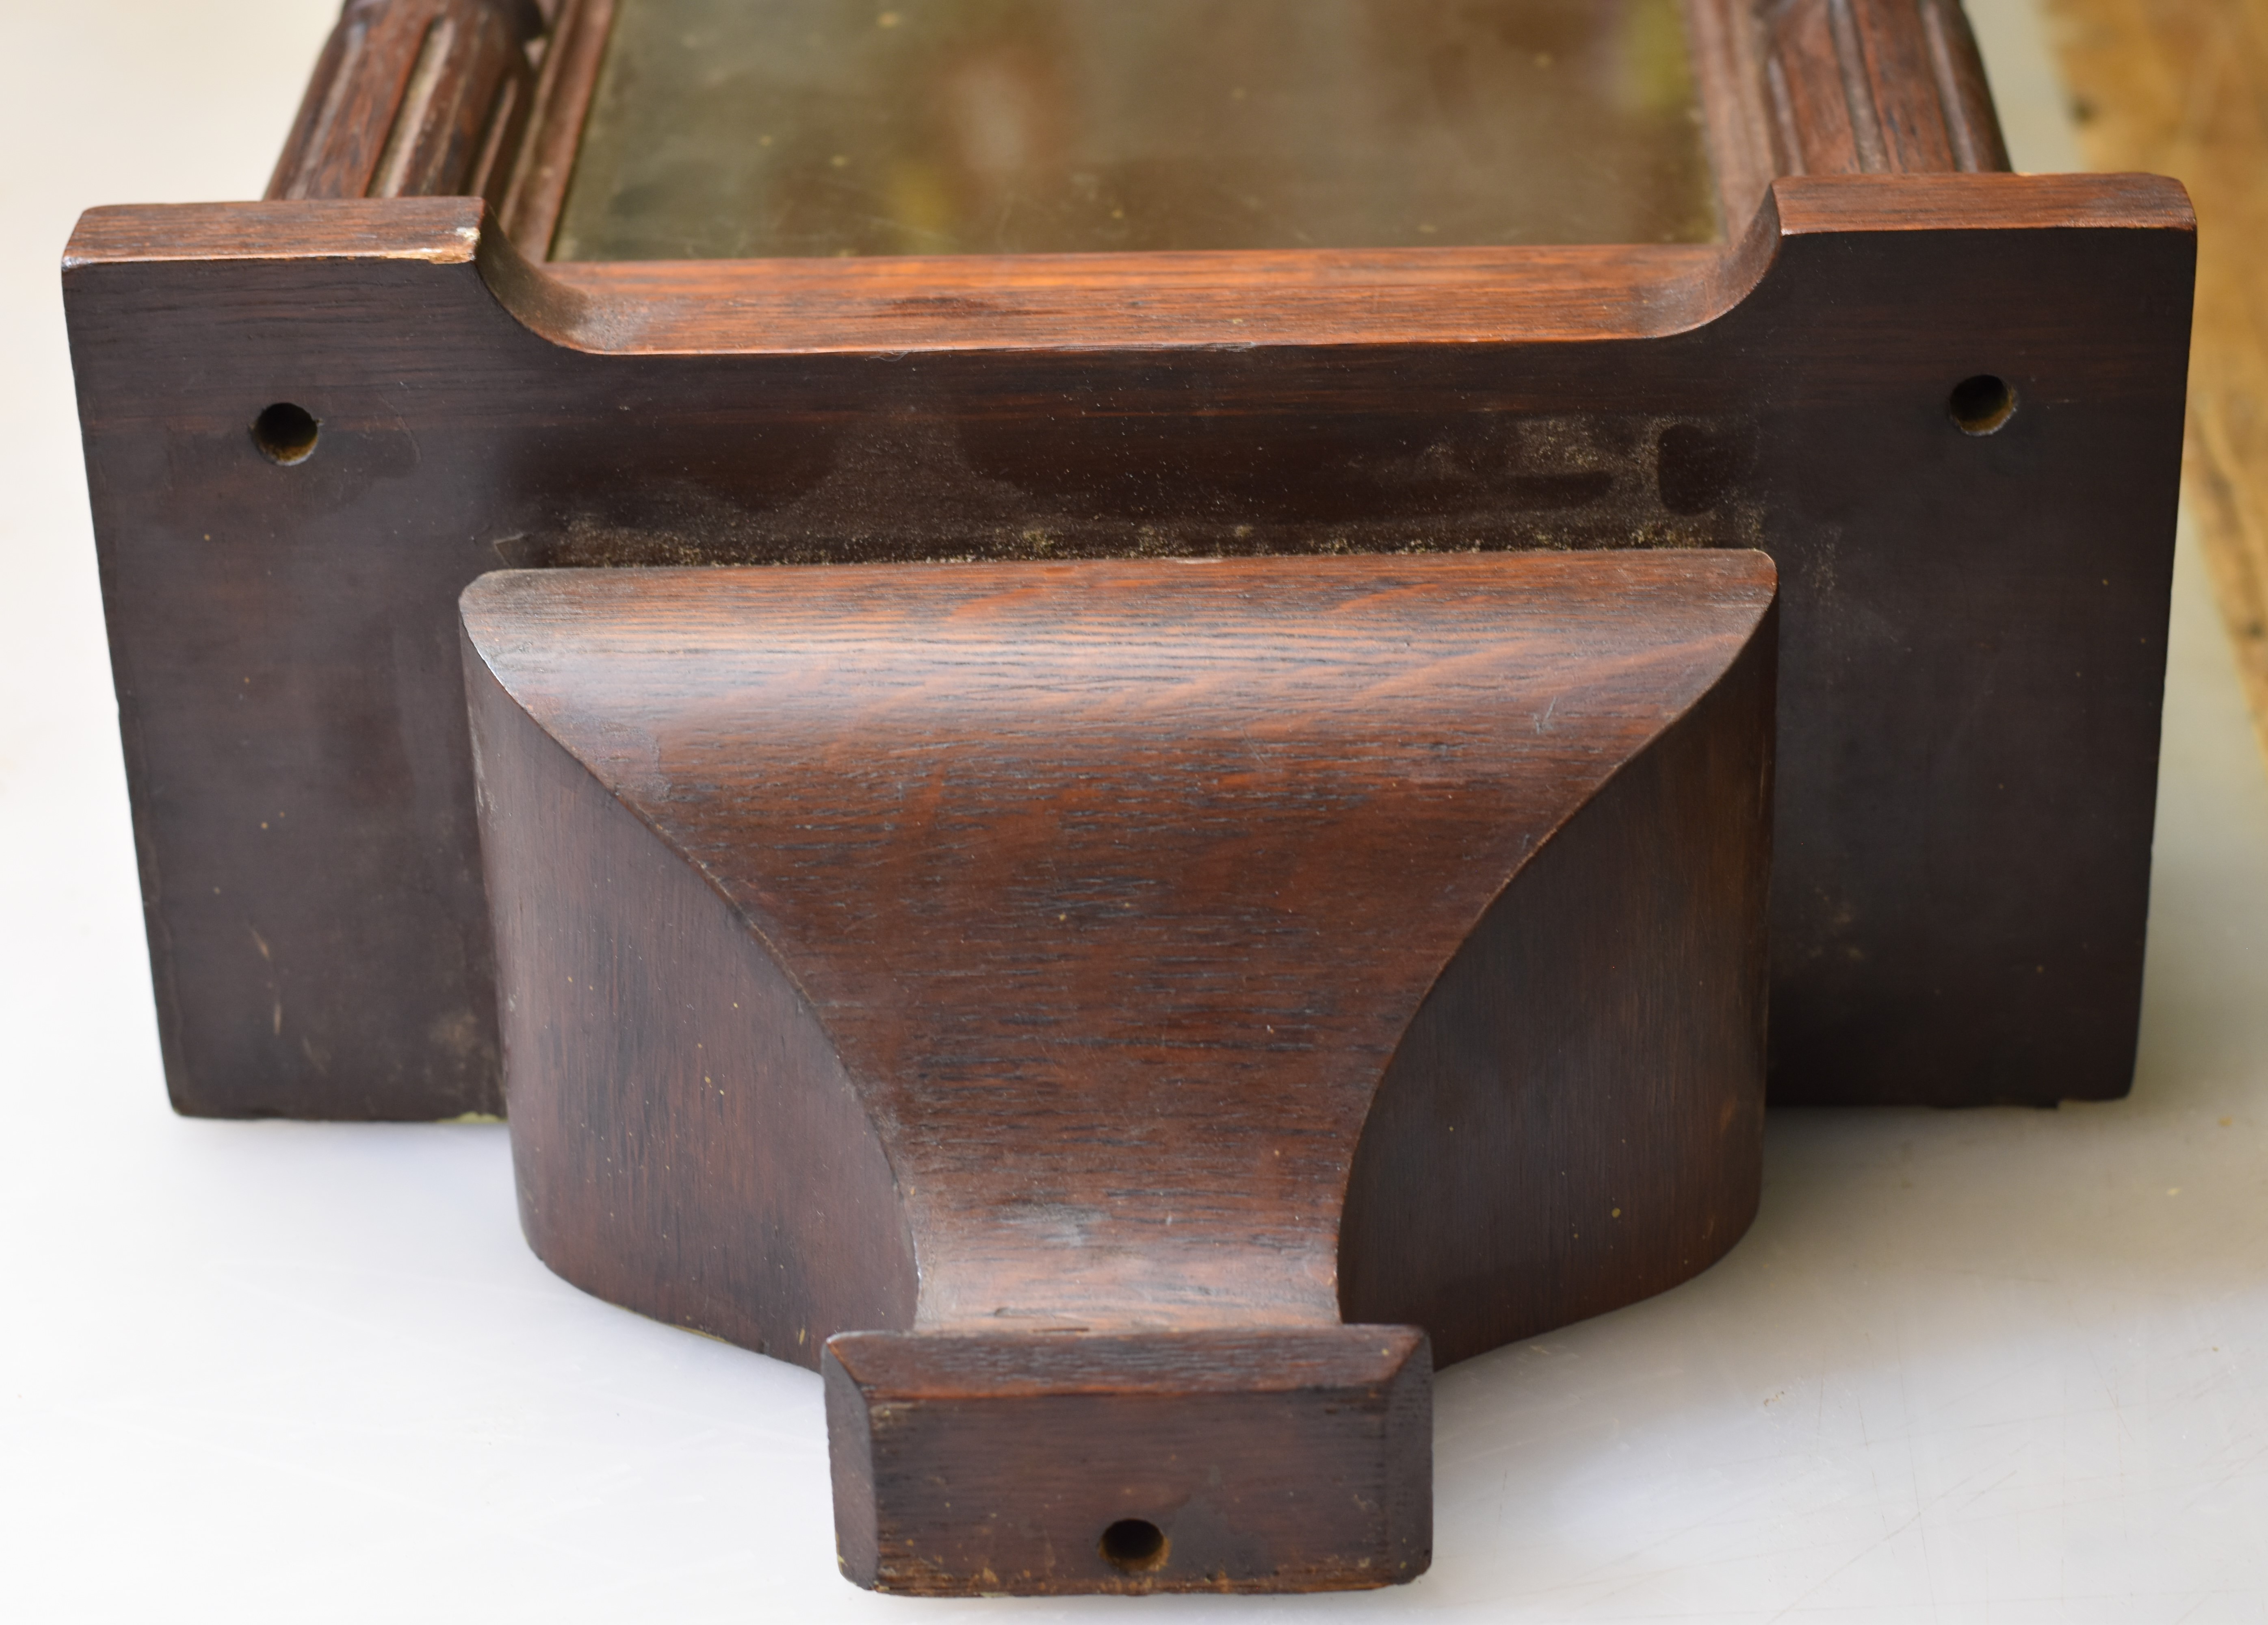
The view from the bottom of the clock. It is missing three finials, one of which is a half turning

Top view of clock case
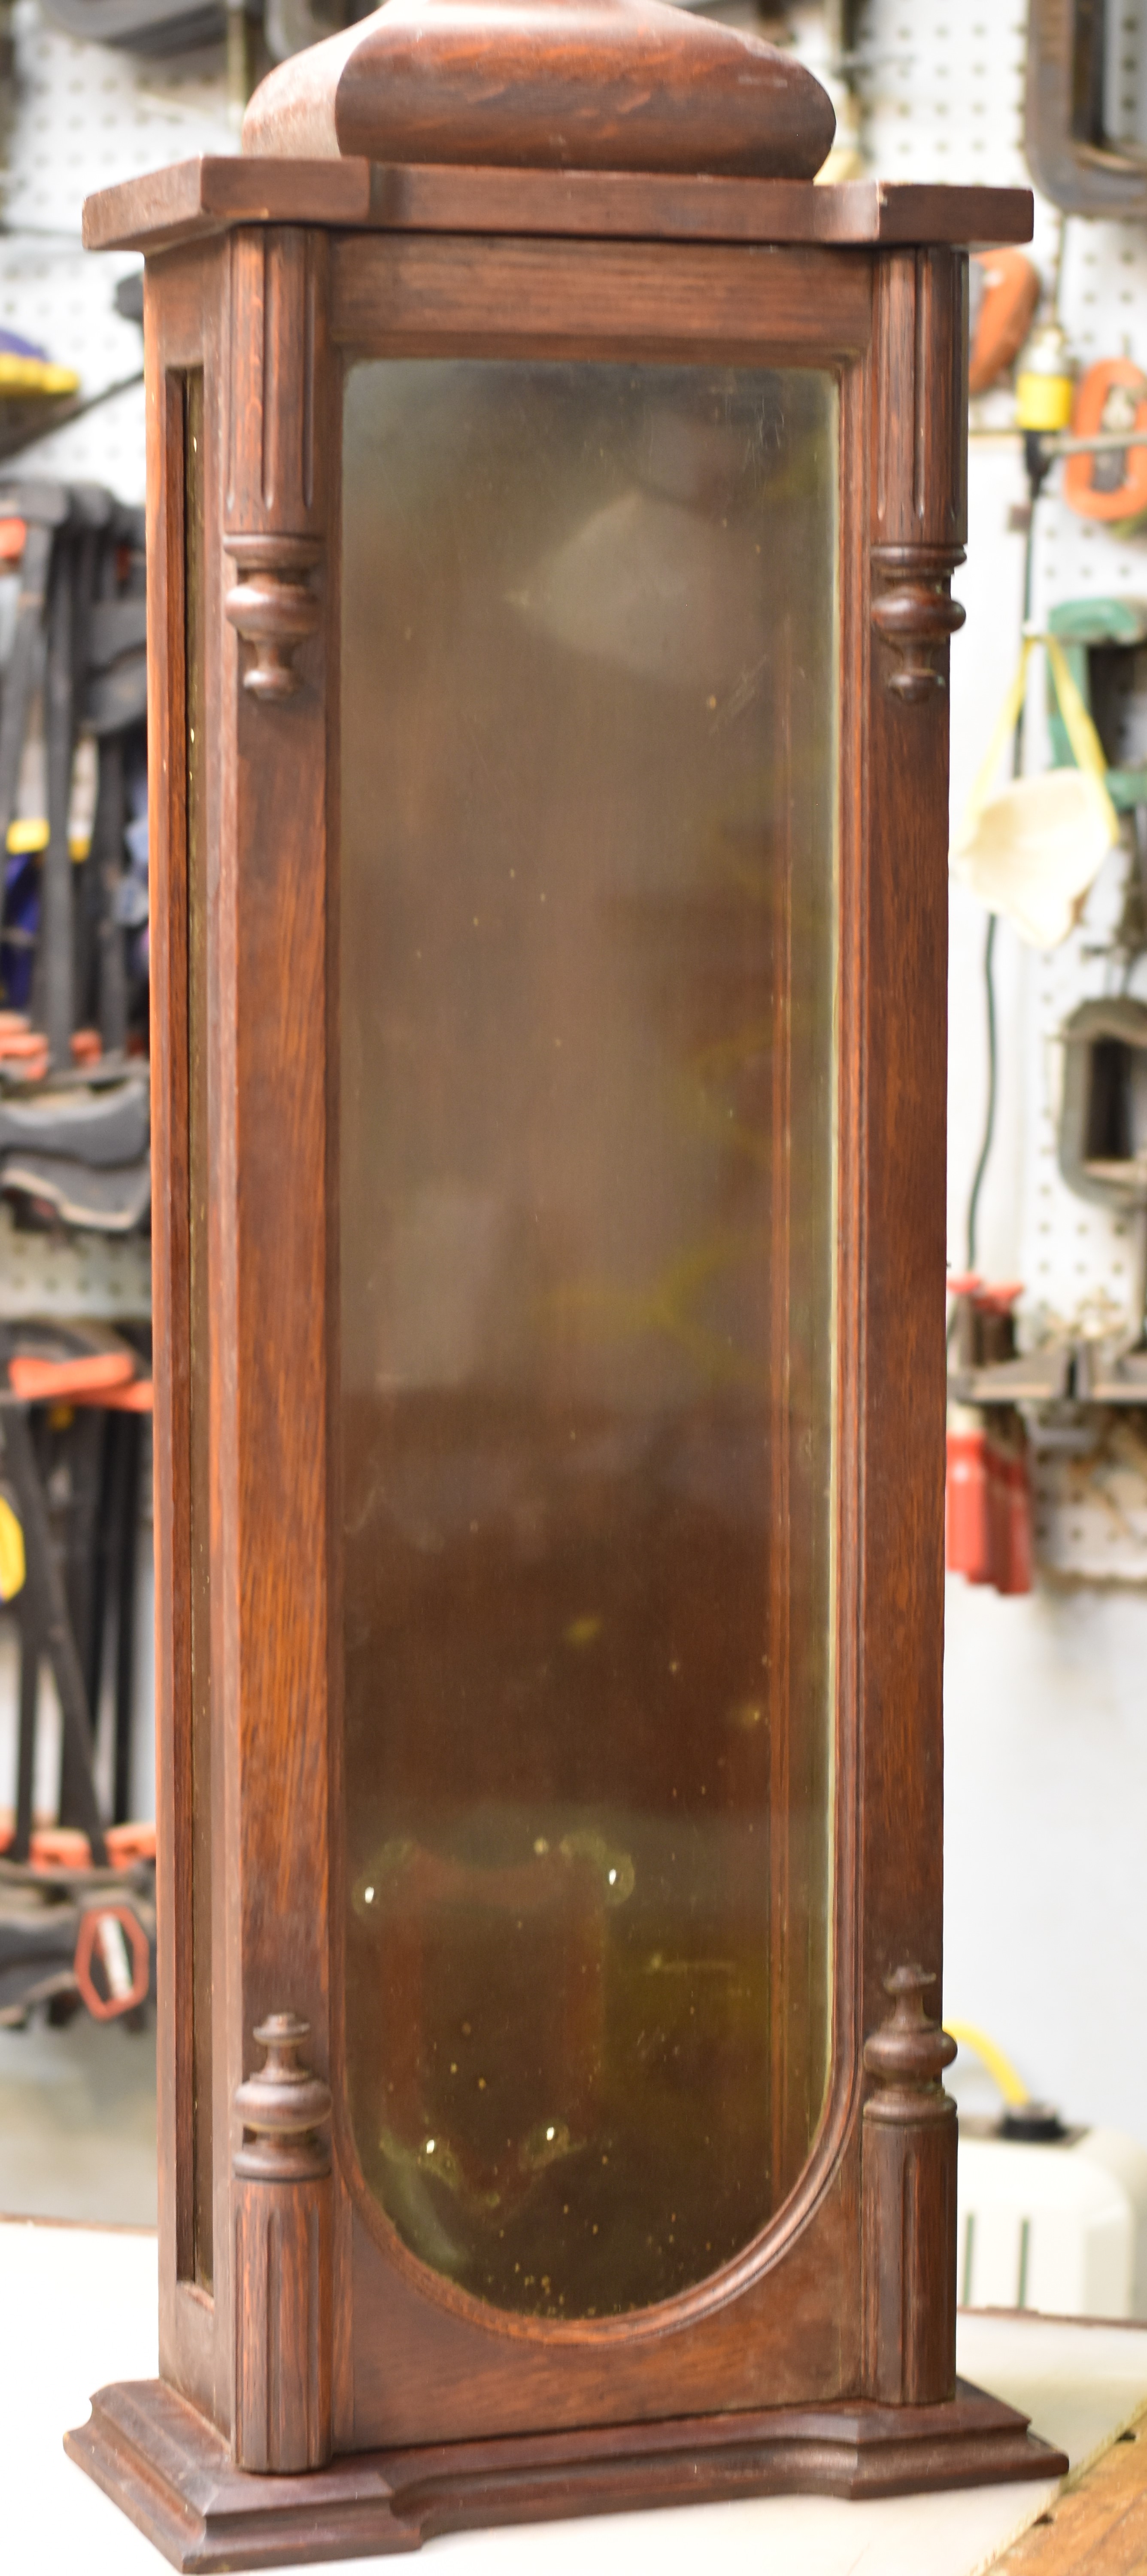
View of the clock case. It is upside down due to the bottom piece being attached.
Getting A Plan together-
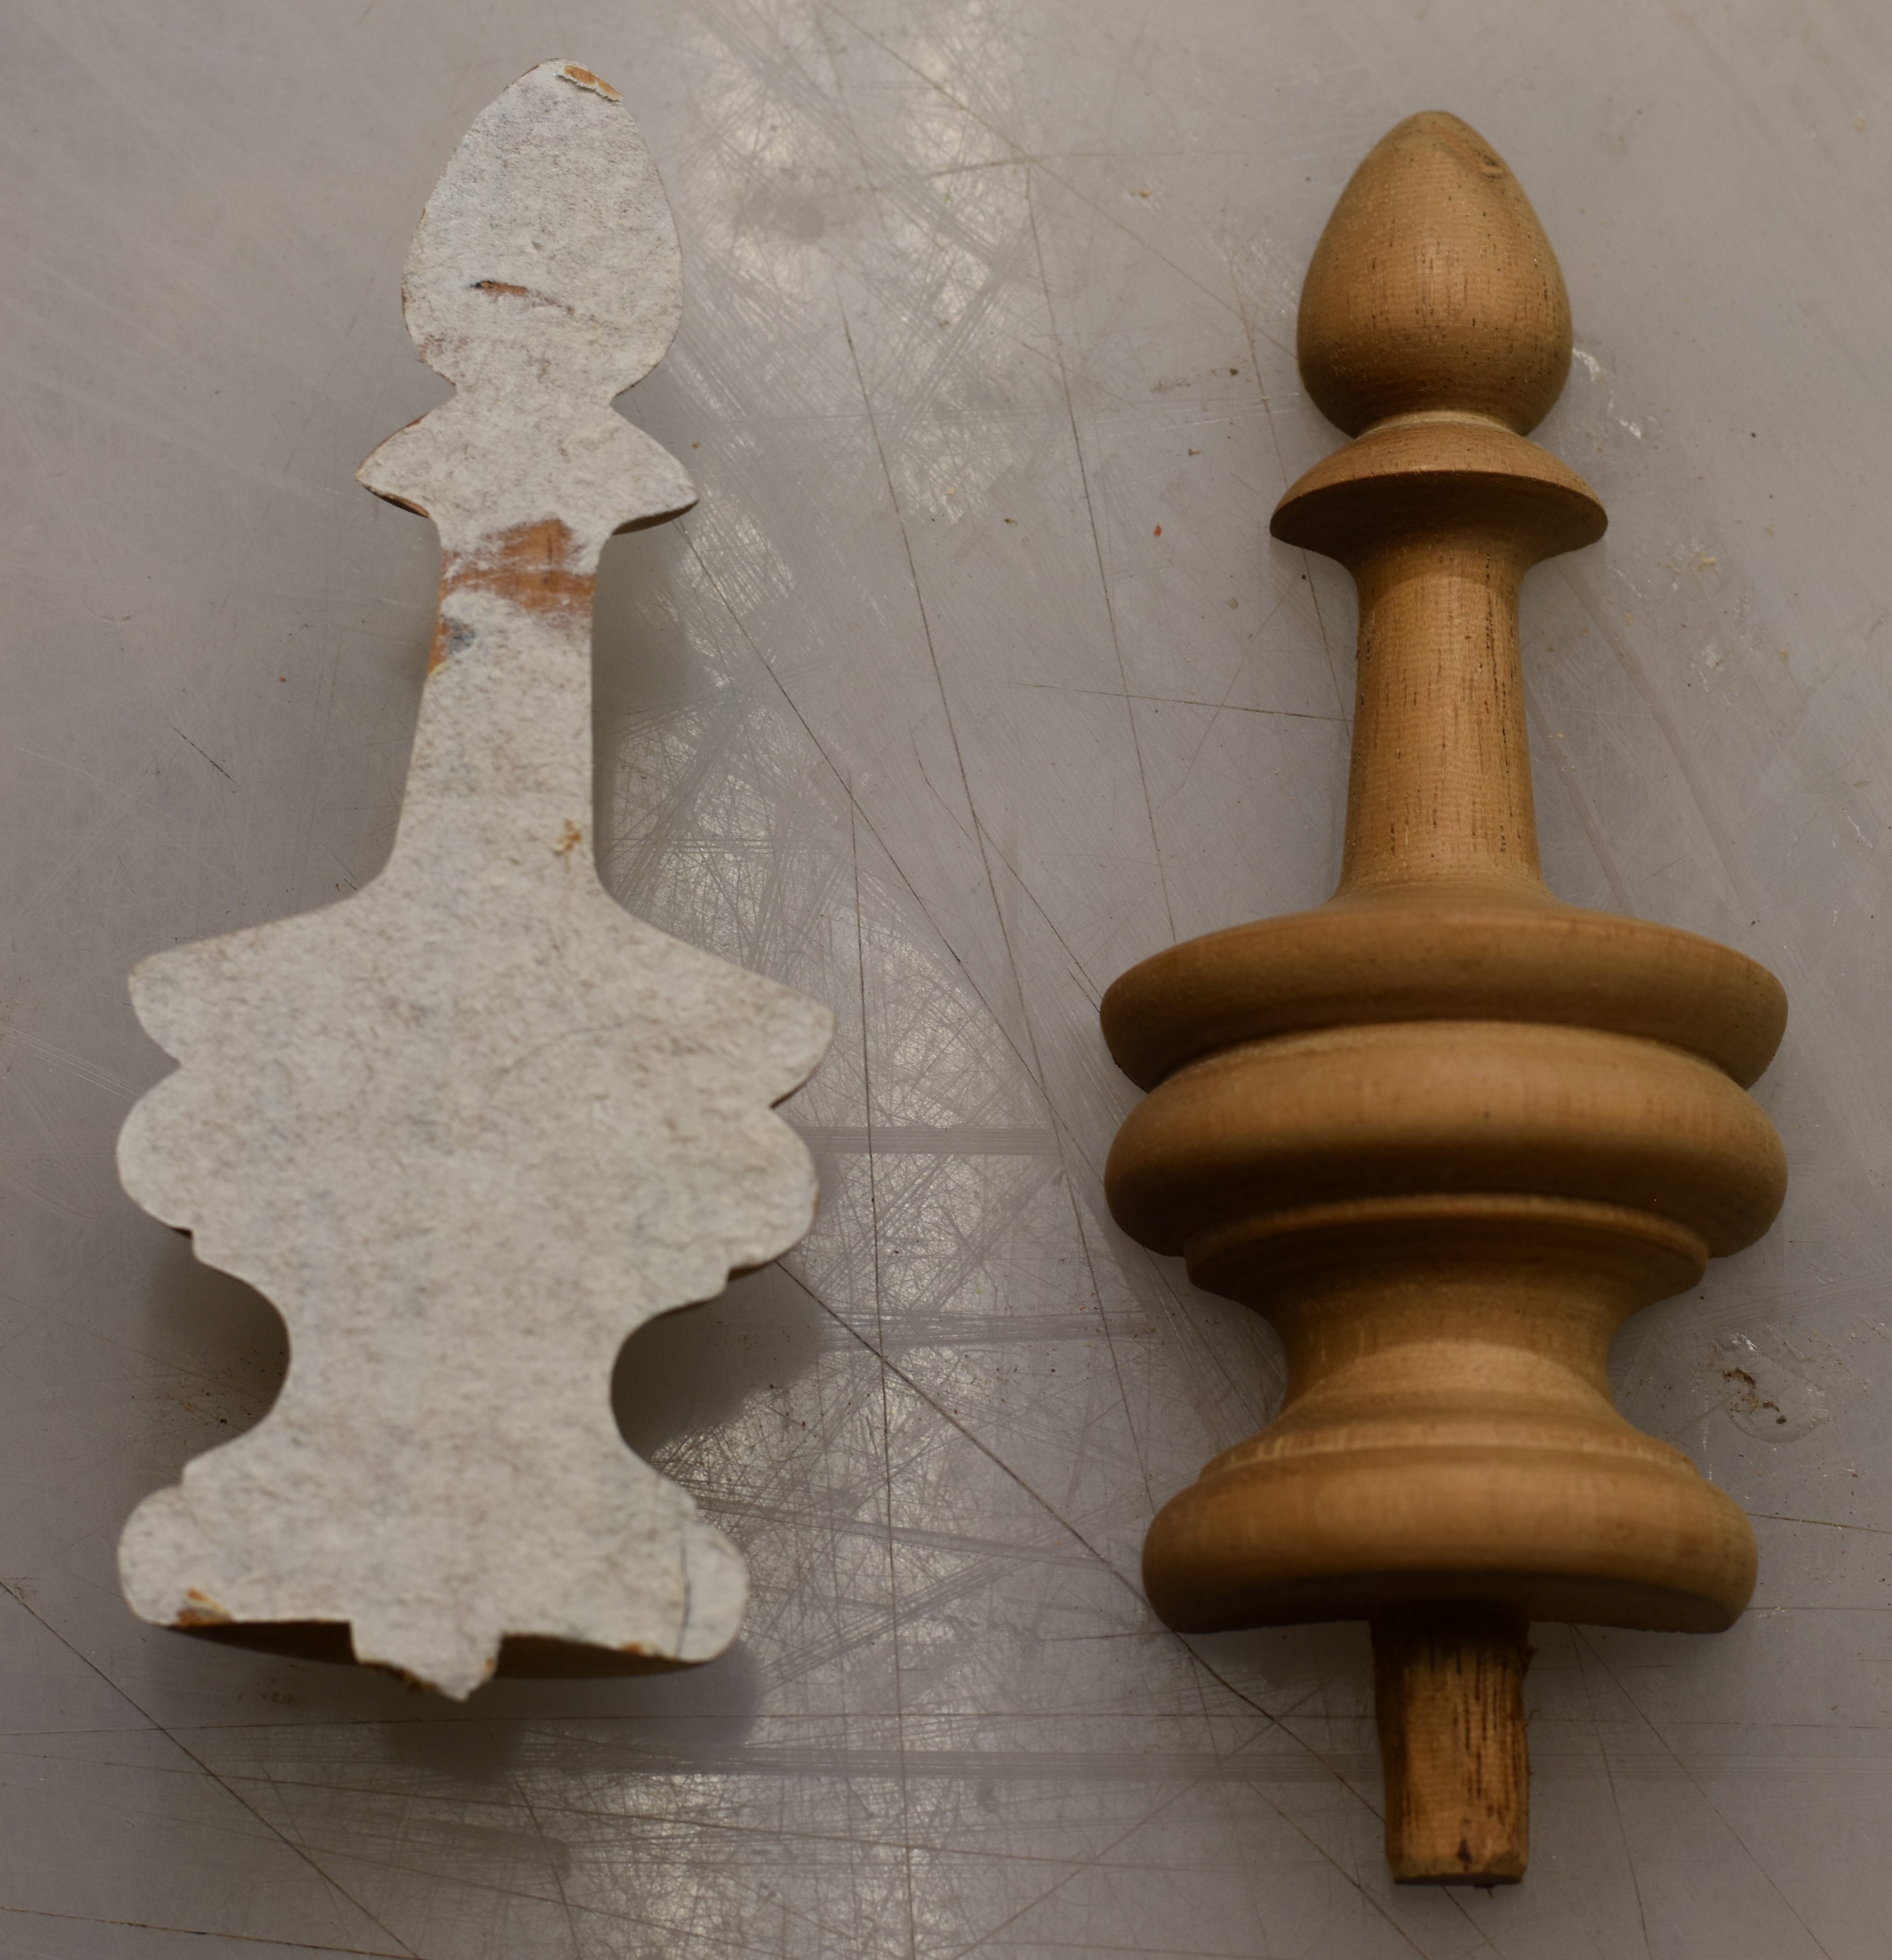
After finding some reliable images to base the restoration on, we started out by mocking up some cardboard templates for the missing pieces. We taped the cardboard templates to the clock, and made sure the scale and design looked right. After we confirmed the moldings and crown piece looked correct, we moved on to finials for the top and bottom of the clock case. The drawings for the finials served as a guide to create a prototype for the bottom finial, the top finial, the top master finial, and the half turning for the bottom of the case.
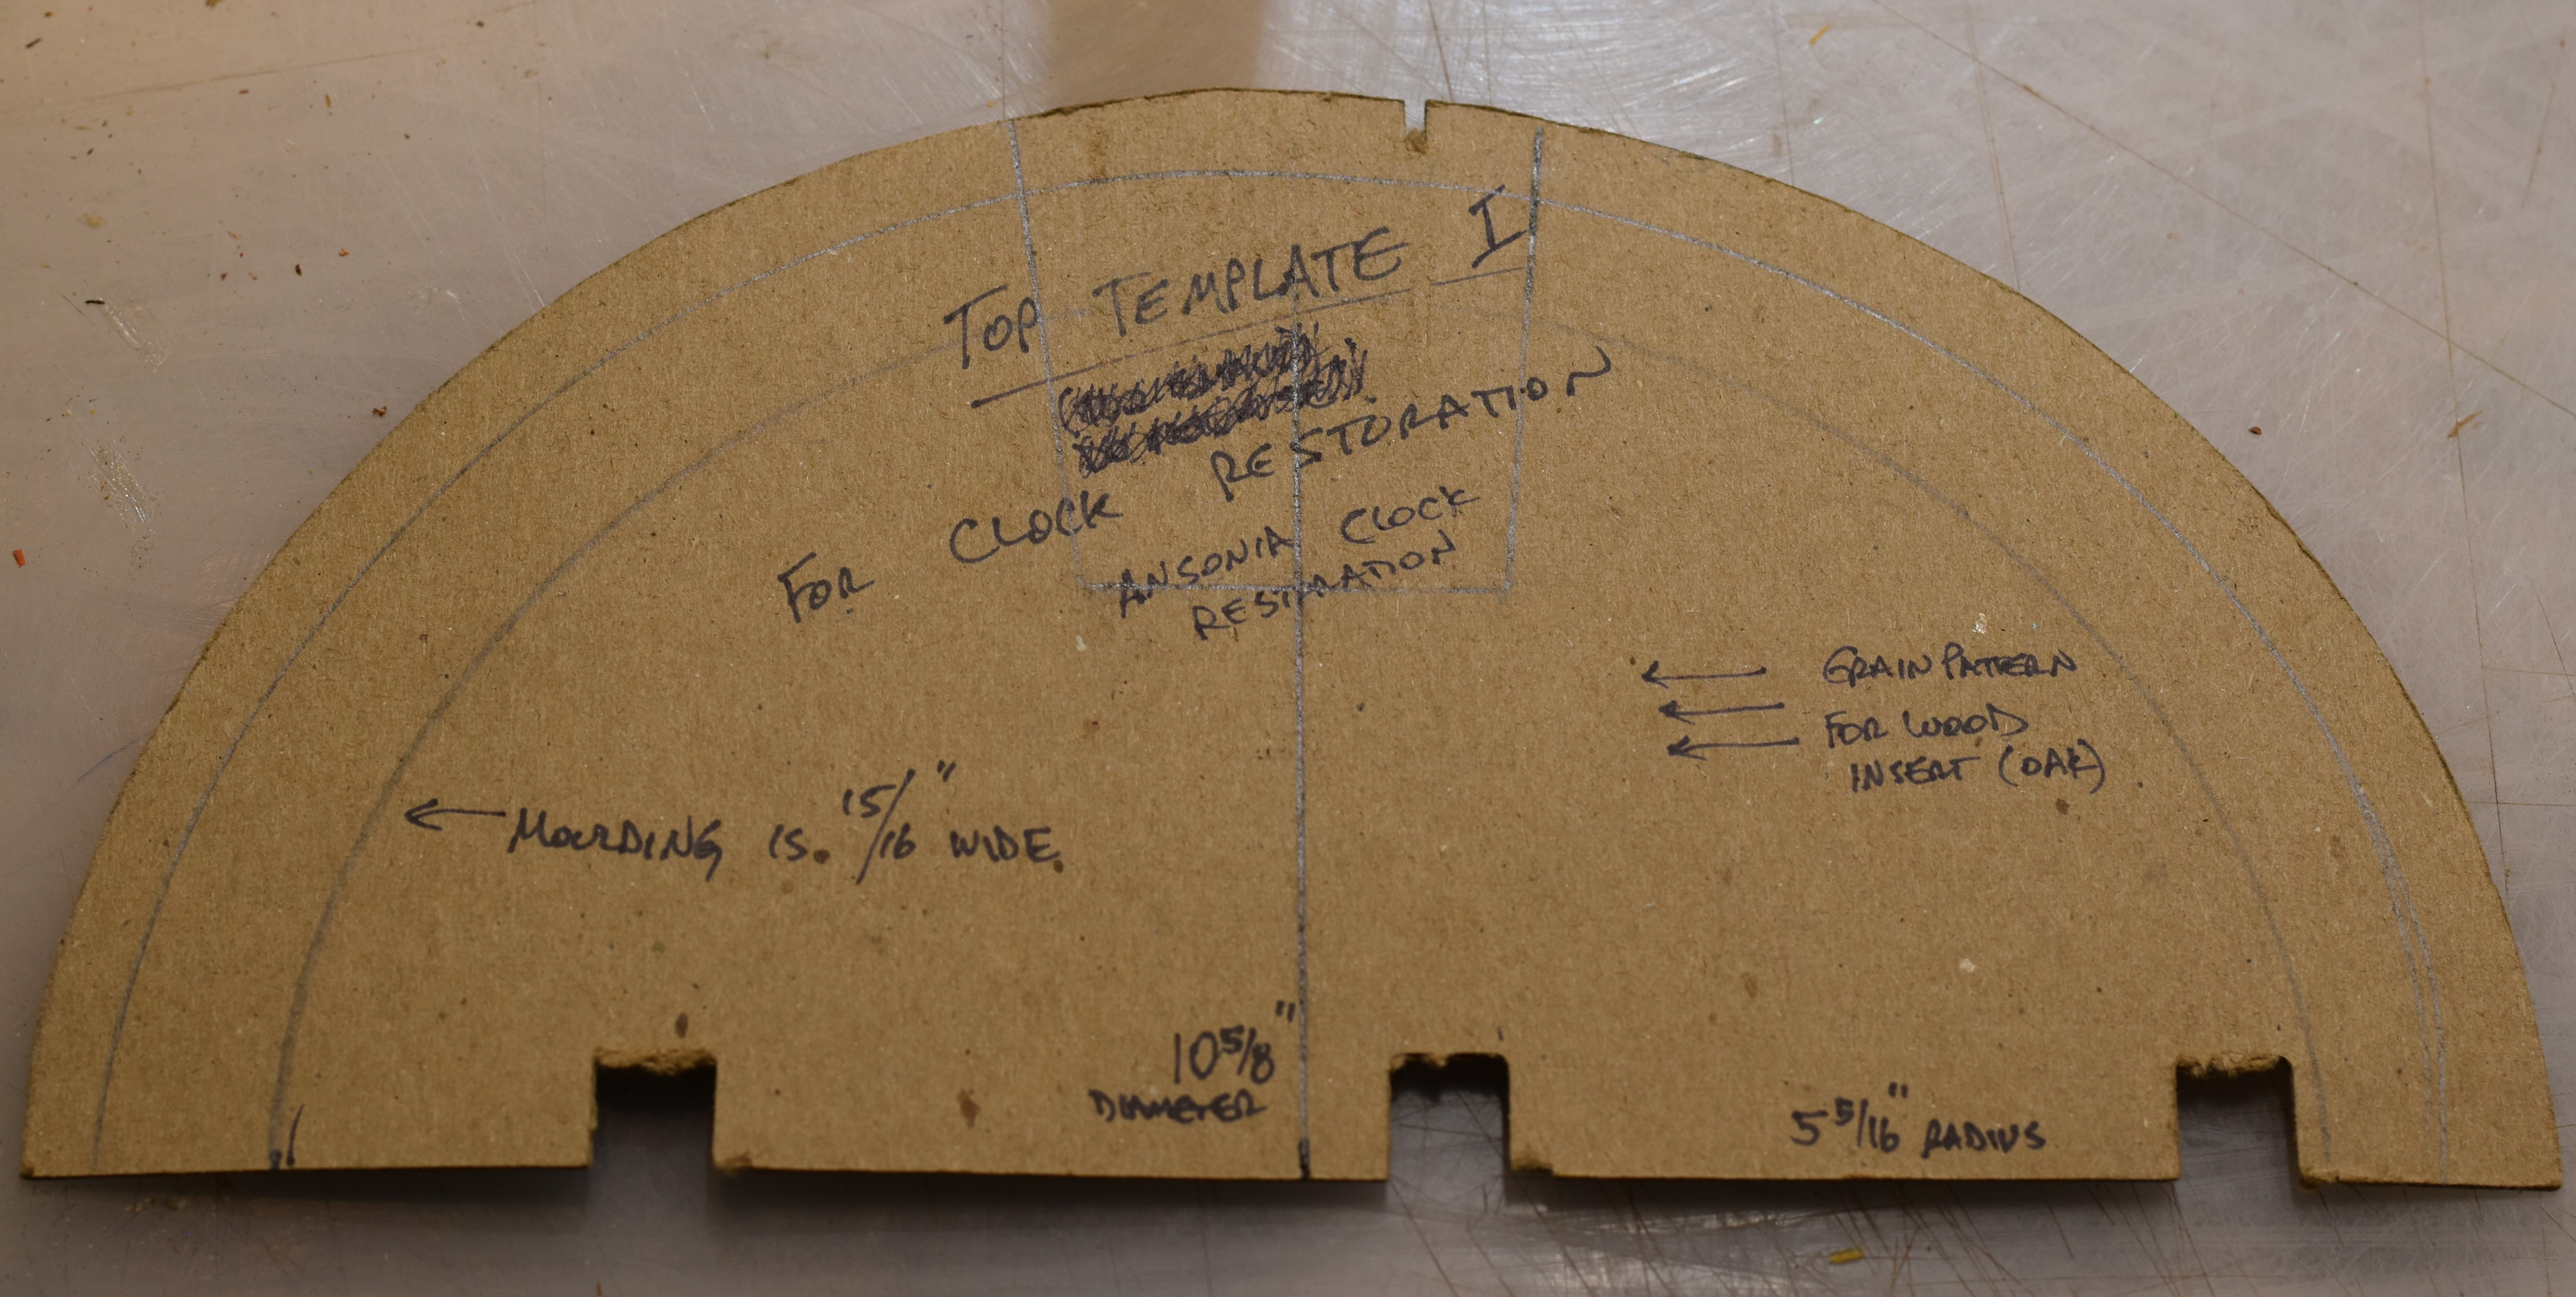
The cardboard template for the clock crown piece
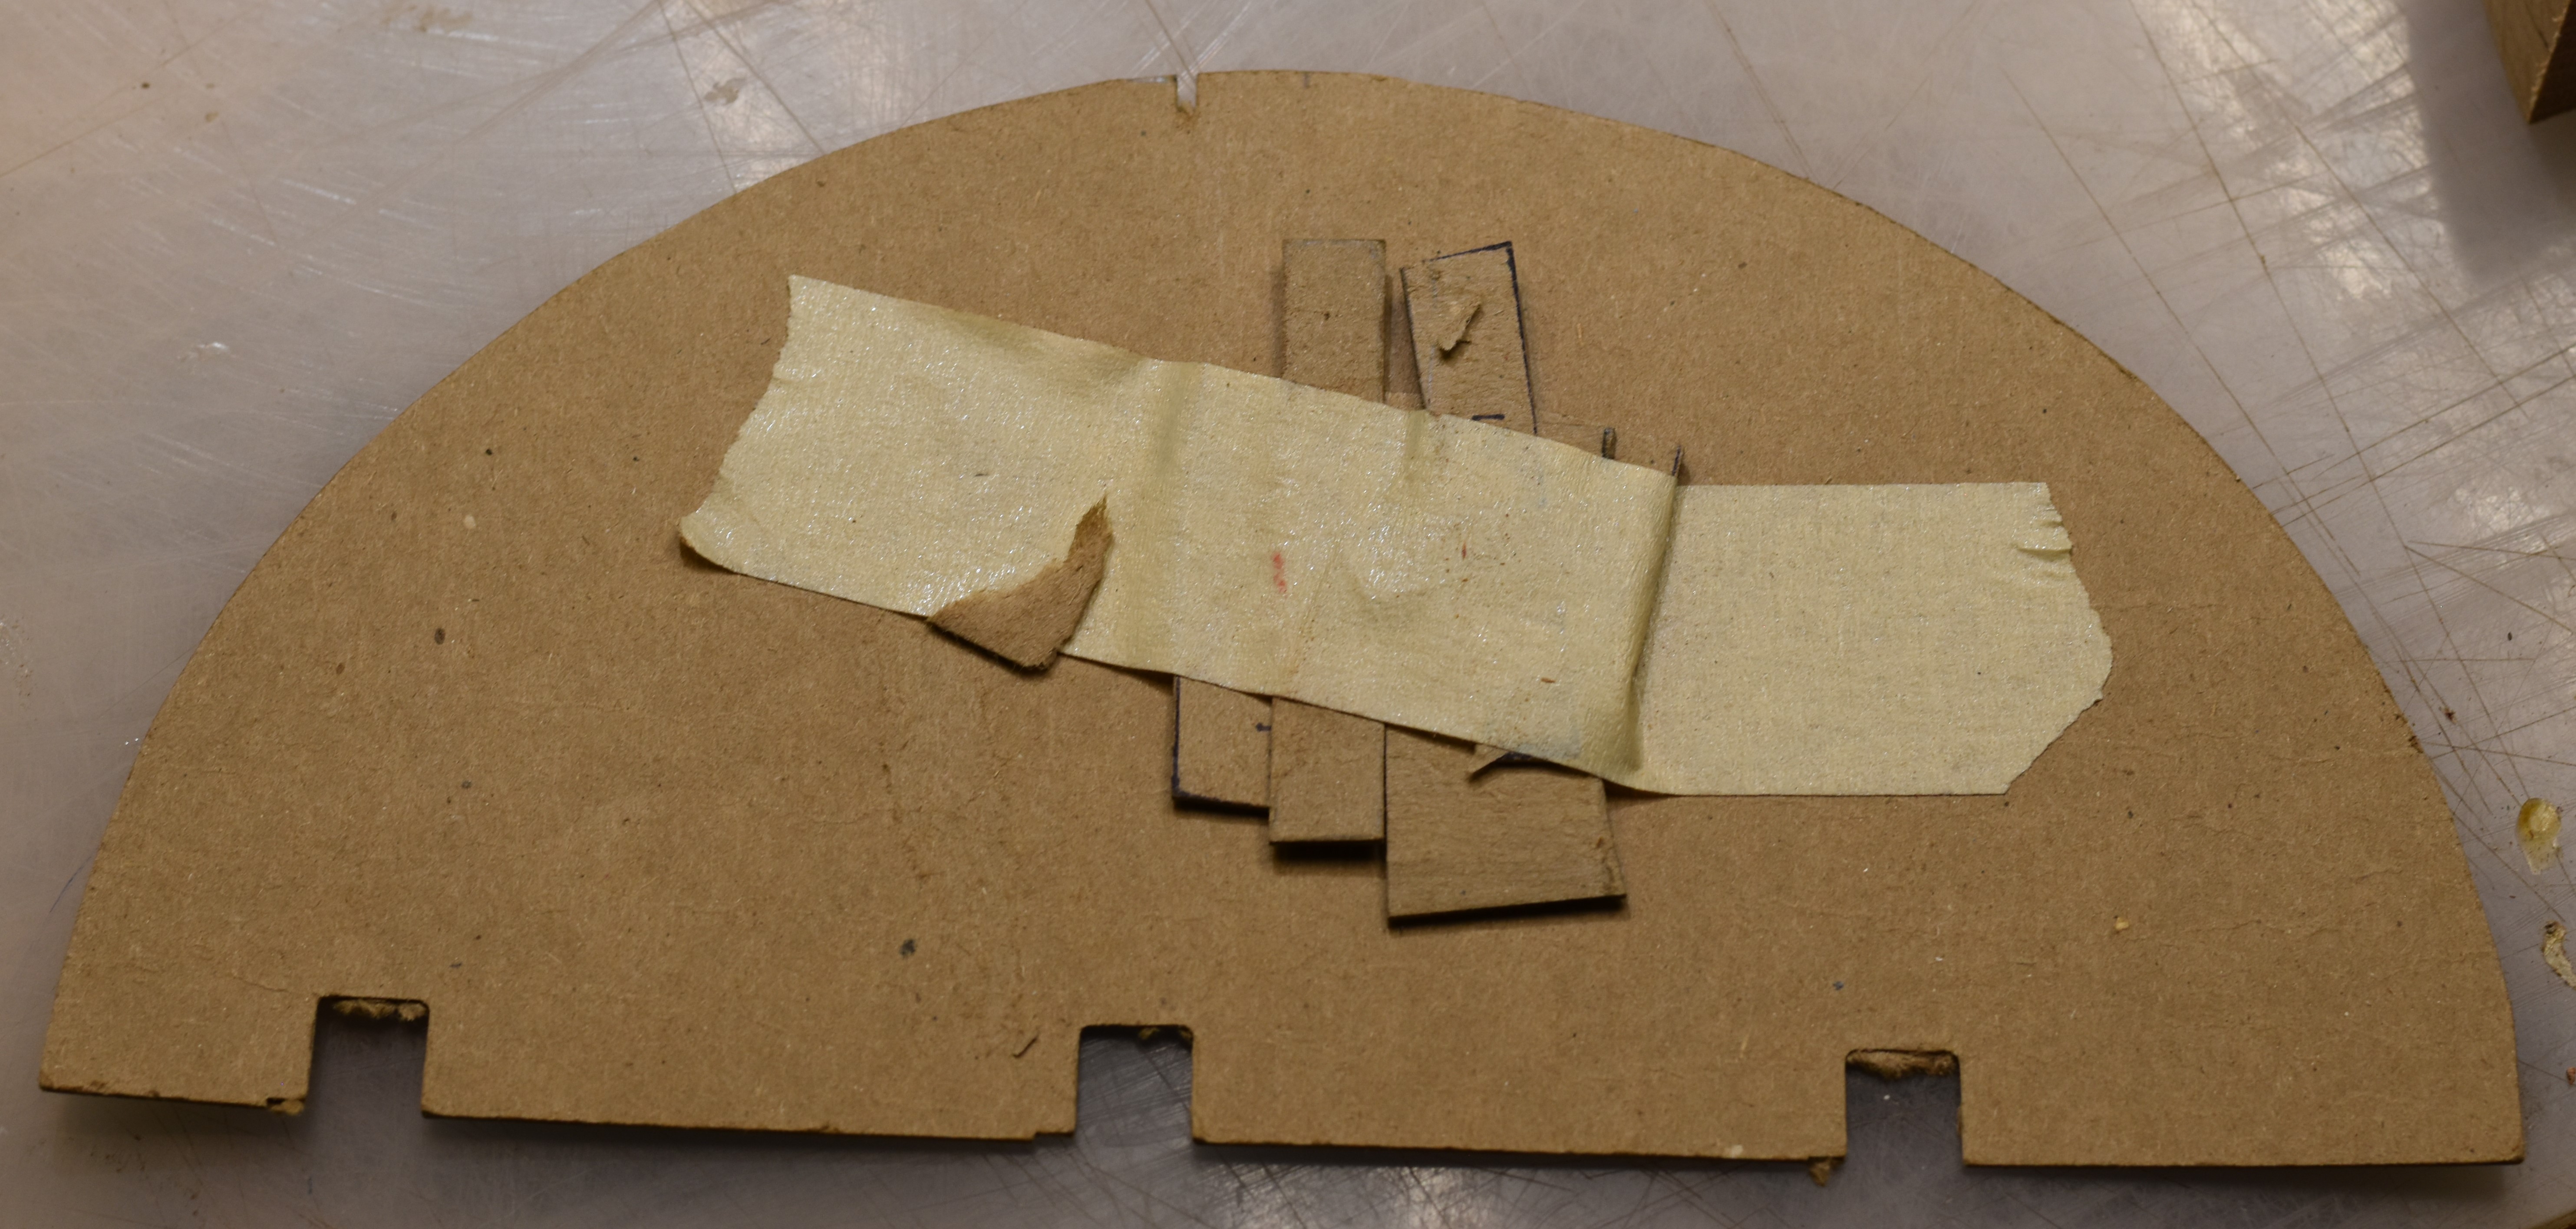
Other templates for the pieces used to make the crown for the clock case
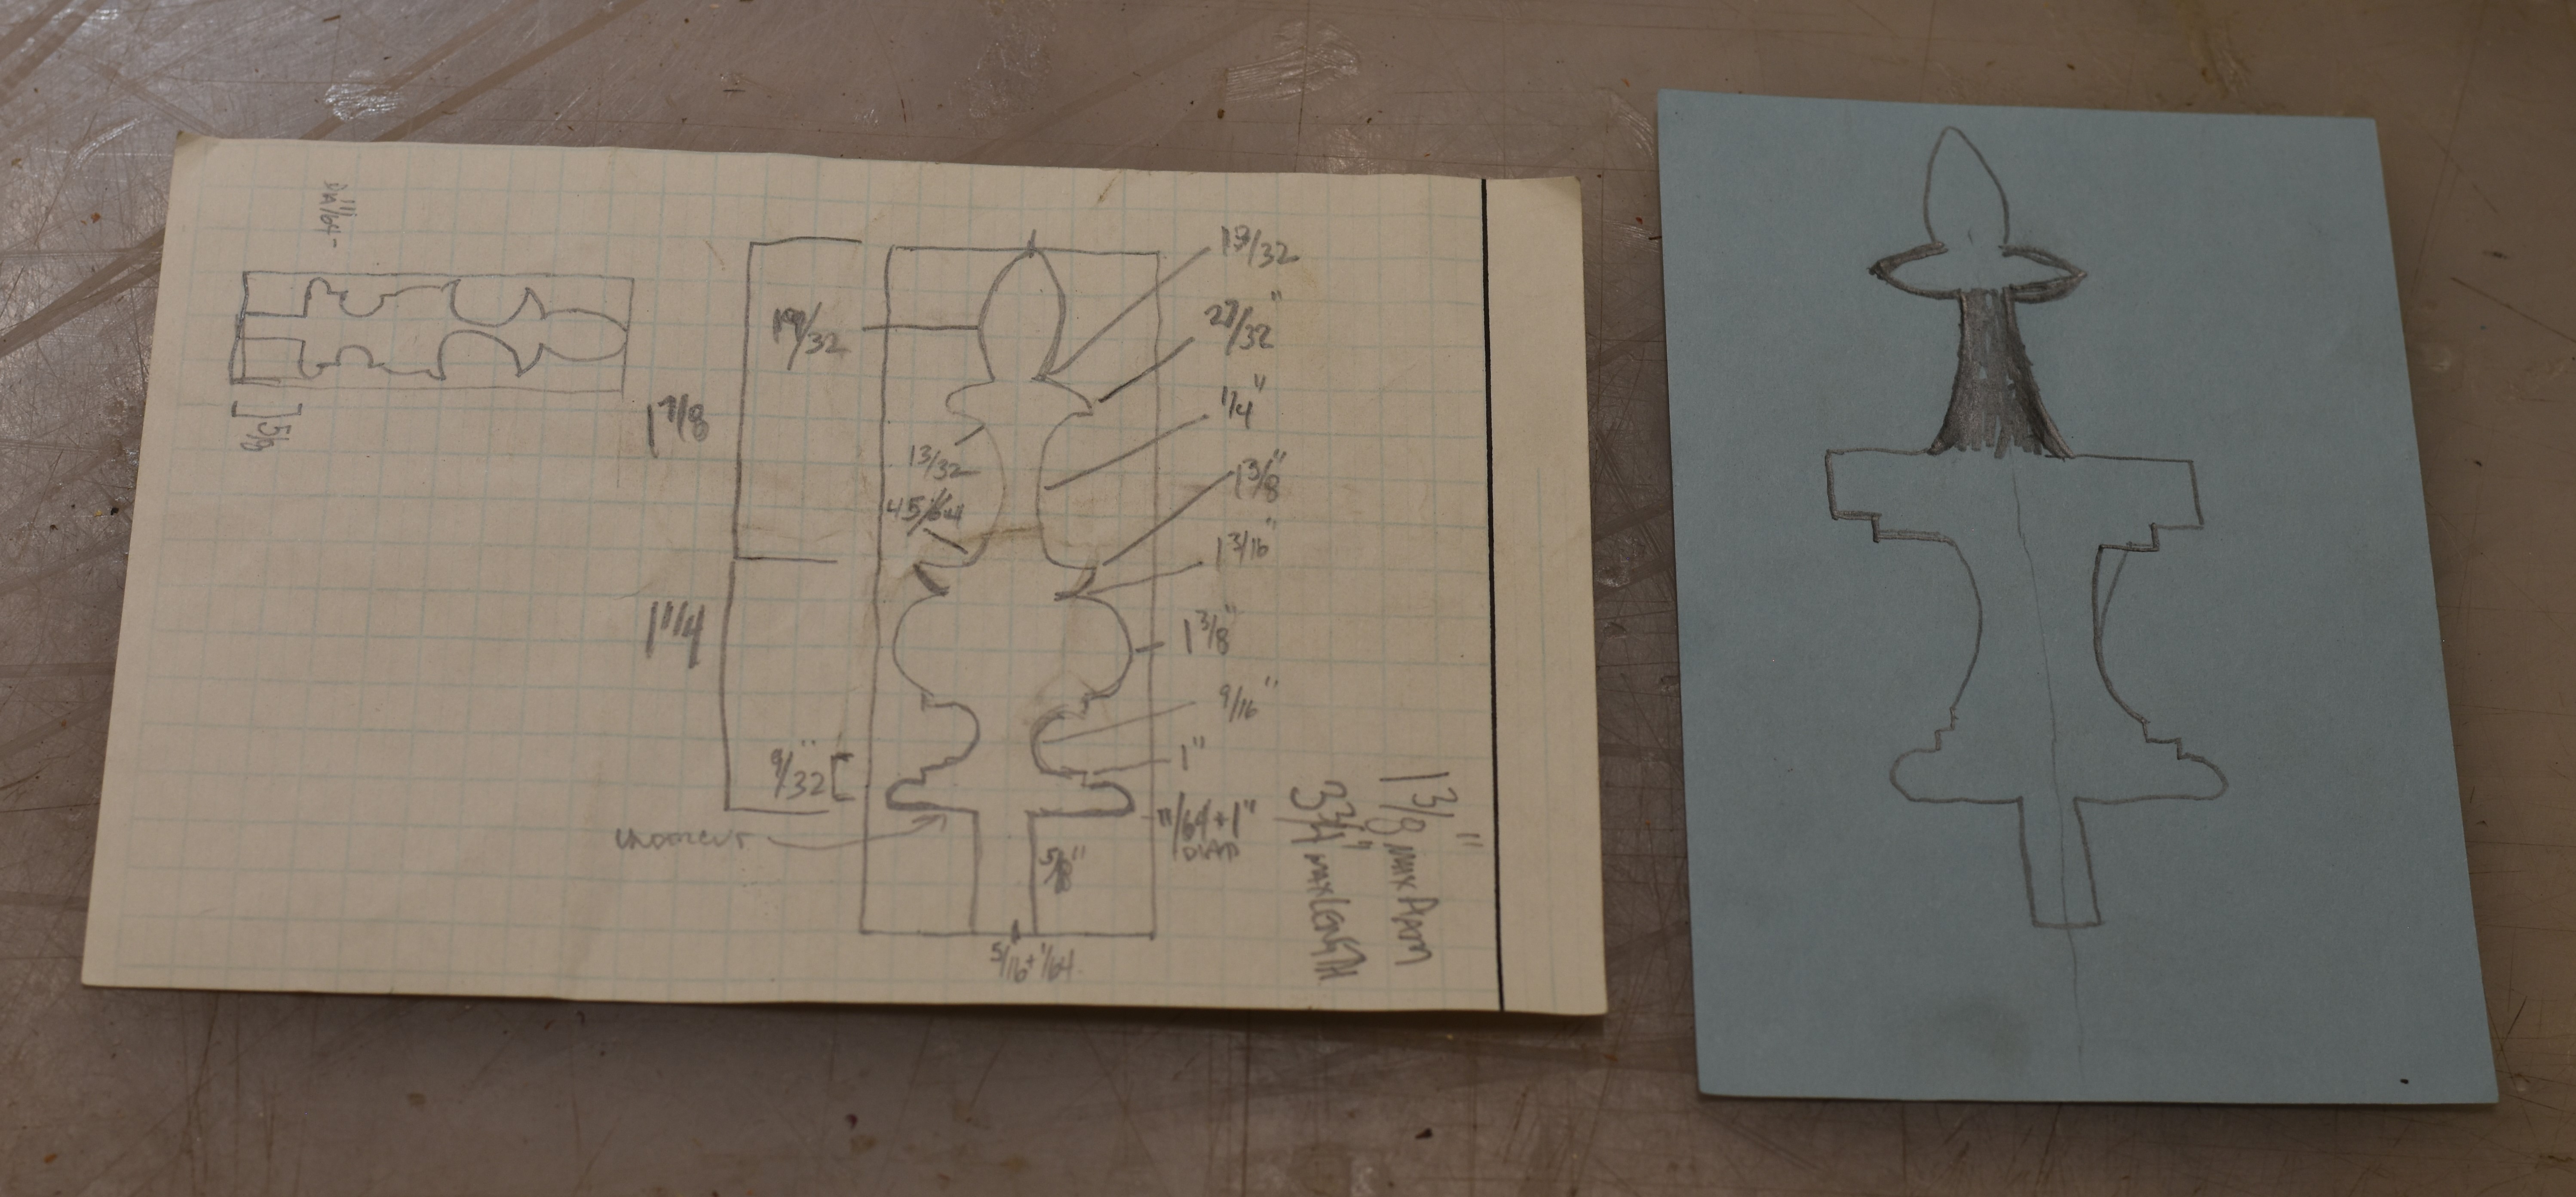
Final design measurements for the bottom finial and the top finial
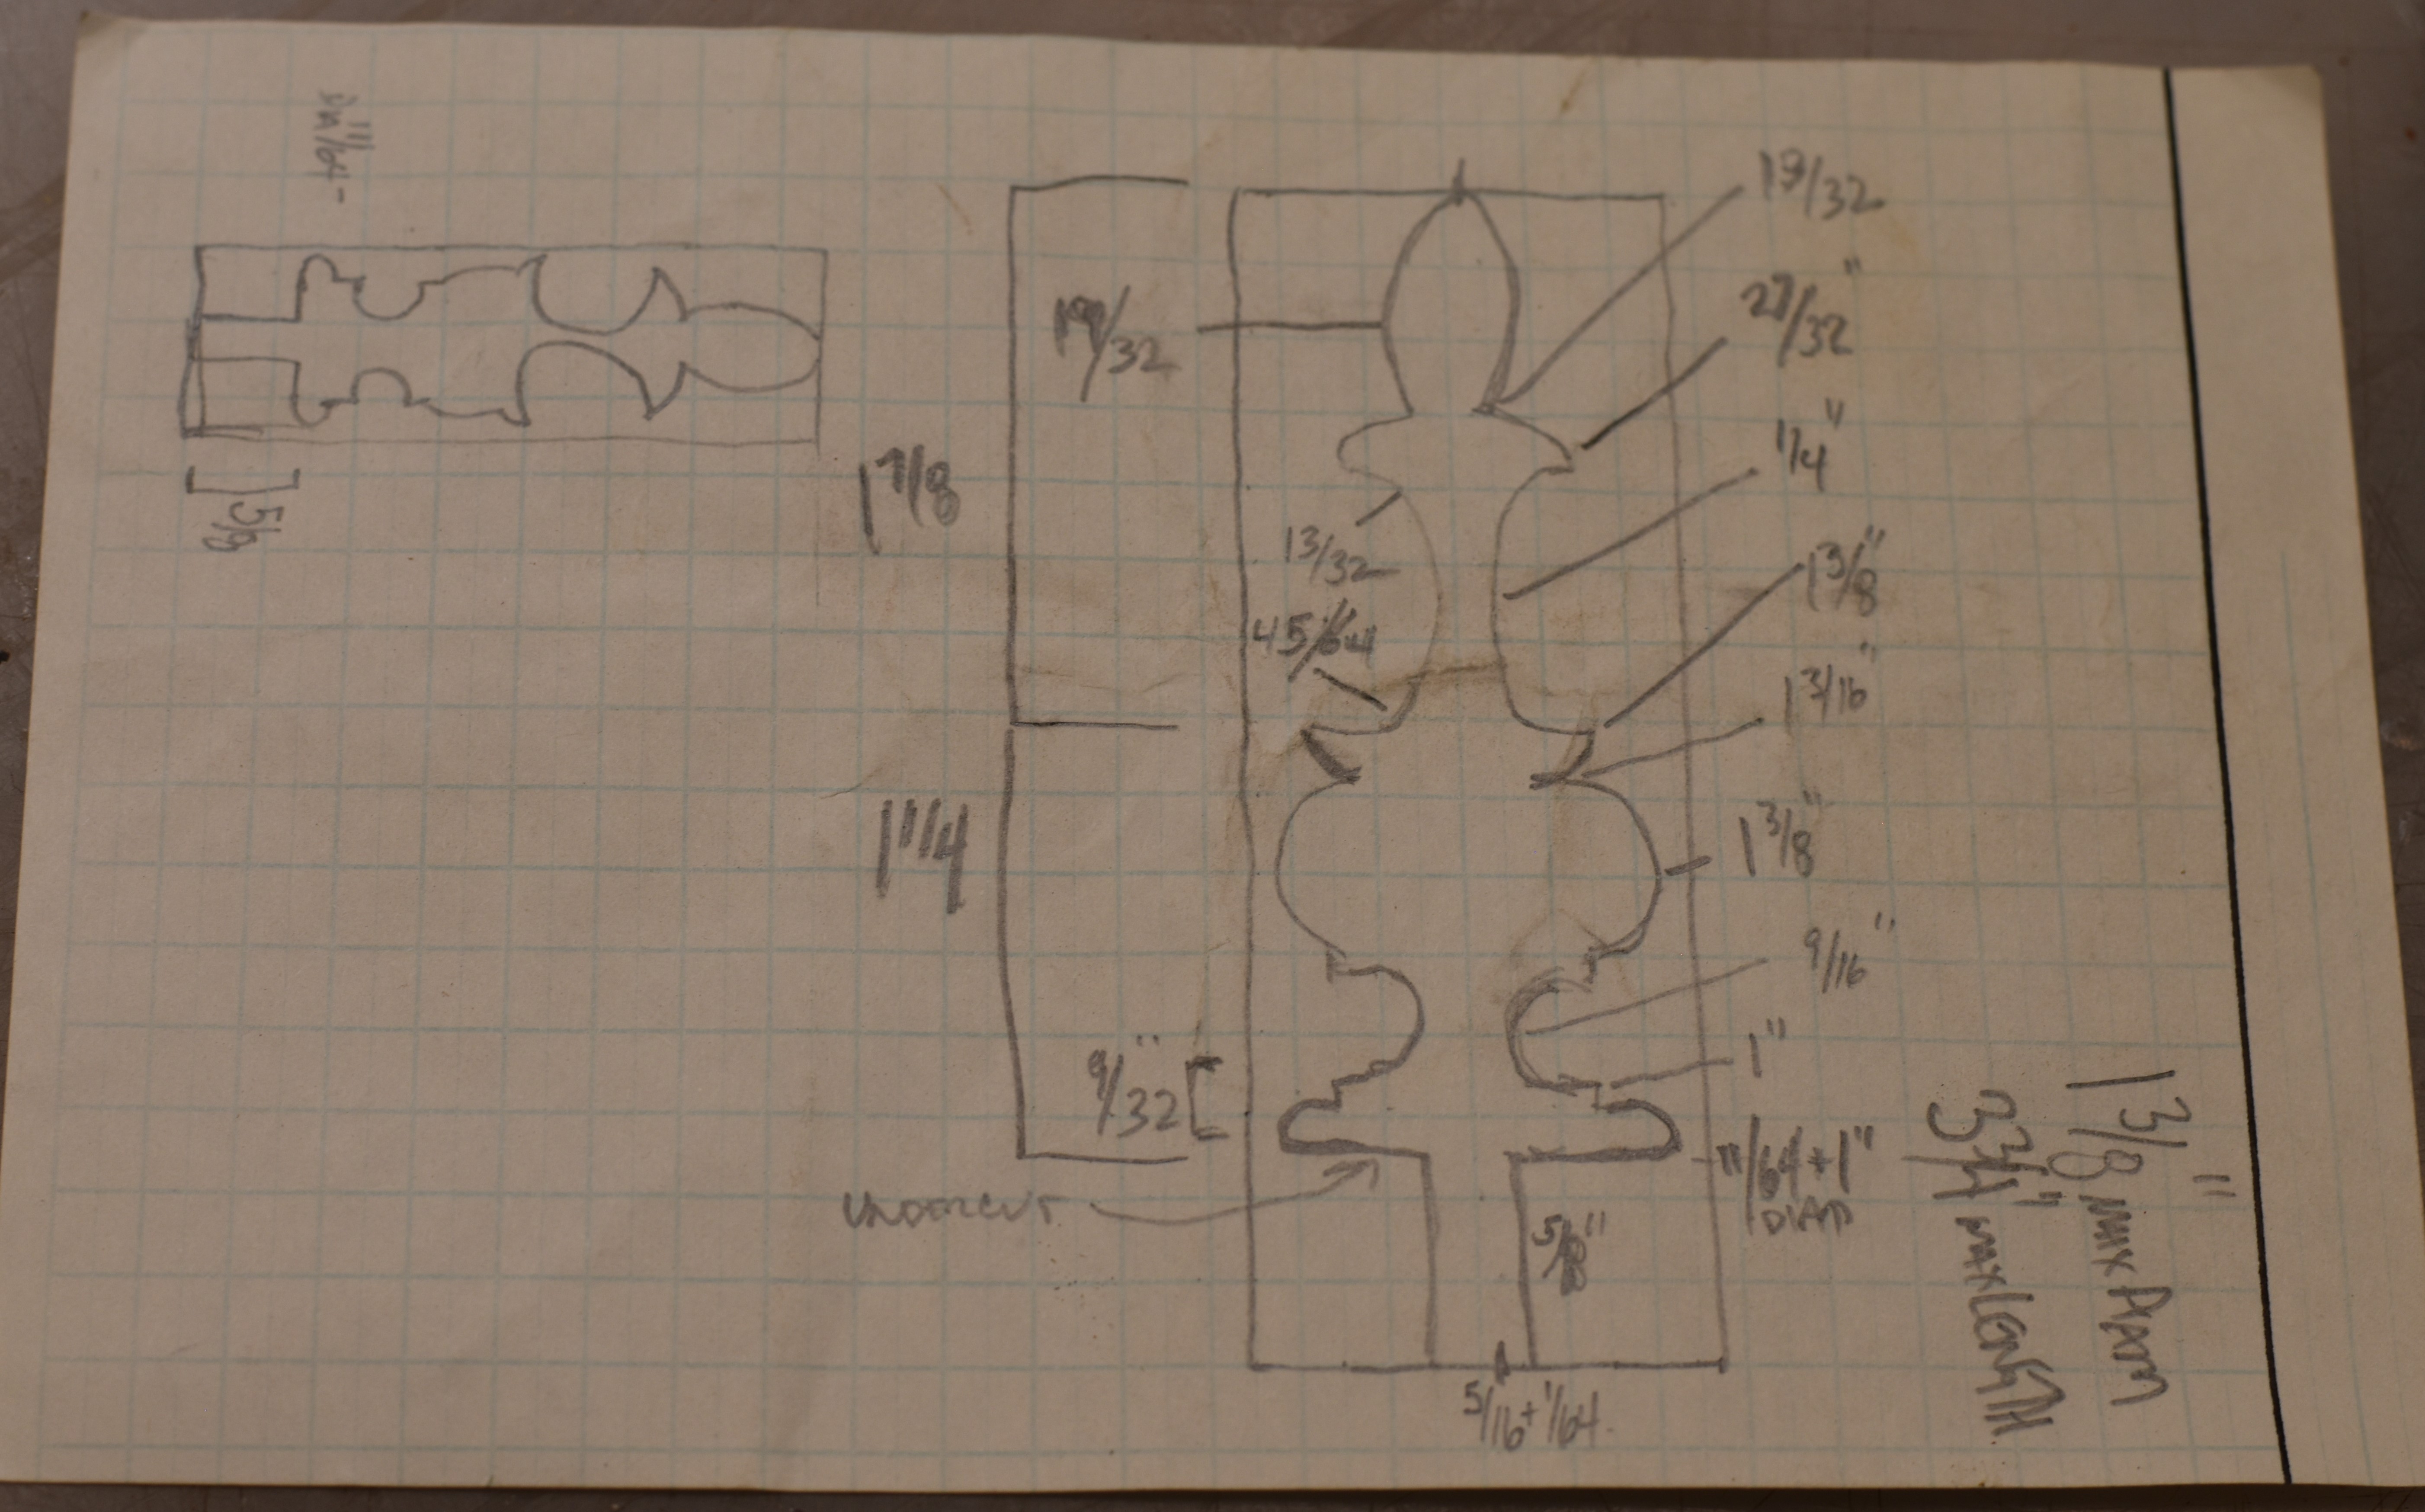
Finial plans with measurements
Getting Started-
With the mock up of the top crown, and the prototypes for the finials complete, It was time to turn and cut the actual parts for the clock. The turnings were made from an African mahogany despite the clock being an oak example. The Ansonia clock came in a cherry version, and a walnut version as well, but the example I worked on was an oak version of the clock. The reason I used the mahogany for the turnings is it holds detail very well, and it has a very tight grain. If I had used oak for the turnings, the details might have not been as crisp.
For the clock crown, I sourced some white oak to match the oak in the clock case. The selection of white oak will help when the clock goes to the finisher. It will be easier to match the stain and texture of the finish with the original clock case. The clock crown is deceptively simple looking. After drawing and mocking up the parts needed for the crown, I quickly acquired a newfound respect for the old clock makers. The challenge was to get the curves on the moldings to look correct, and also keep the flat side of the crown from leaning to one side or the other. I have not mentioned the keystone piece at the top of the crown, probably because I am still getting over the frustration of getting the angle and the reveal and the depth correct. I did not want a gap to show on any of the parts, as I hate filling any of the gaps with wood putty. I think I cut this piece 3000 times in my head and on paper before actually cutting the piece. I believe this angst causing mental cutting led to the successful cutting of the actual piece on the first attempt.
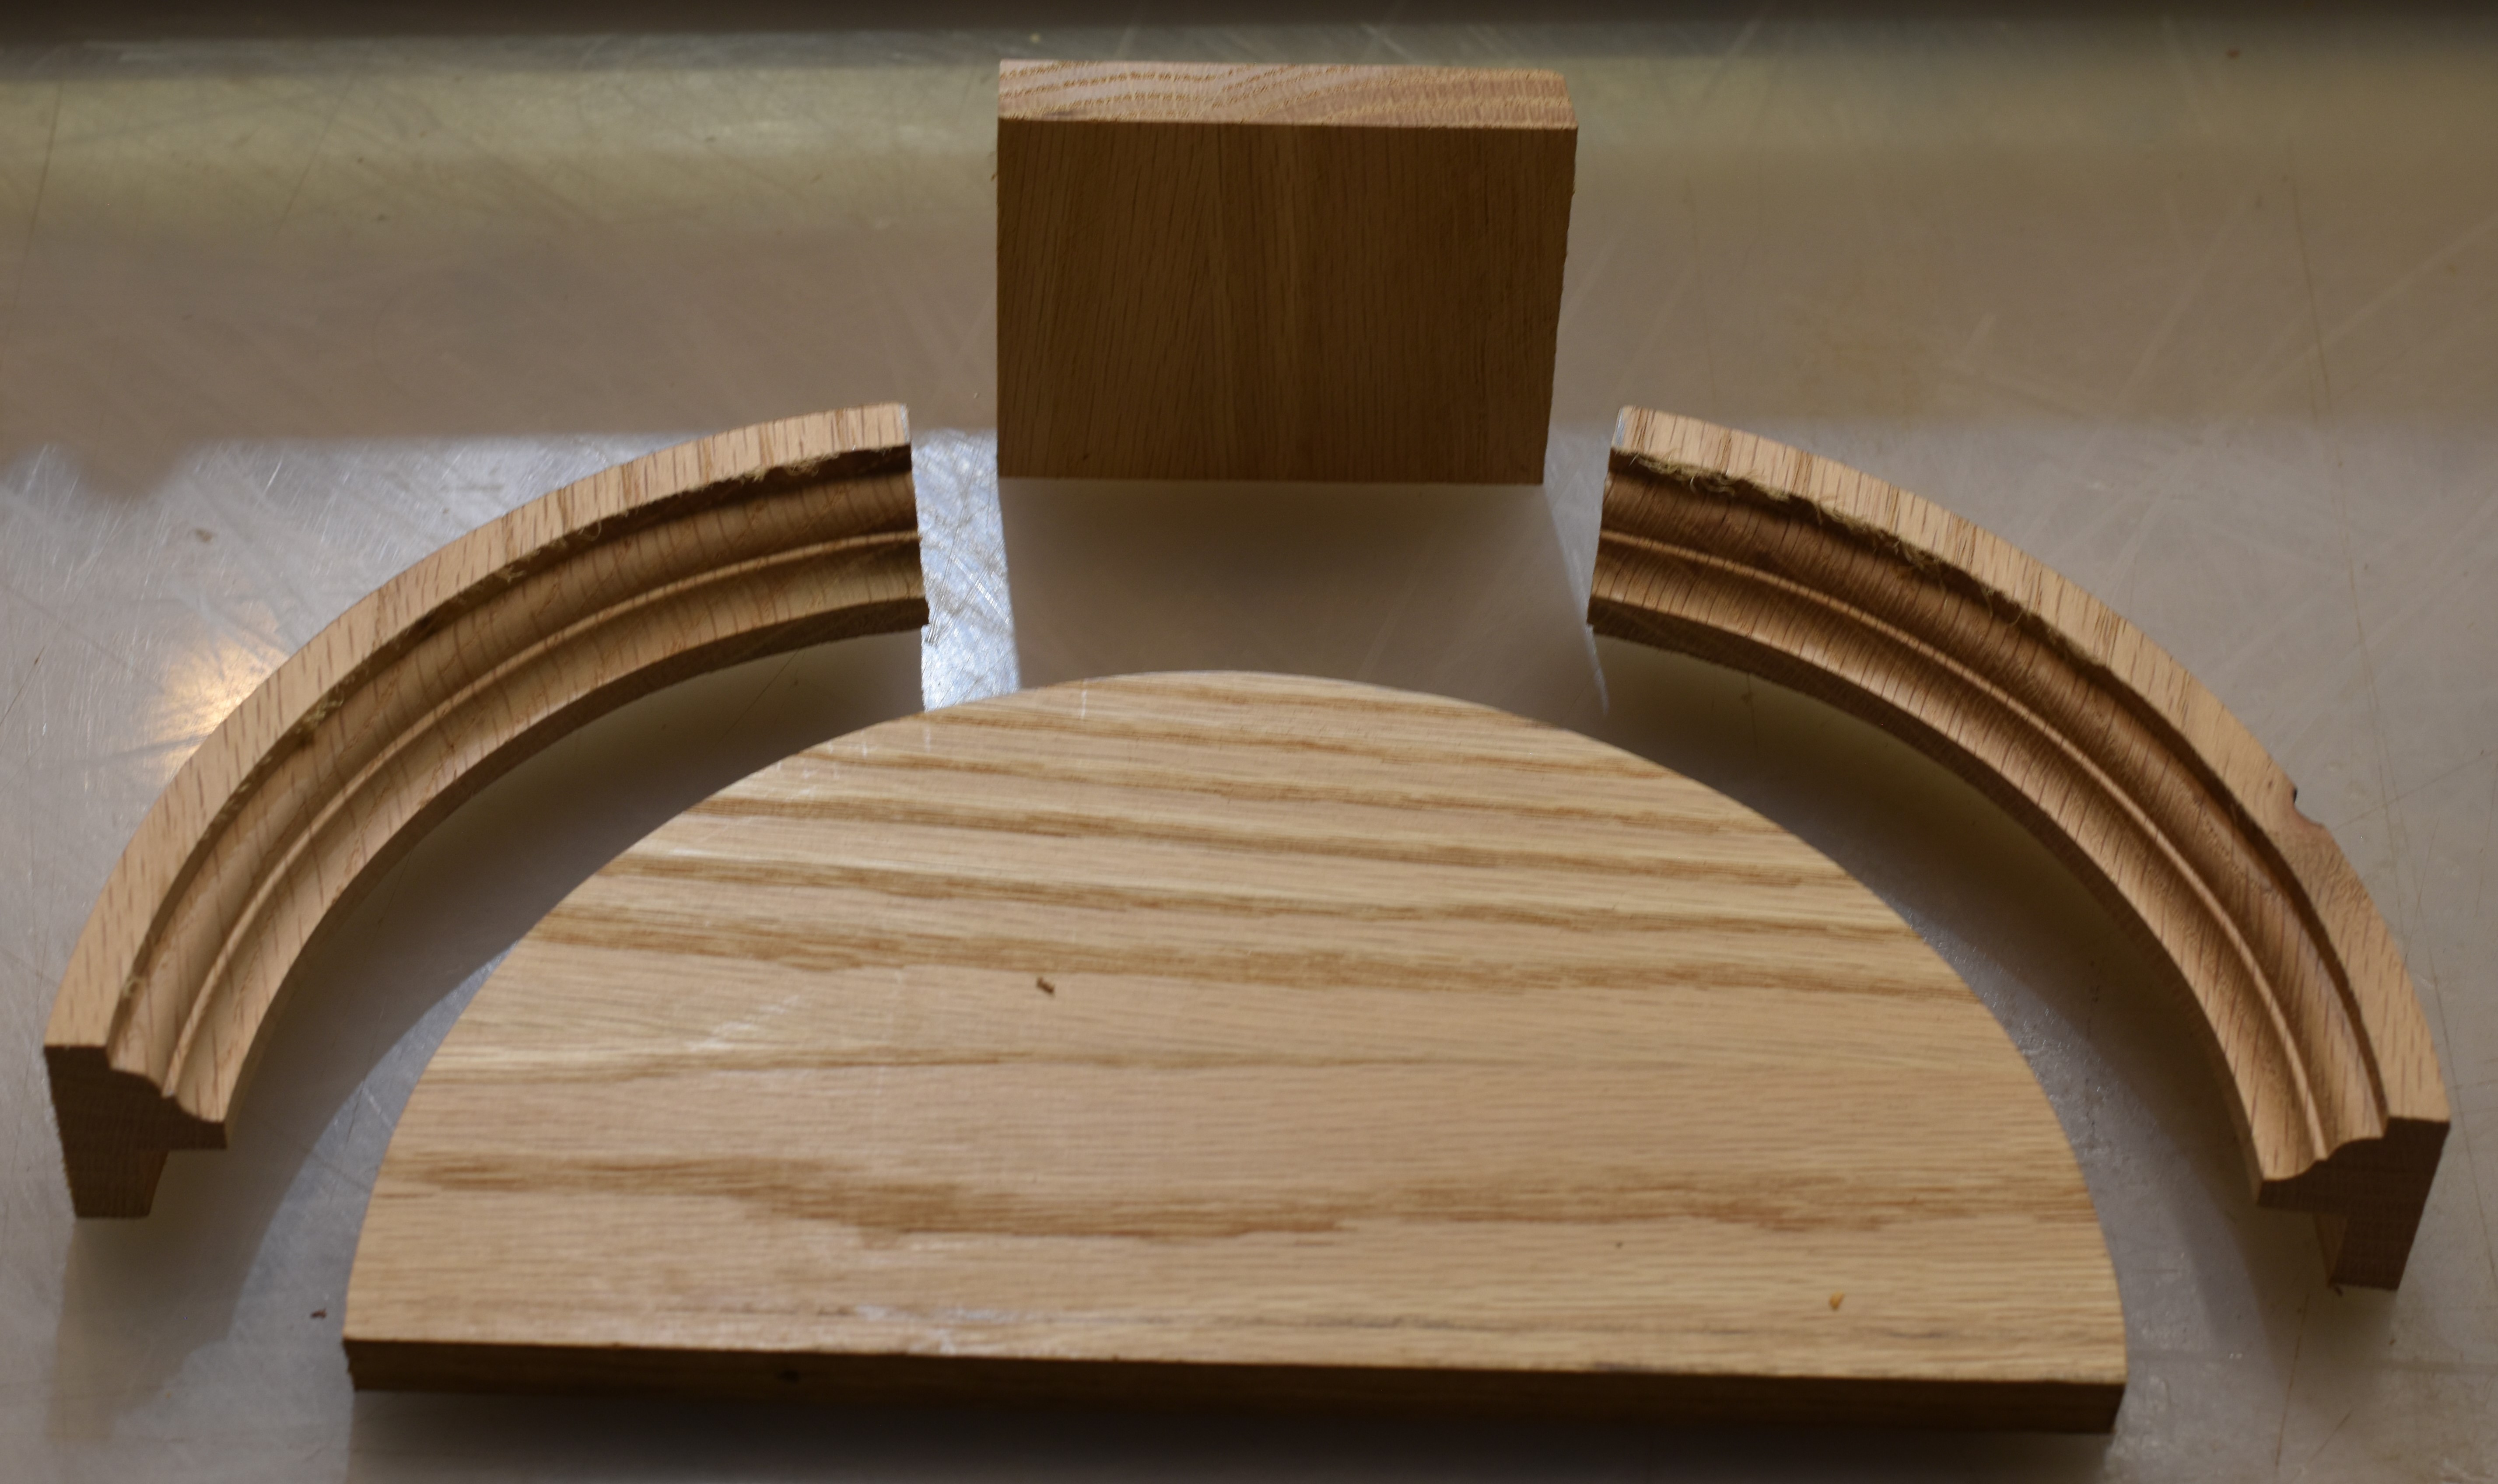
Parts for the clock crown
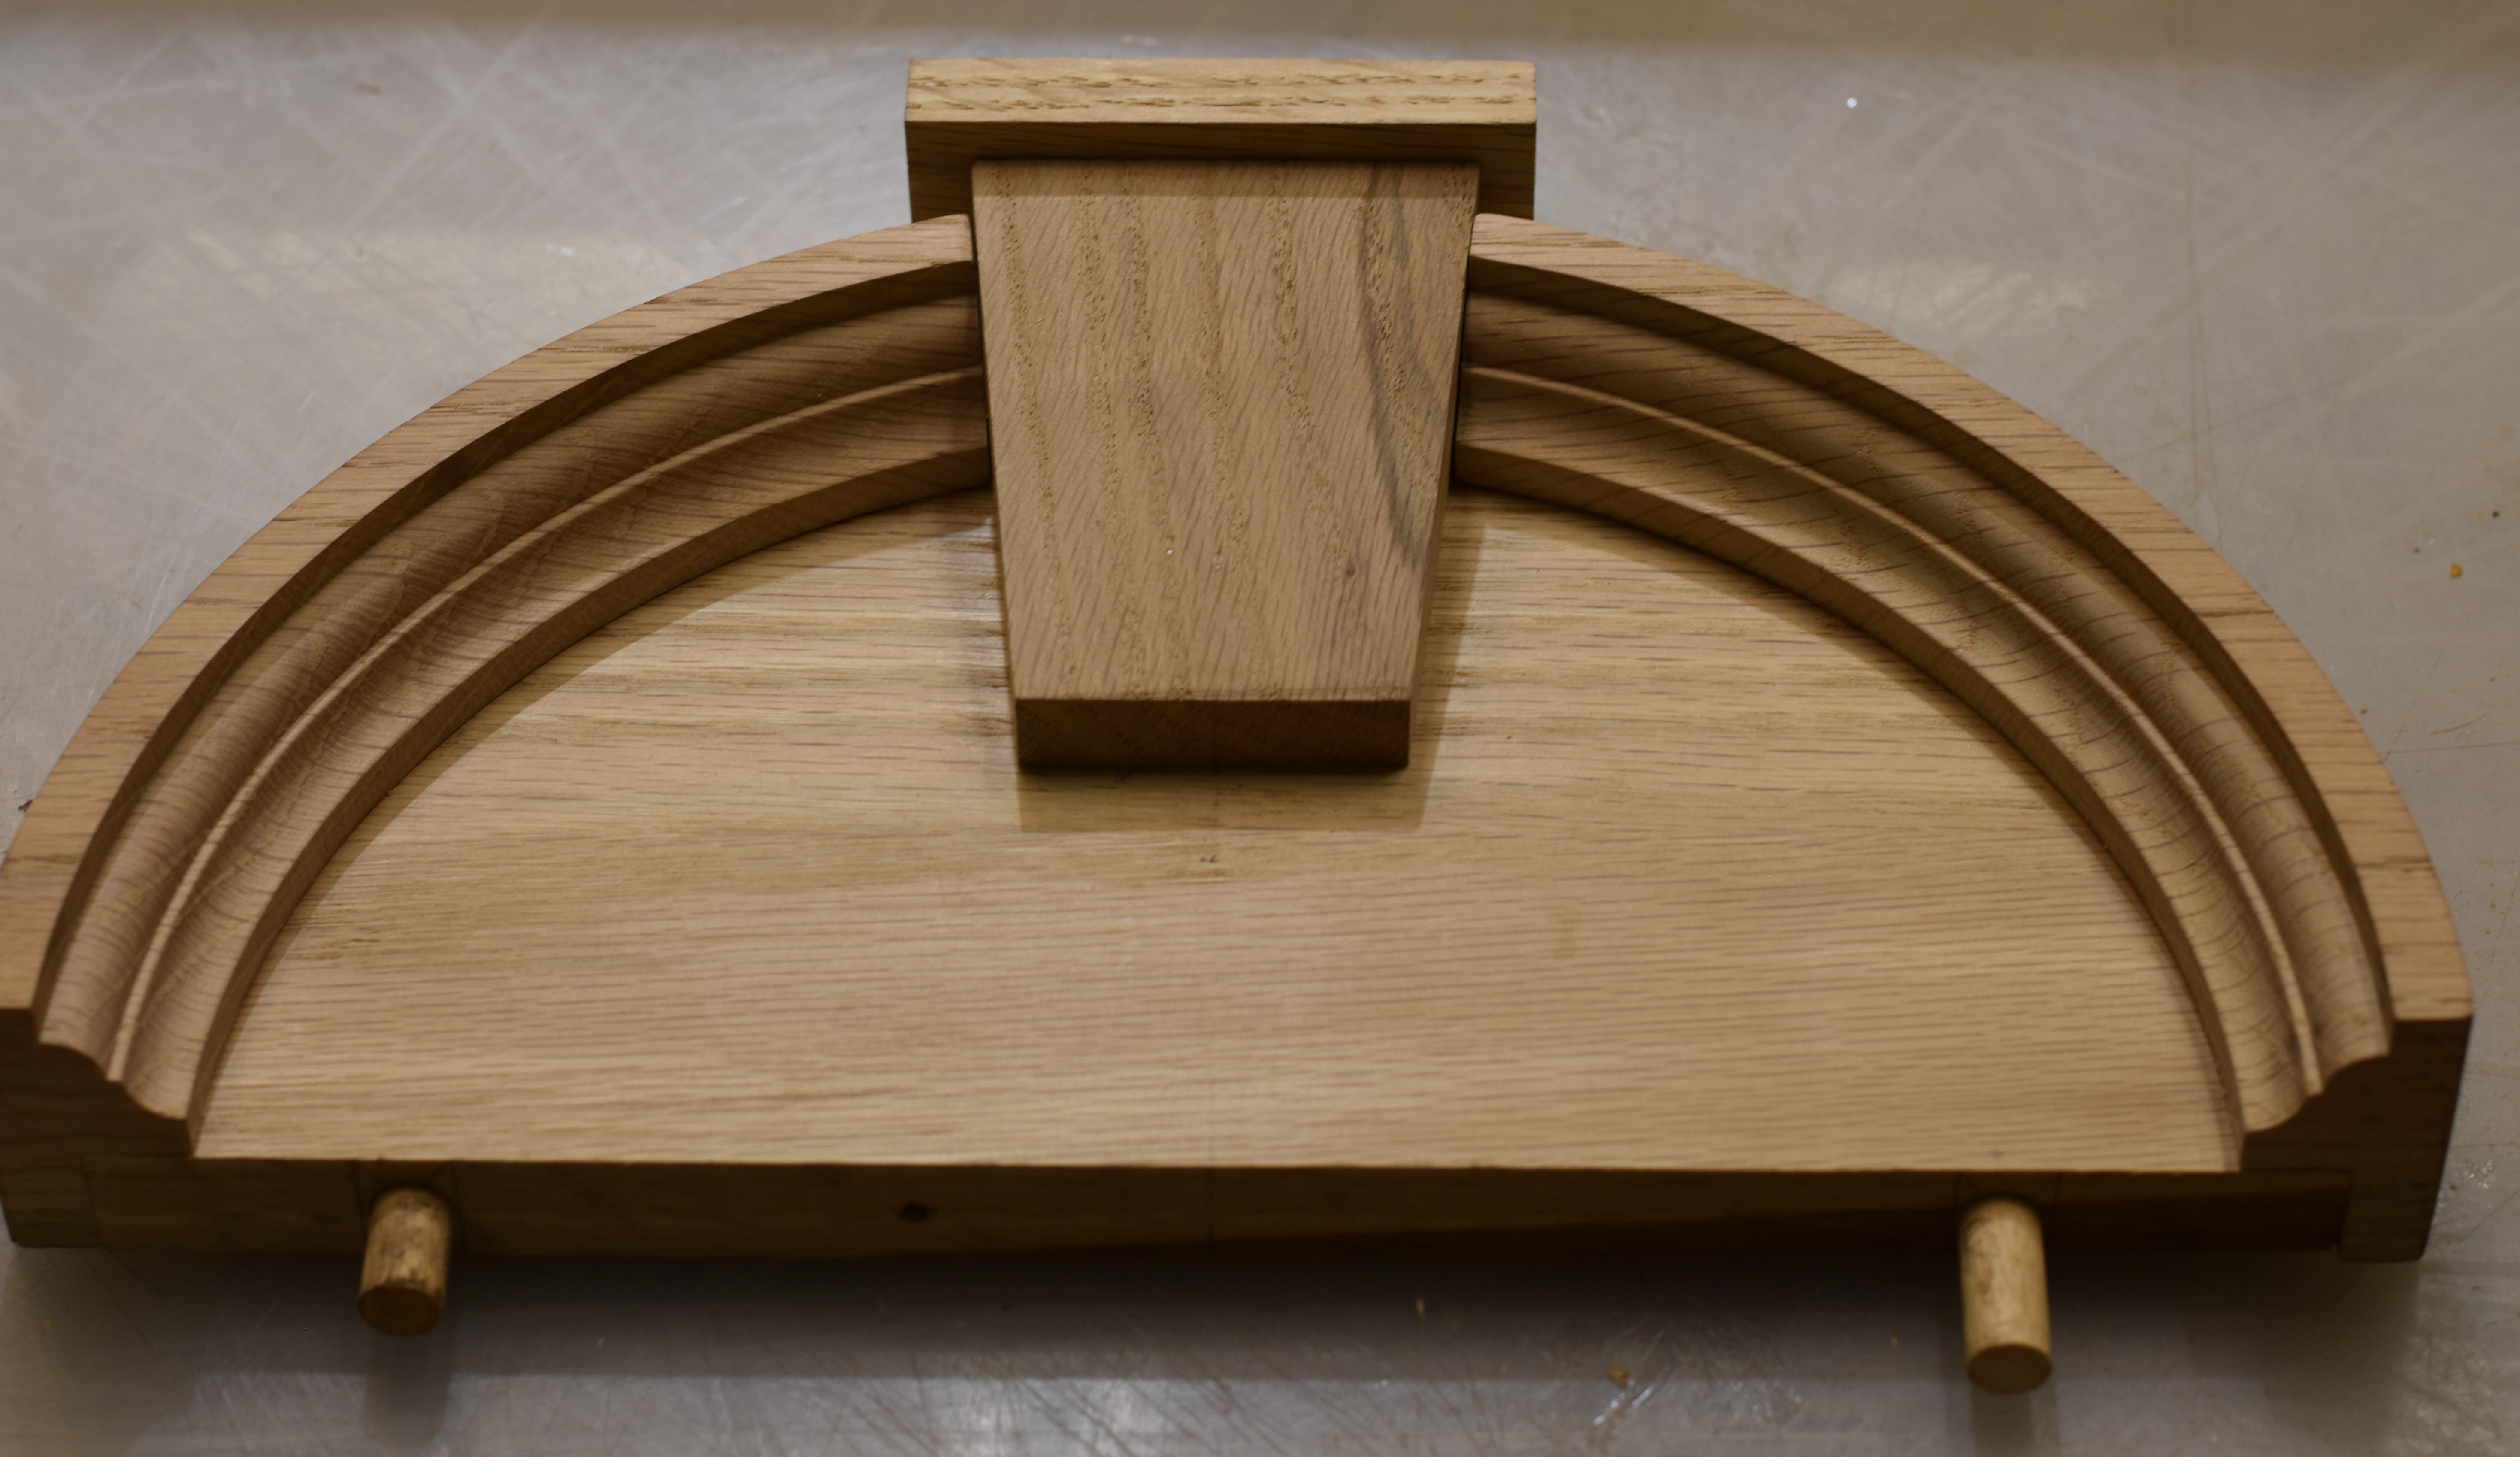
The clock crown completed

Finials completed for the clock
The finials for the clock case are laid out like they would be placed on the clock. Notice the size difference for the middle two finials. I will explain the size difference below.
The half turning for the bottom of the clock case
The half turnings are done with two pieces of wood glued together with a piece of thick paper between them. The paper allows the pieces to be pried apart after you are done turning the finial. Once they are pried apart, you have two equal turnings. In this case, I did not get the center accurately placed on the lathe, so I had one thick turning and one thin turning. I was able to use the thicker turning for the clock. The thinner turning is on top to show the profile.
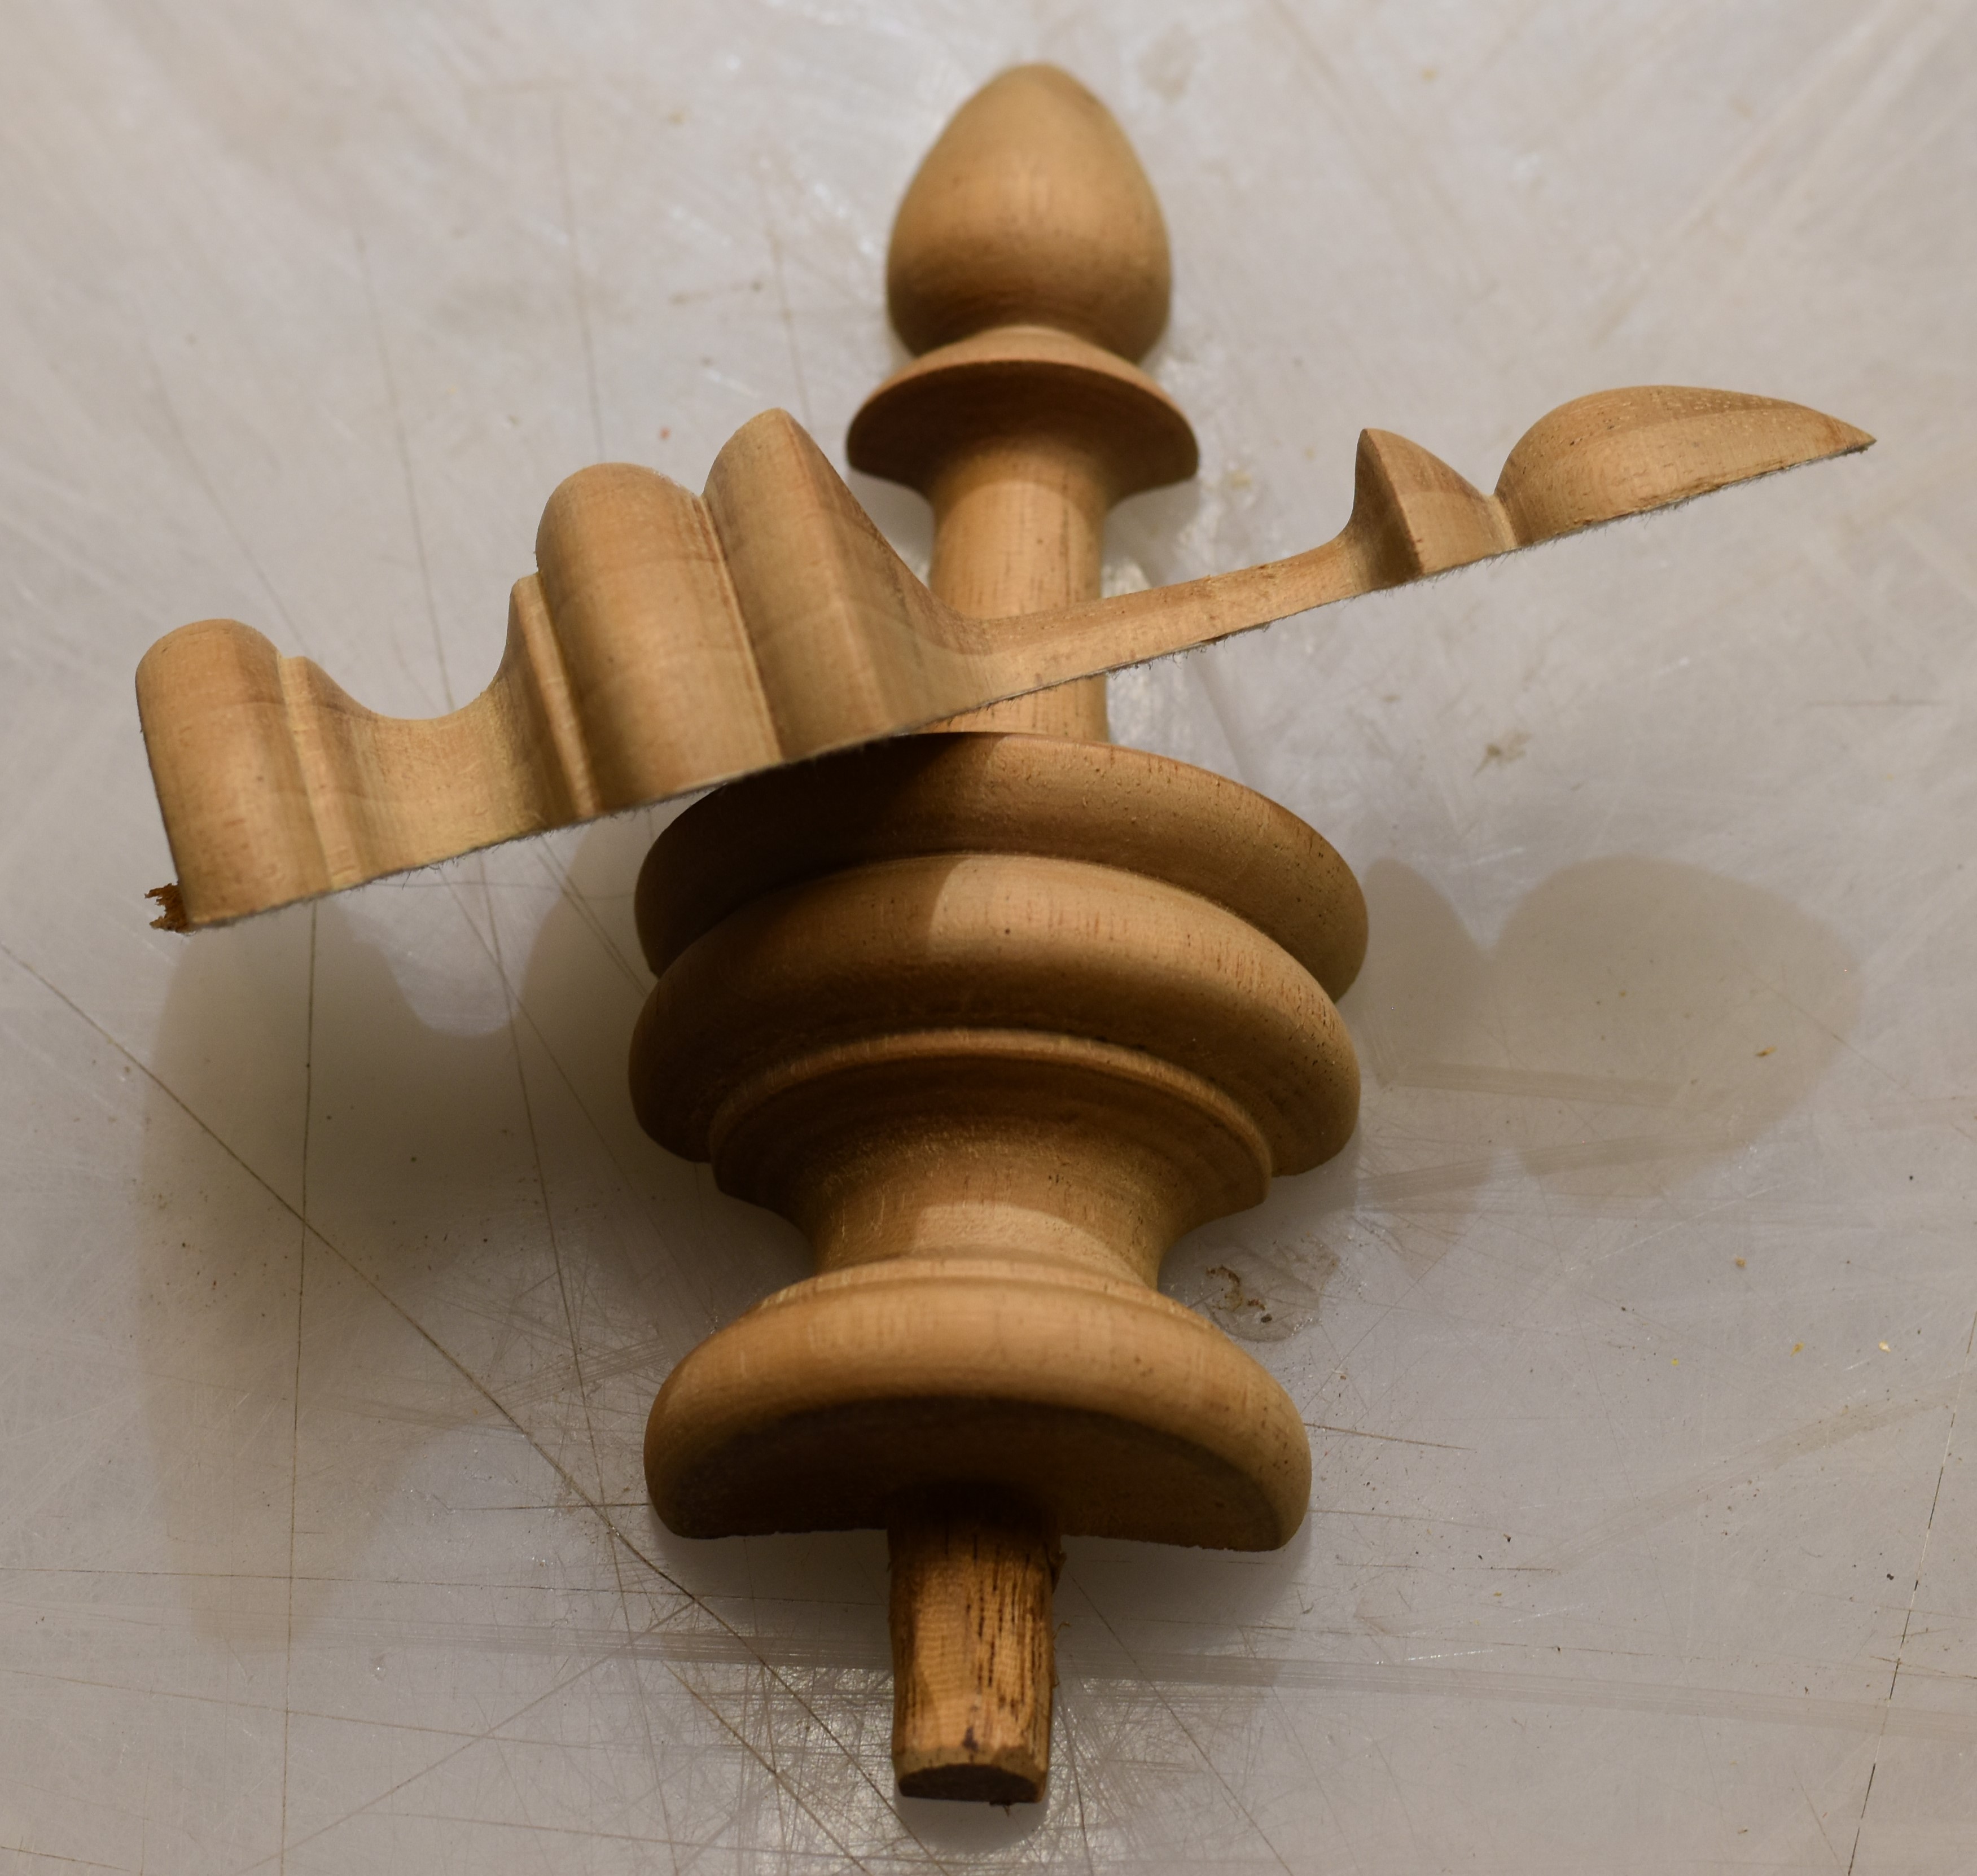
The half turning examples
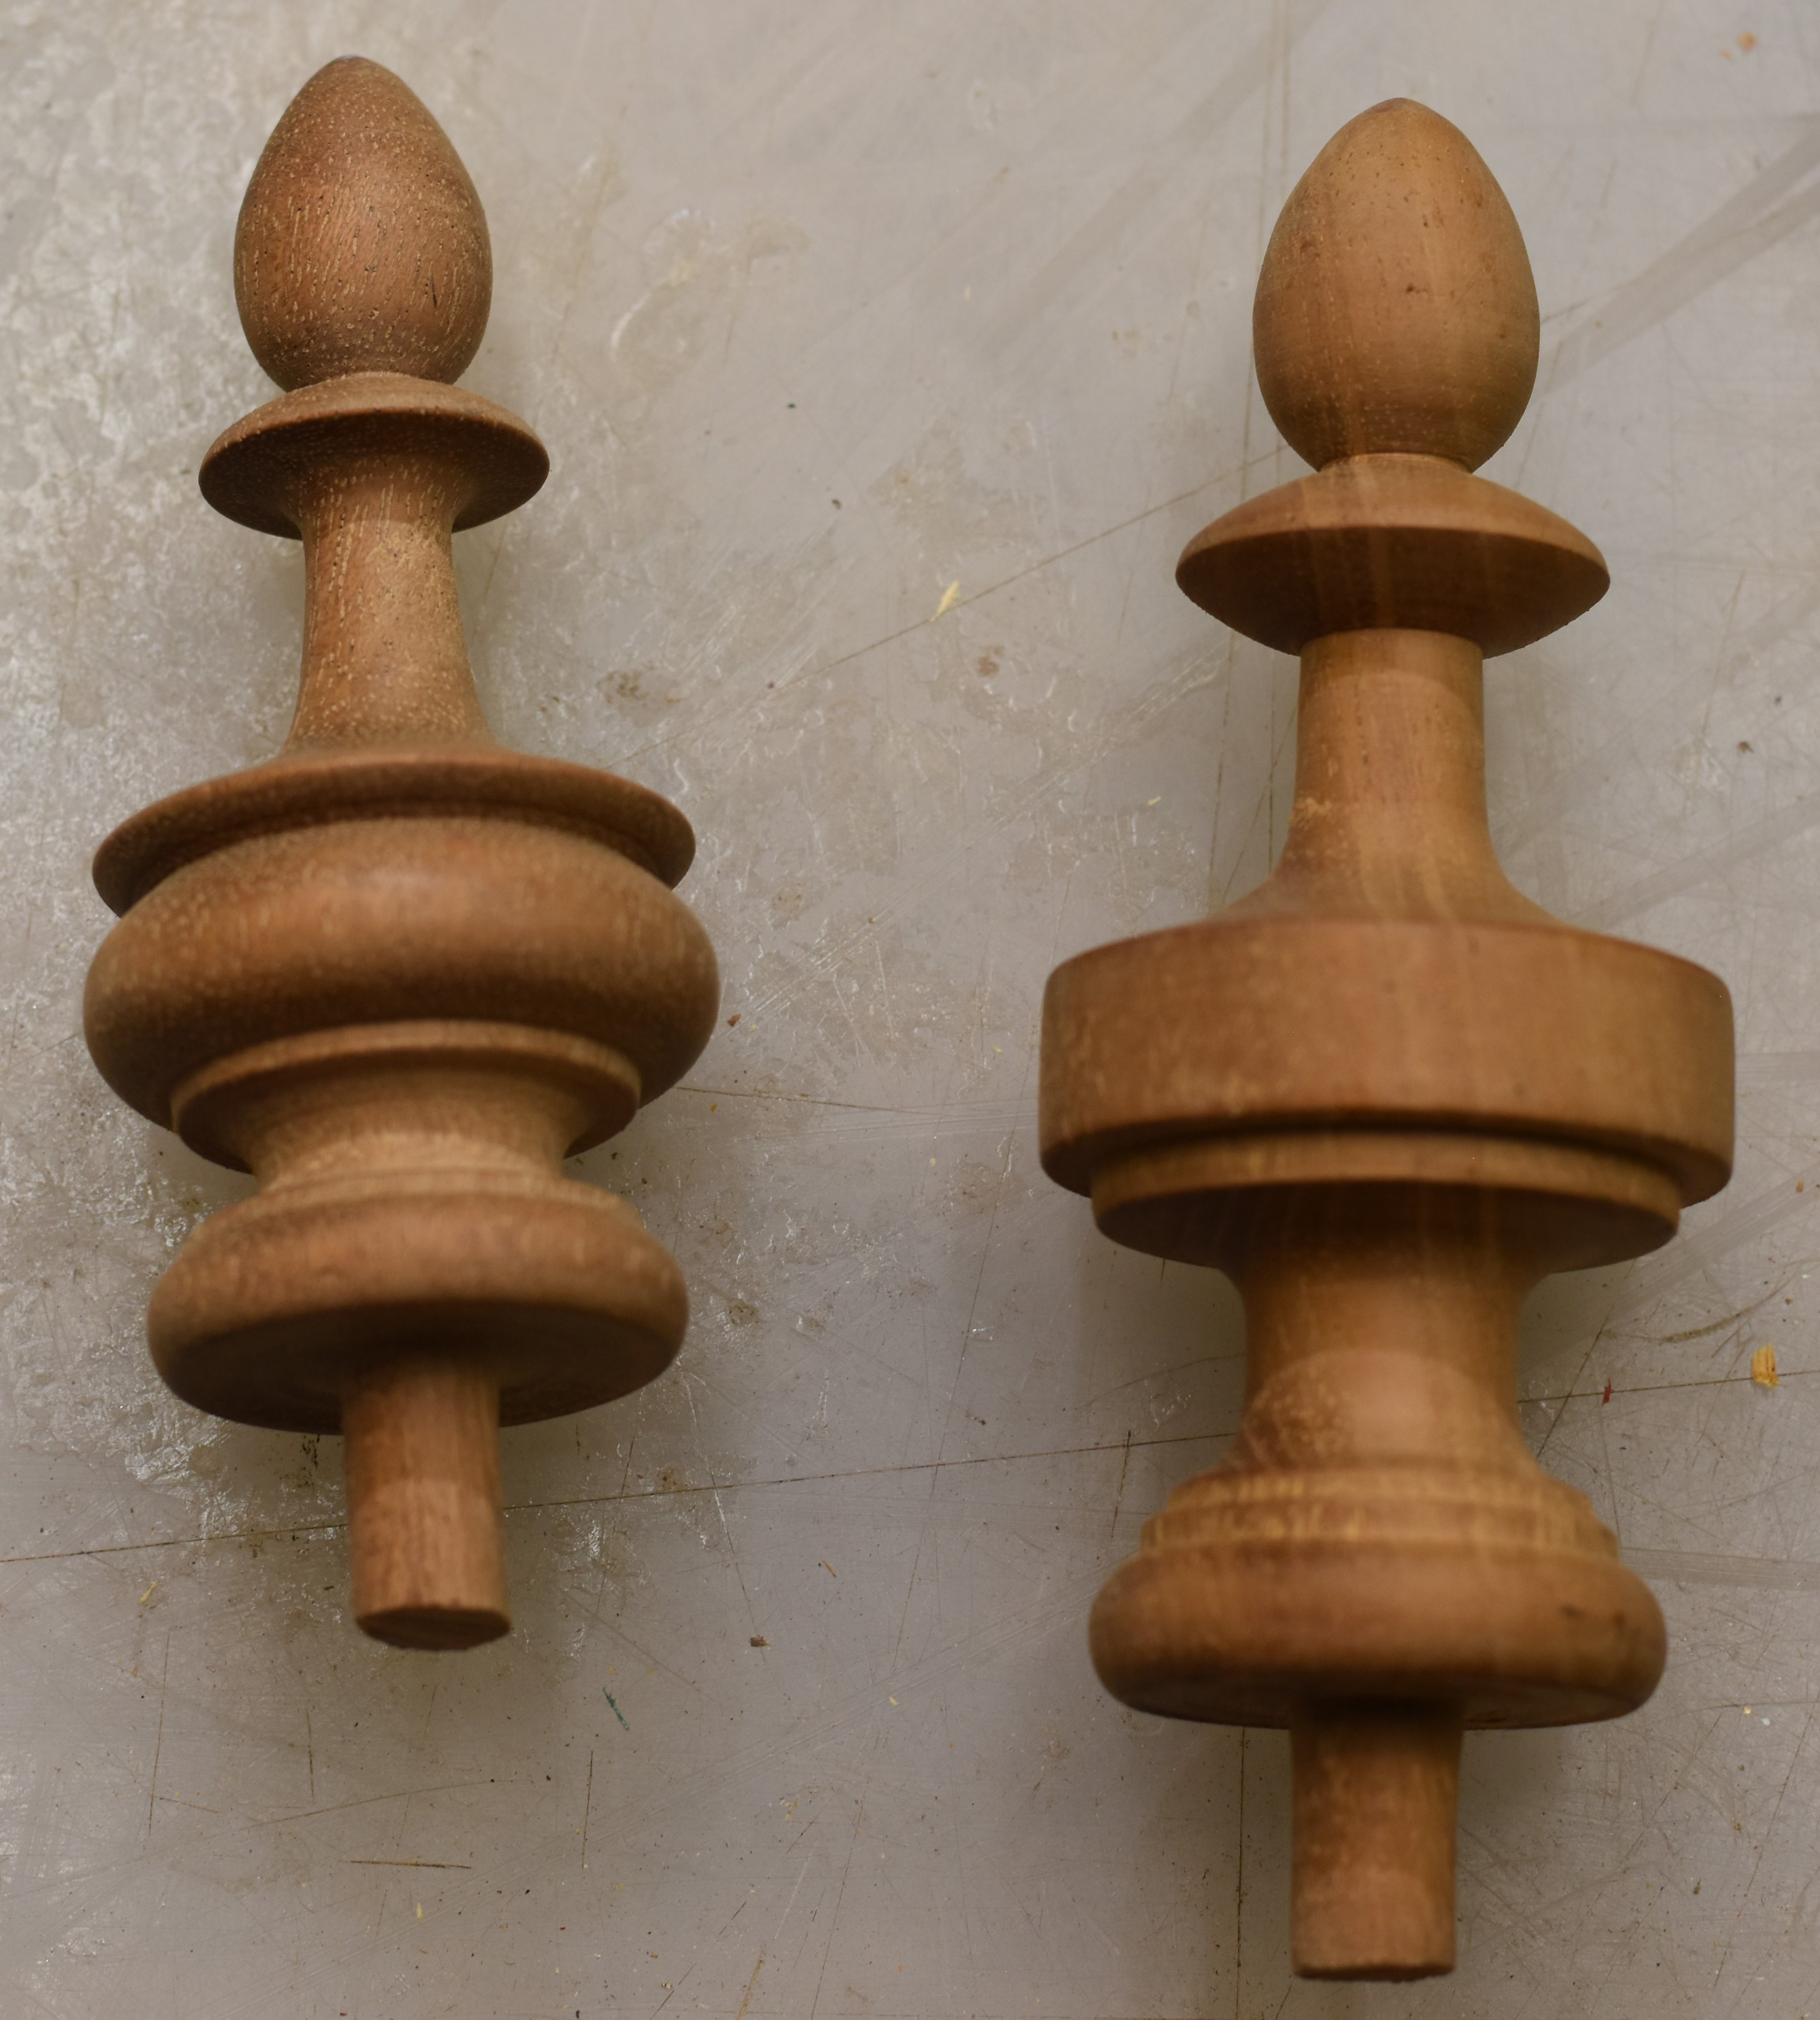
Finial examples
The finials were executed in two styles, and two different sizes. The example clock we used had a more disk style finial for the top of the clock, and a more bulb shaped finial for the bottom. In the images above, the top finial is on the right, and the bottom finial is on the left. The finials on the outside edges of the clock are smaller than the master finials in the middle of the crown and middle of the bottom of the clock.
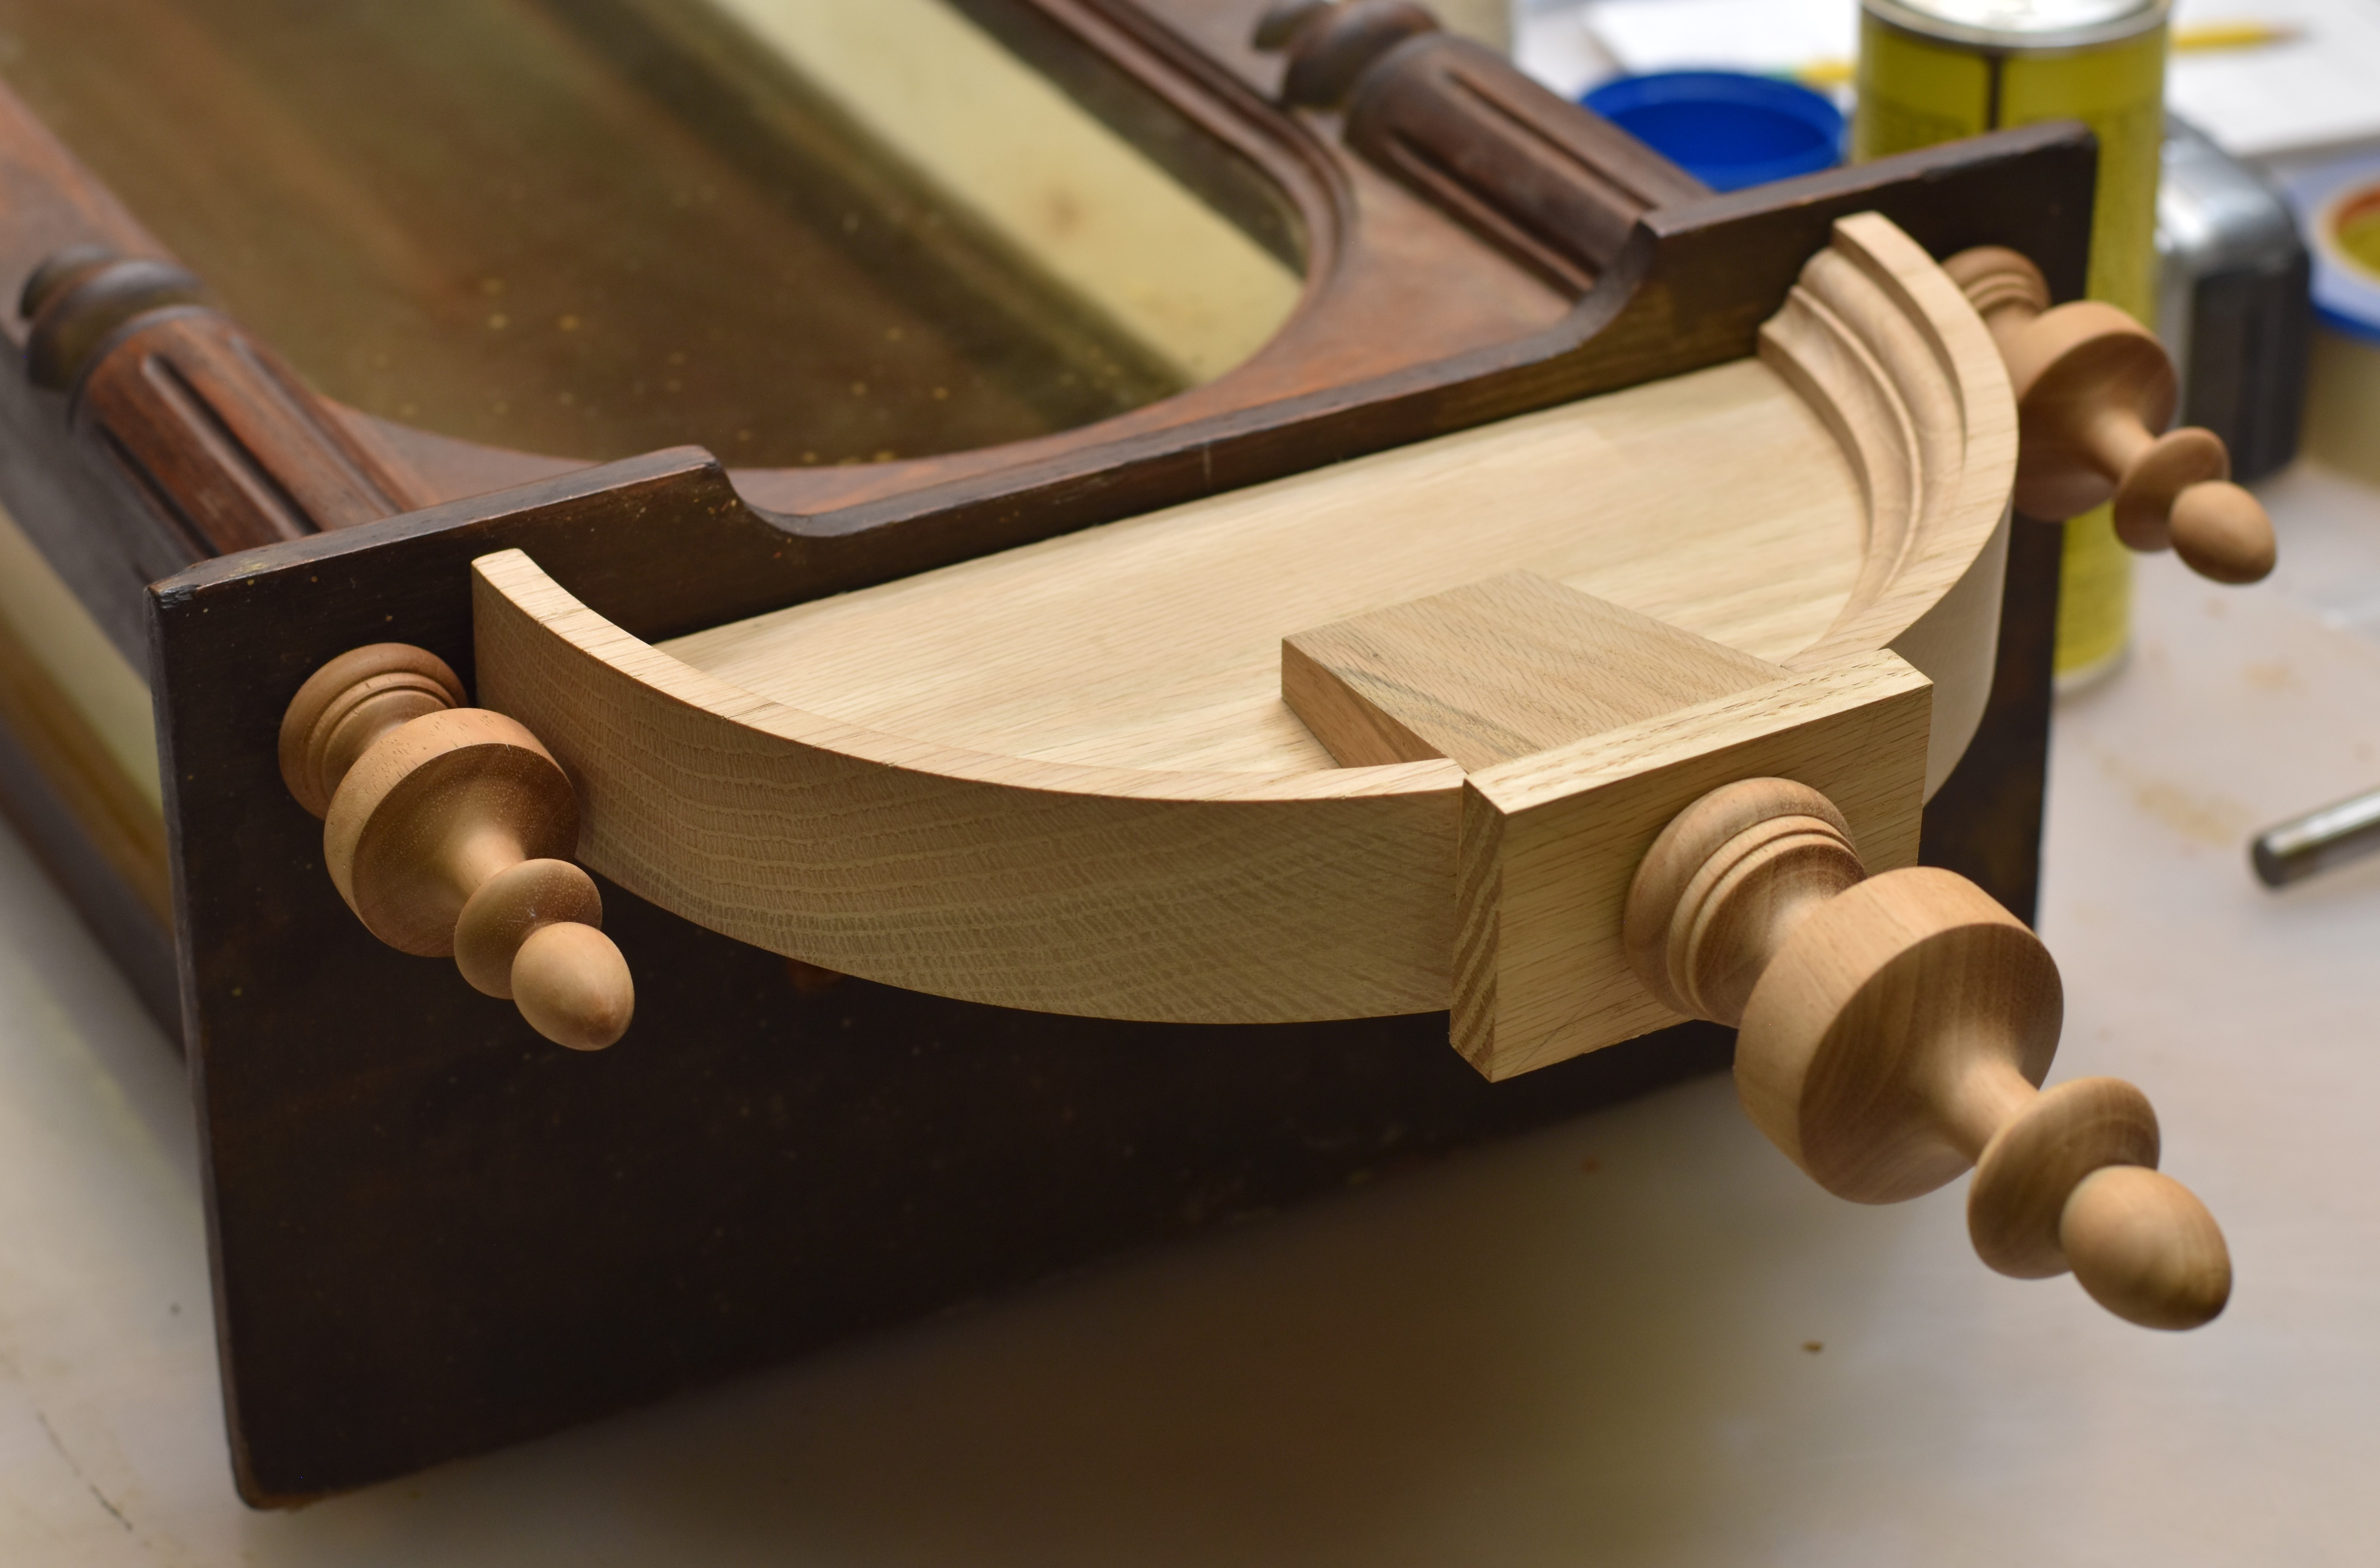
Putting it all together-
It was very satisfying to see the clock case with all of the parts attached to it. When the original case was brought to me, it was a nice box shape, but it had no life to it. Seeing it with the crown and finials placed on the case really brought the life and style back to the clock. I am very pleased with the proportions of the replacement parts. I am very happy to be a part of this project and bringing this old clock back to life again. Thank you for reading the post on the clock, and I hope to post more projects soon!
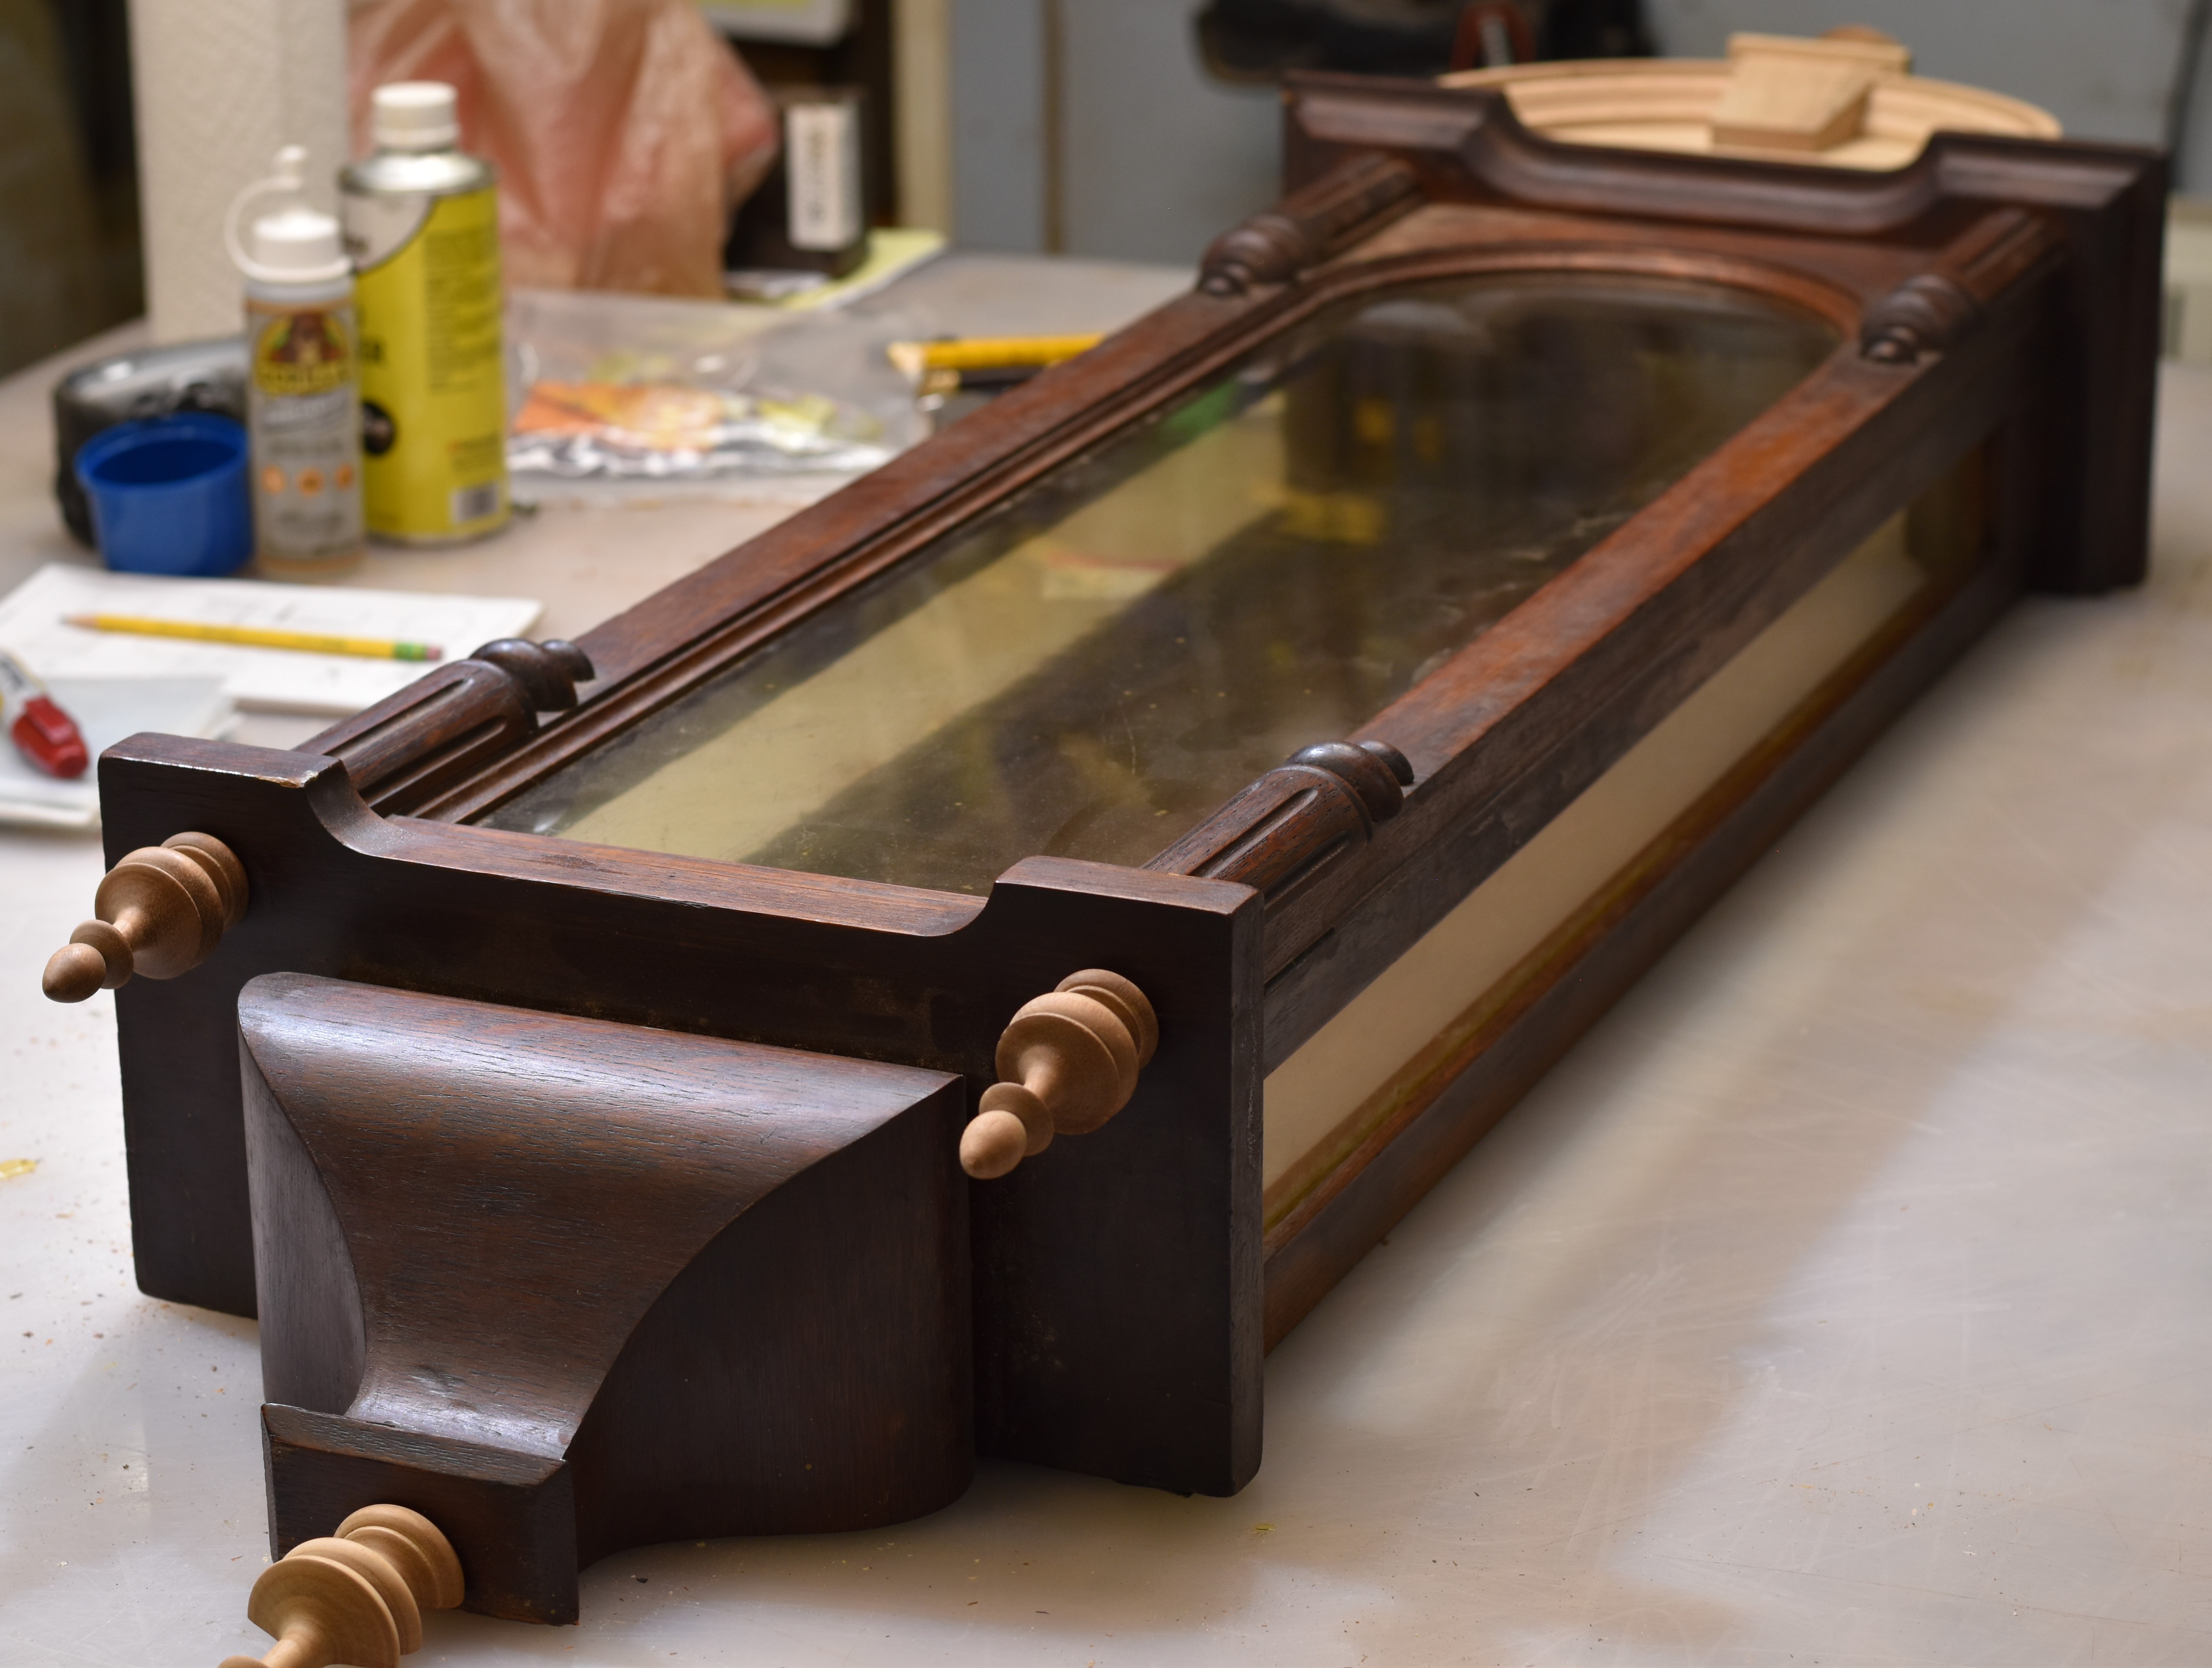
Clock case with replacement parts
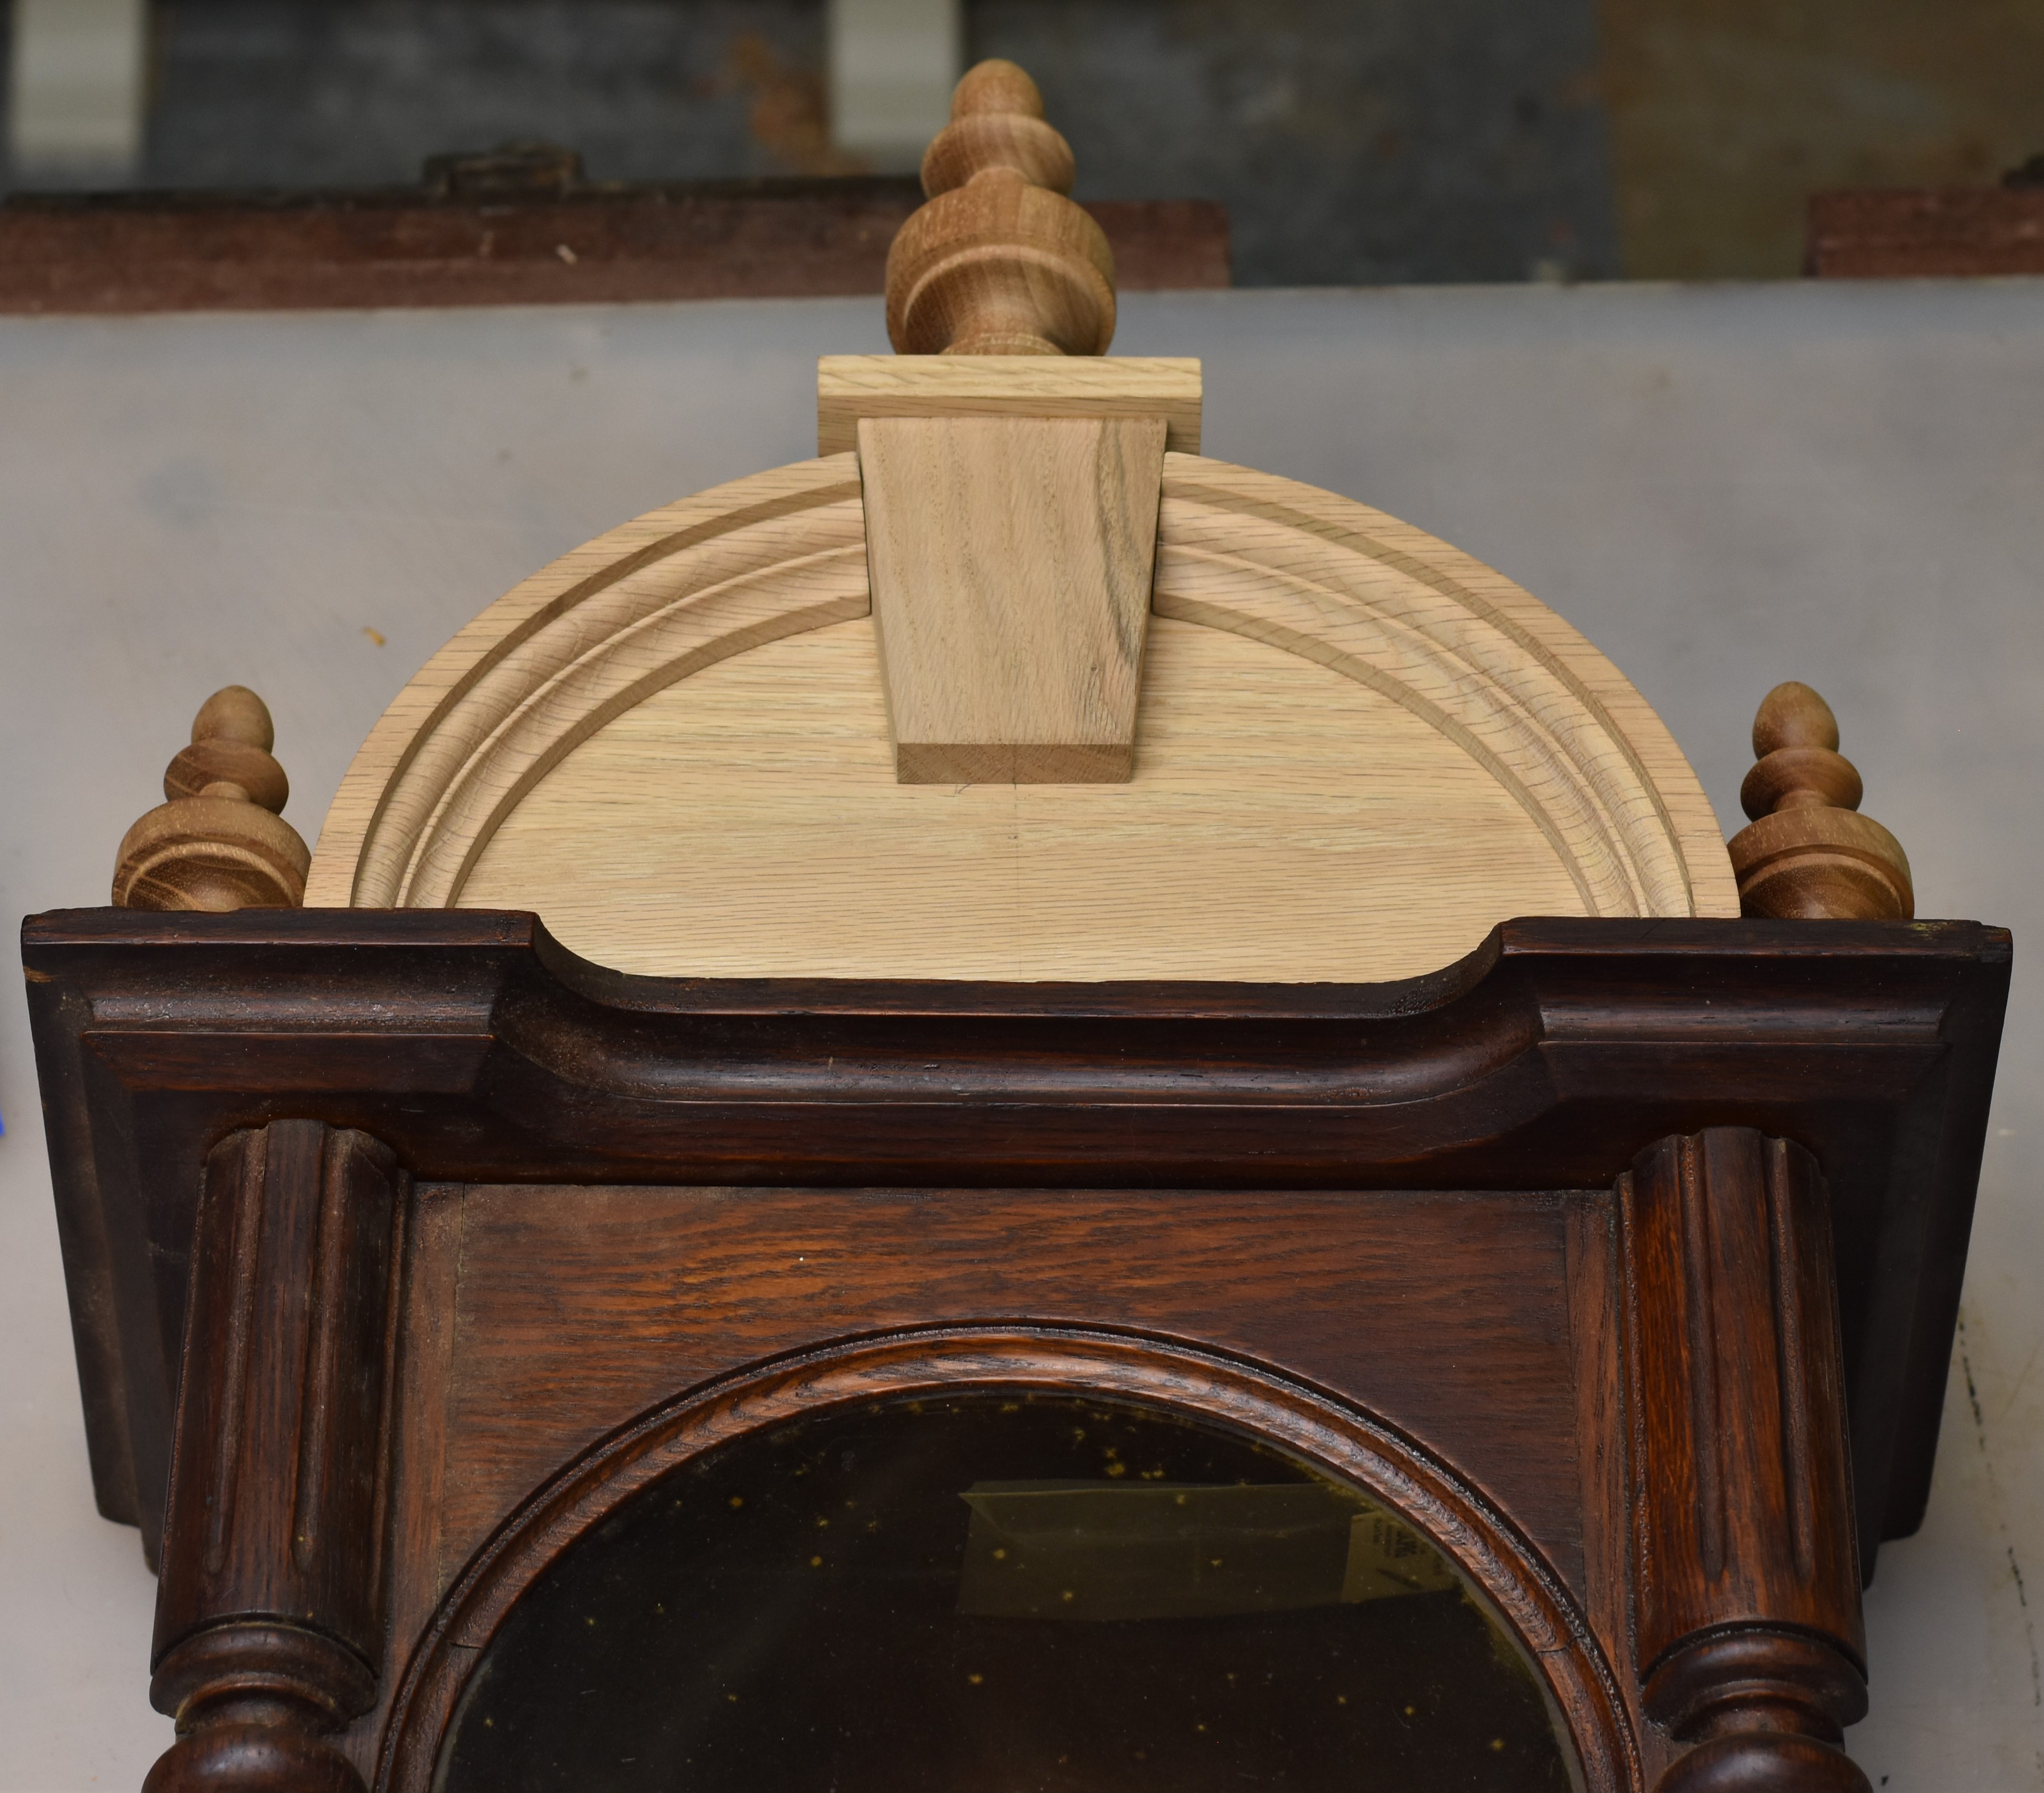
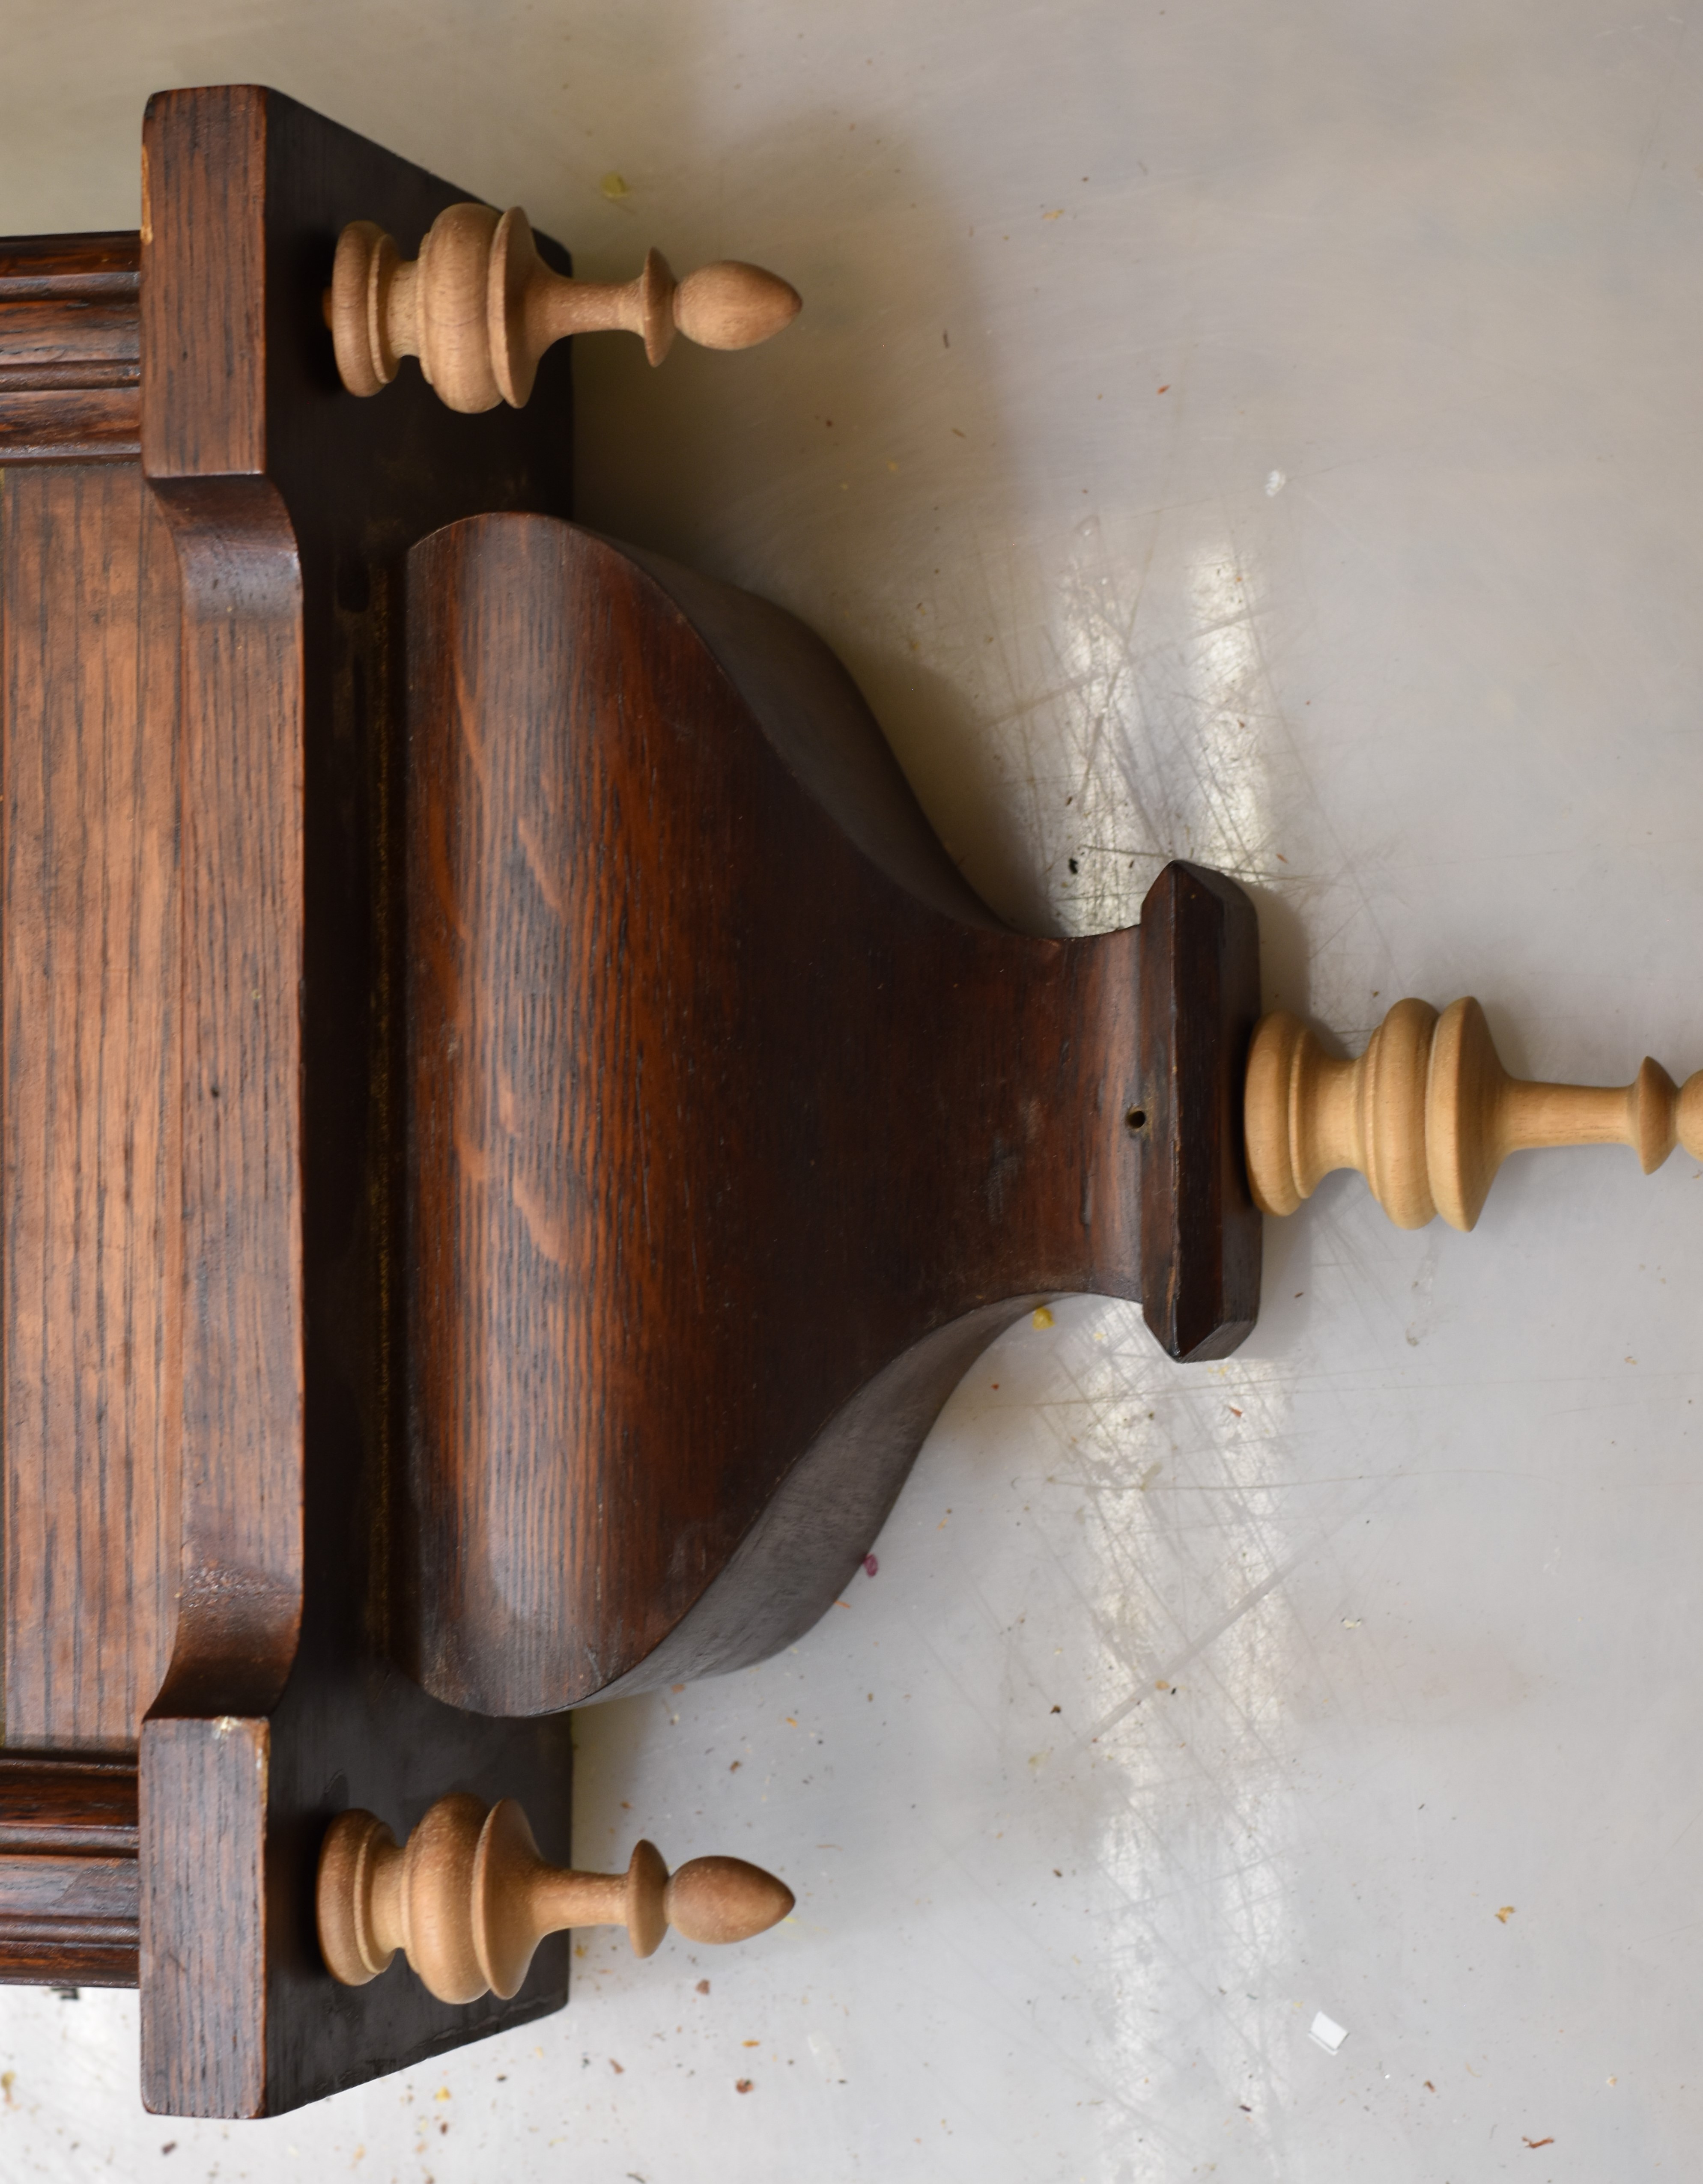
Crown with finials
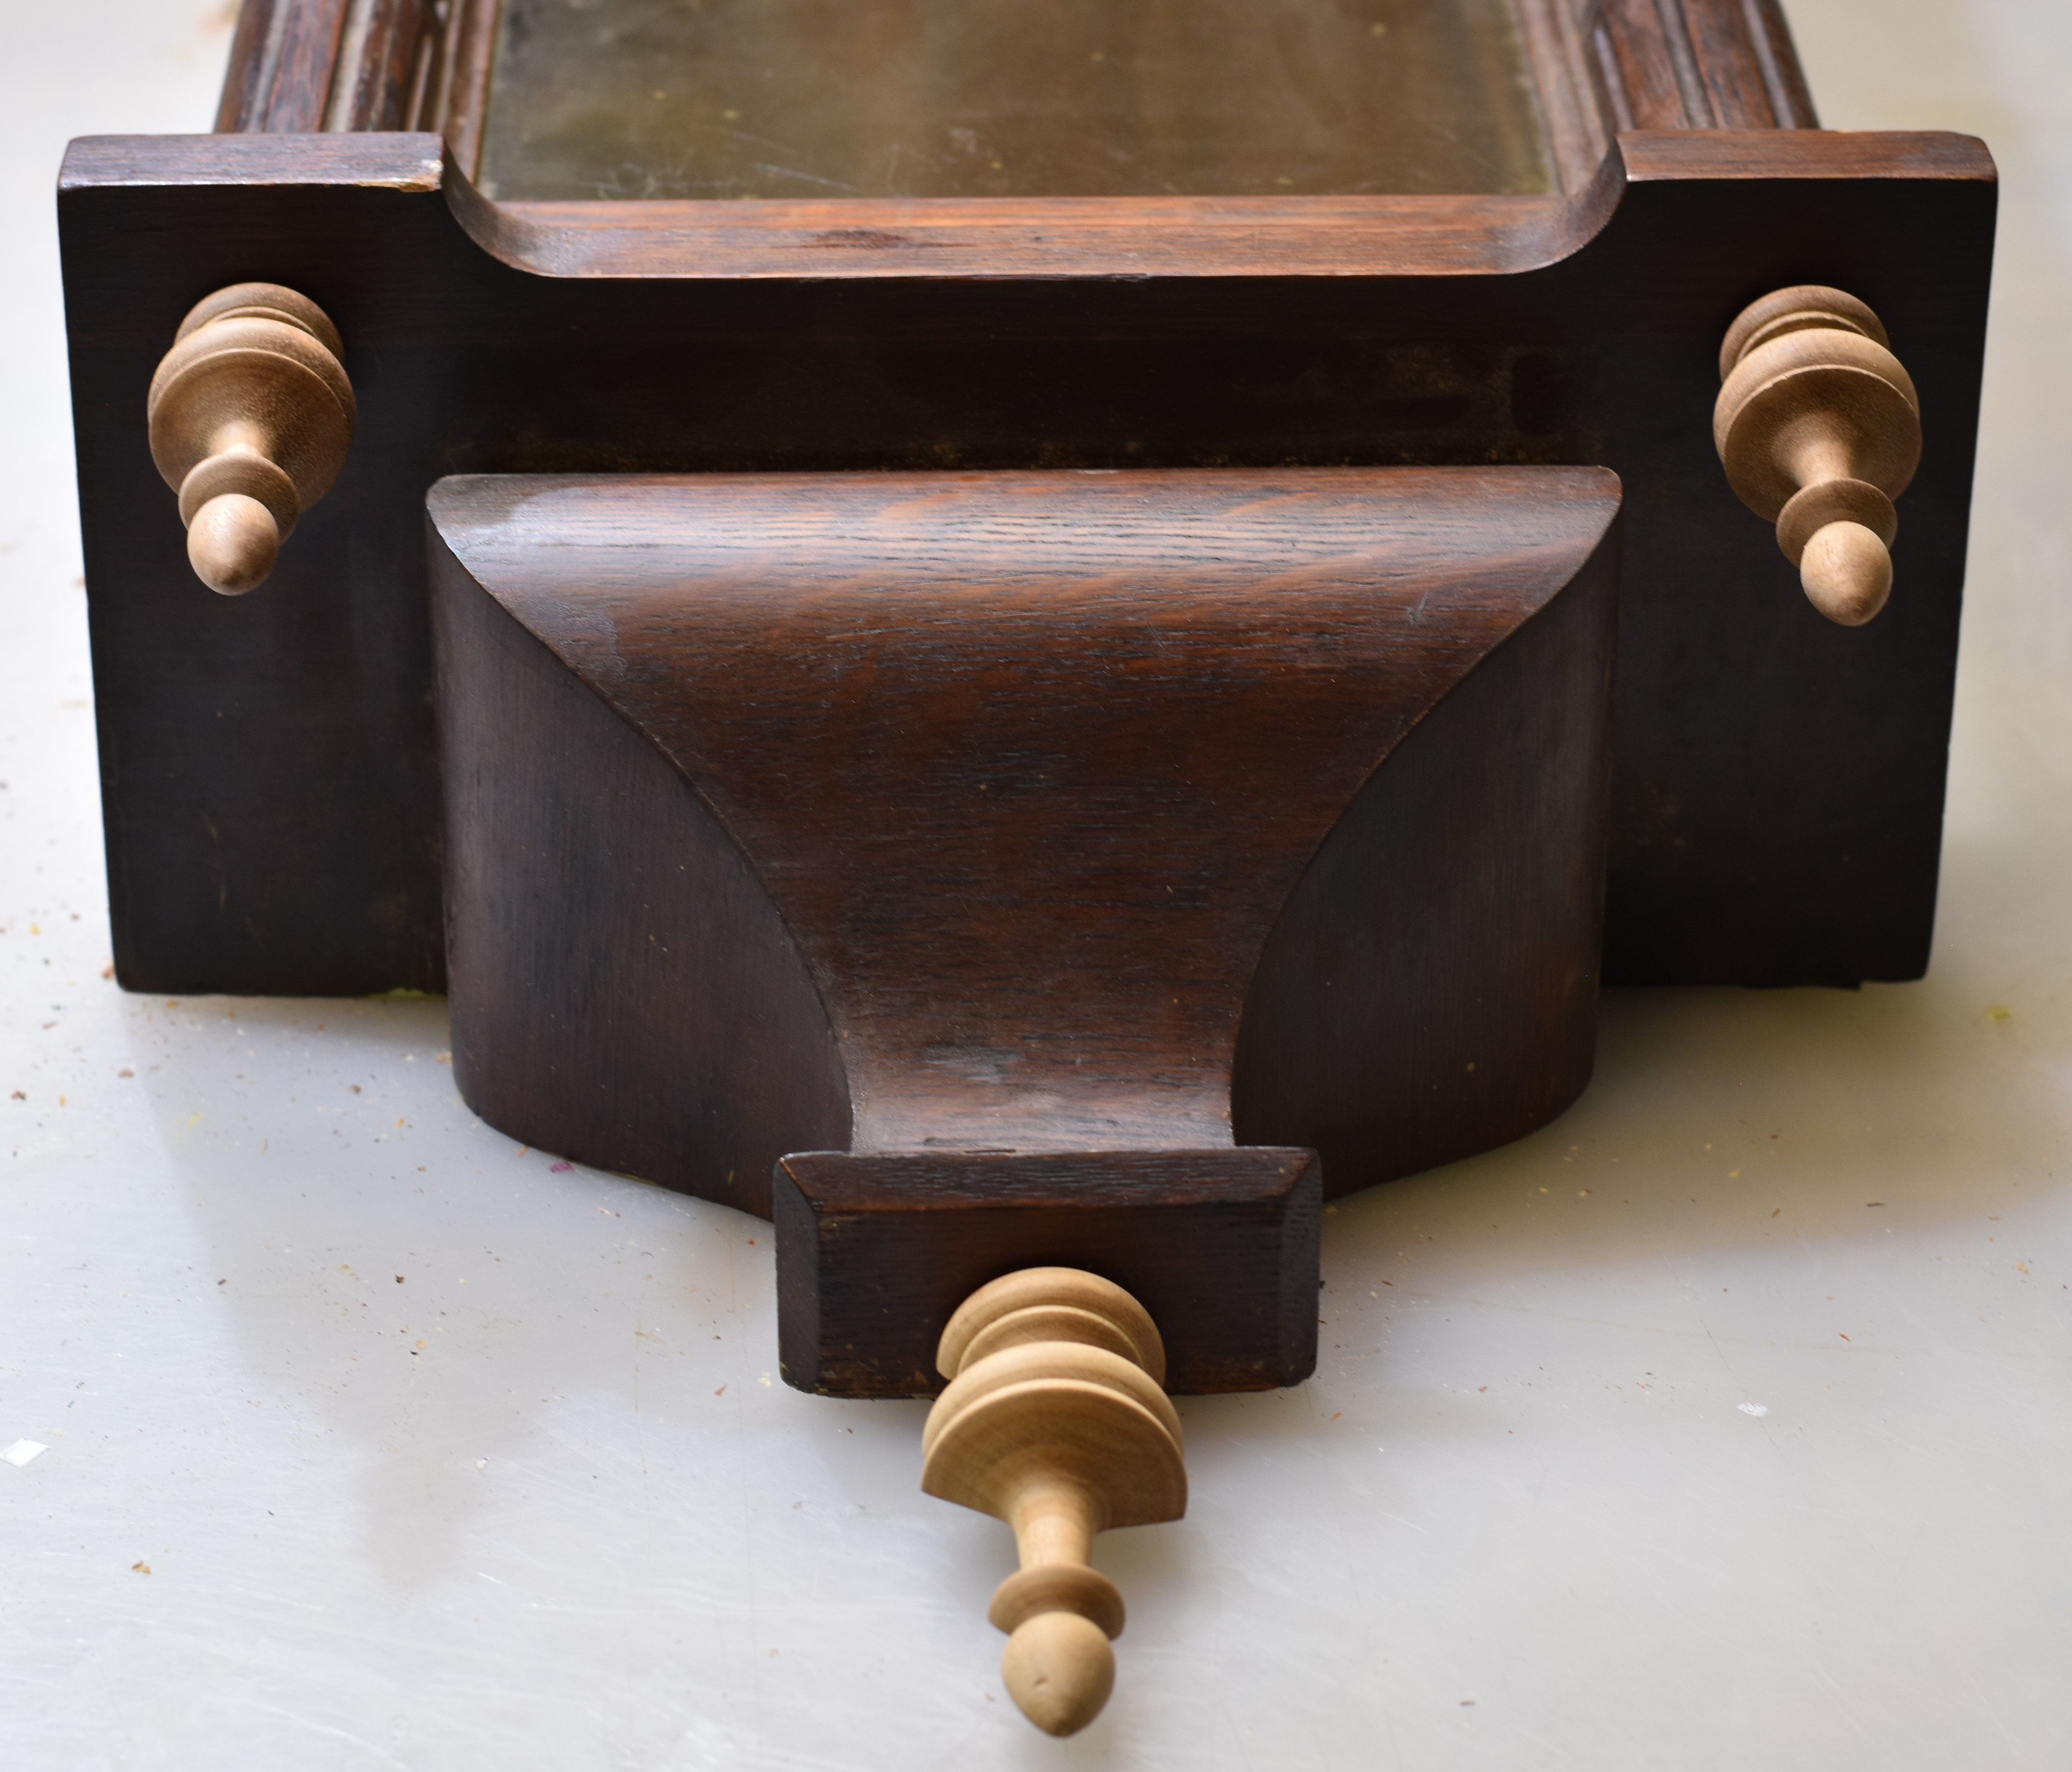
Bottom of case with finials
Crown with finials close up details
Small crown finial close up
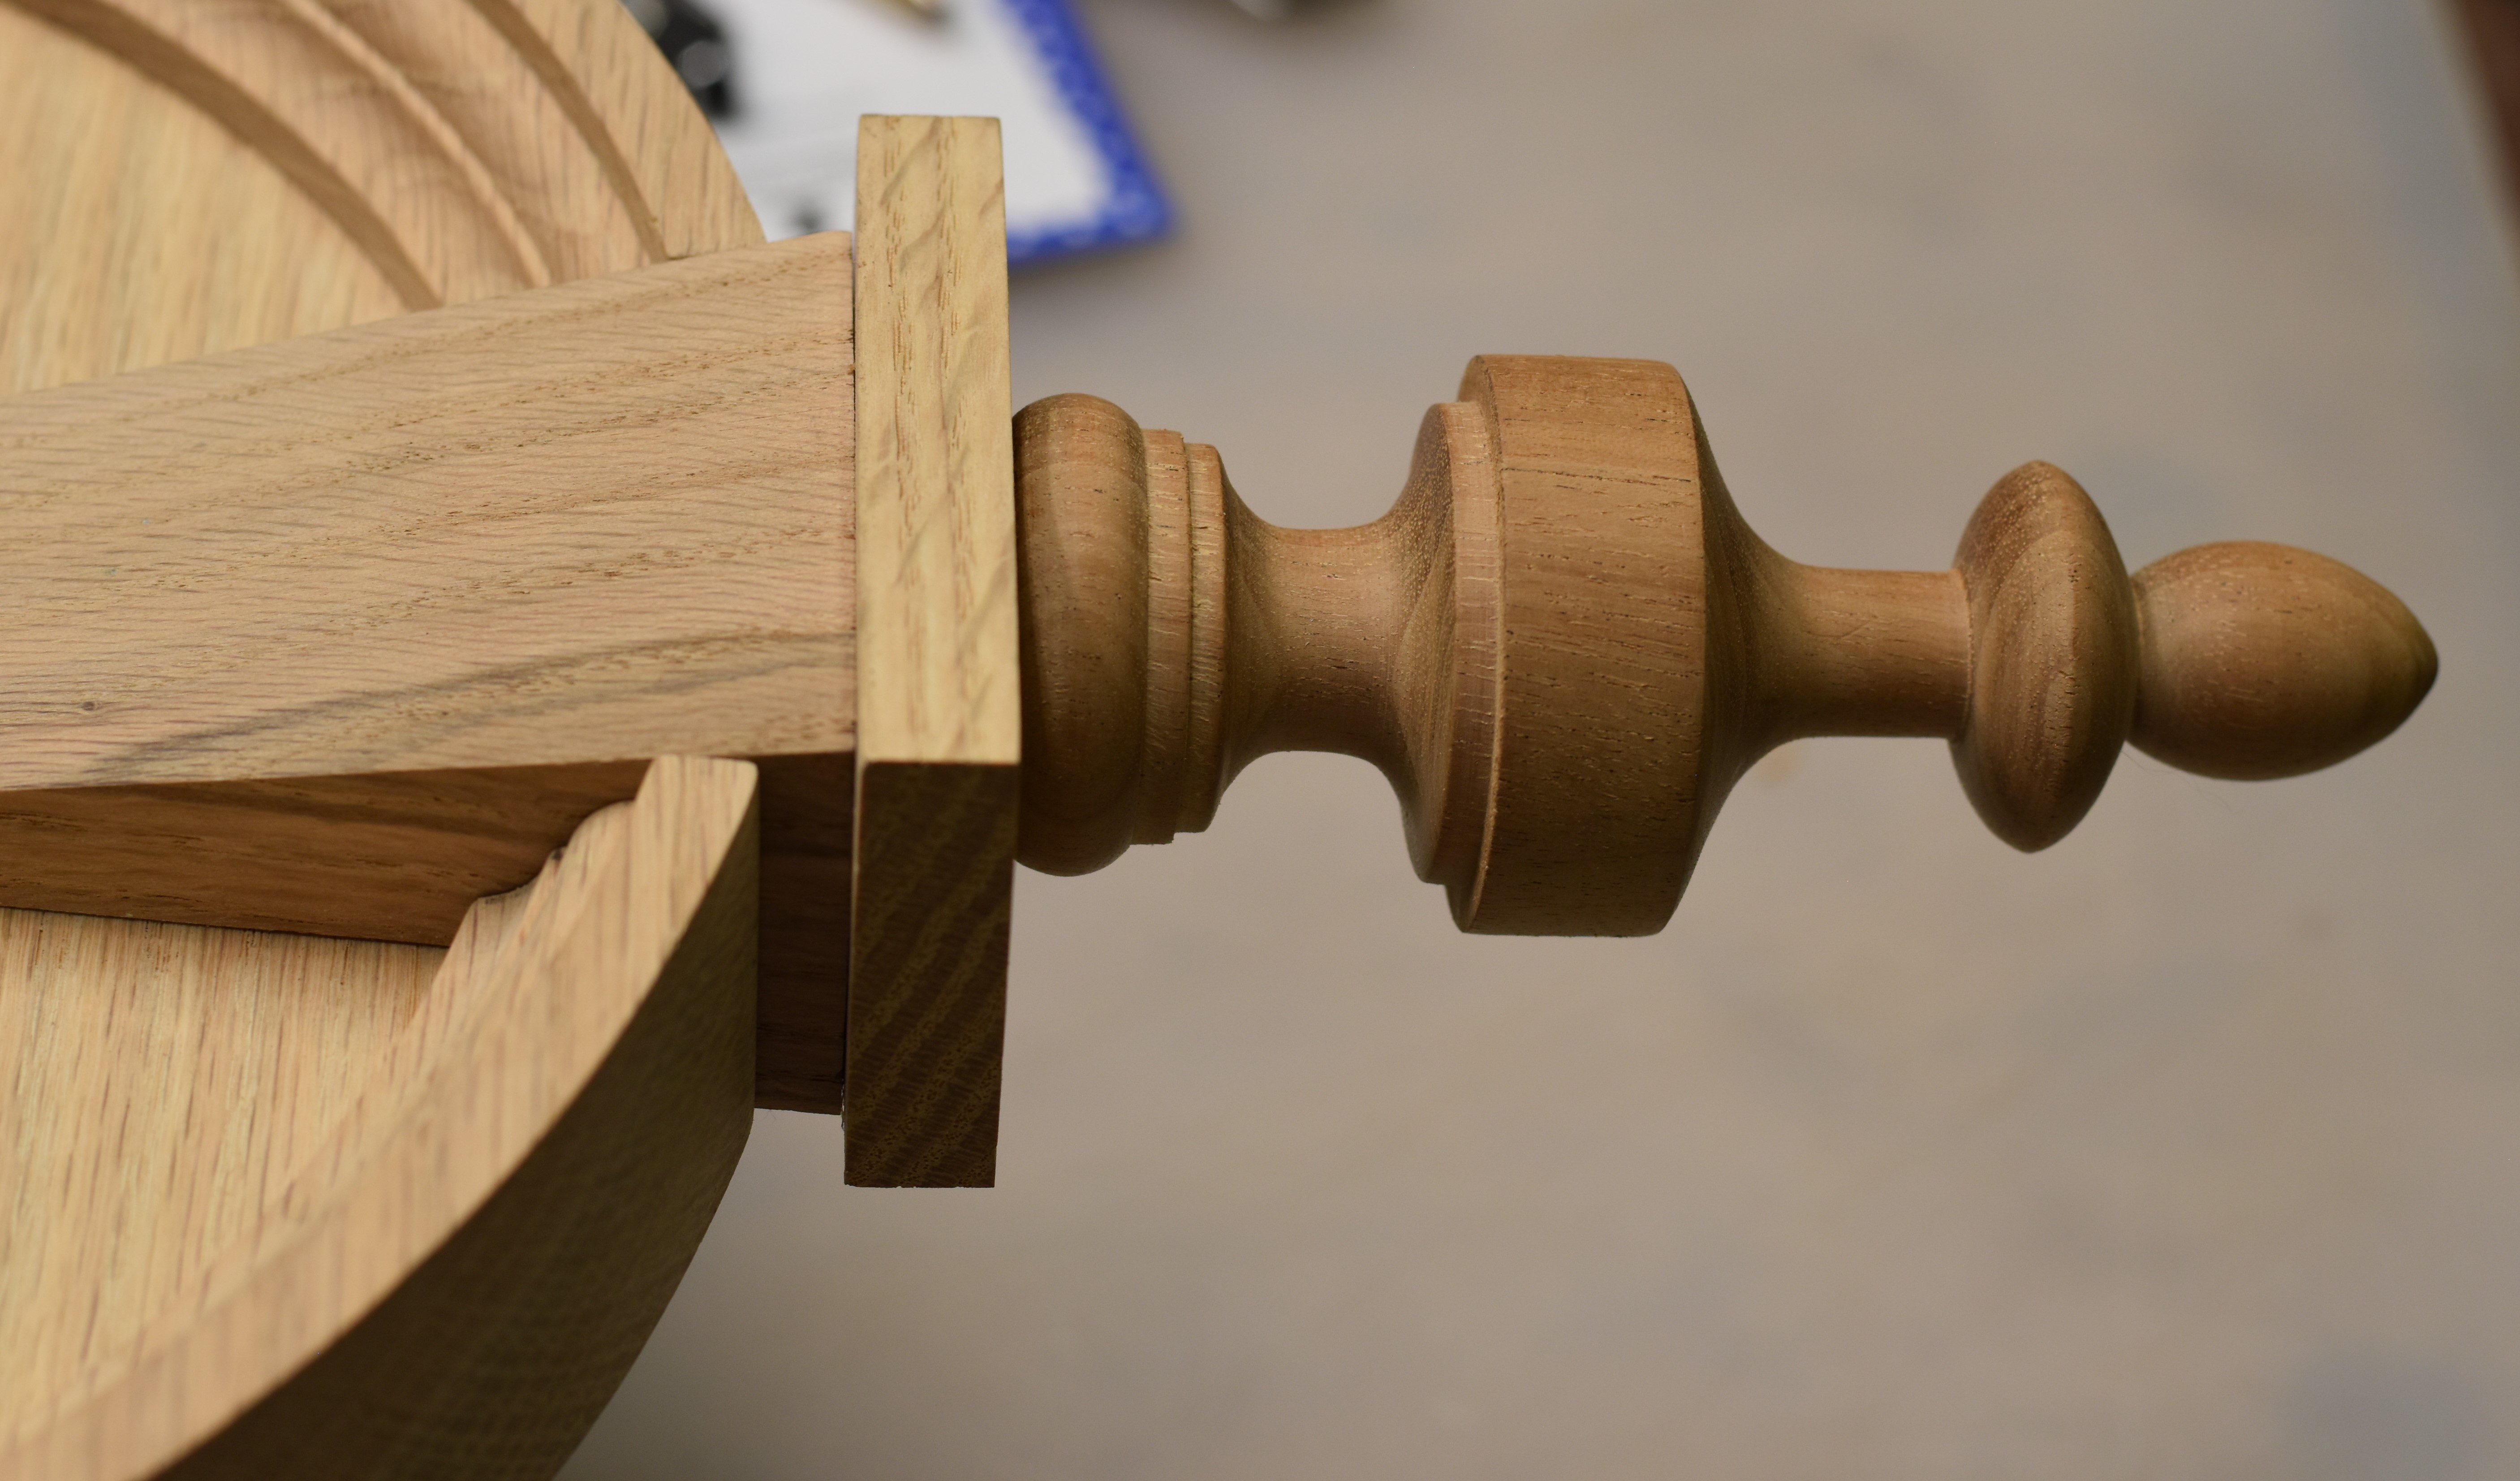
Crown center finial close up
Bottom finials close up view
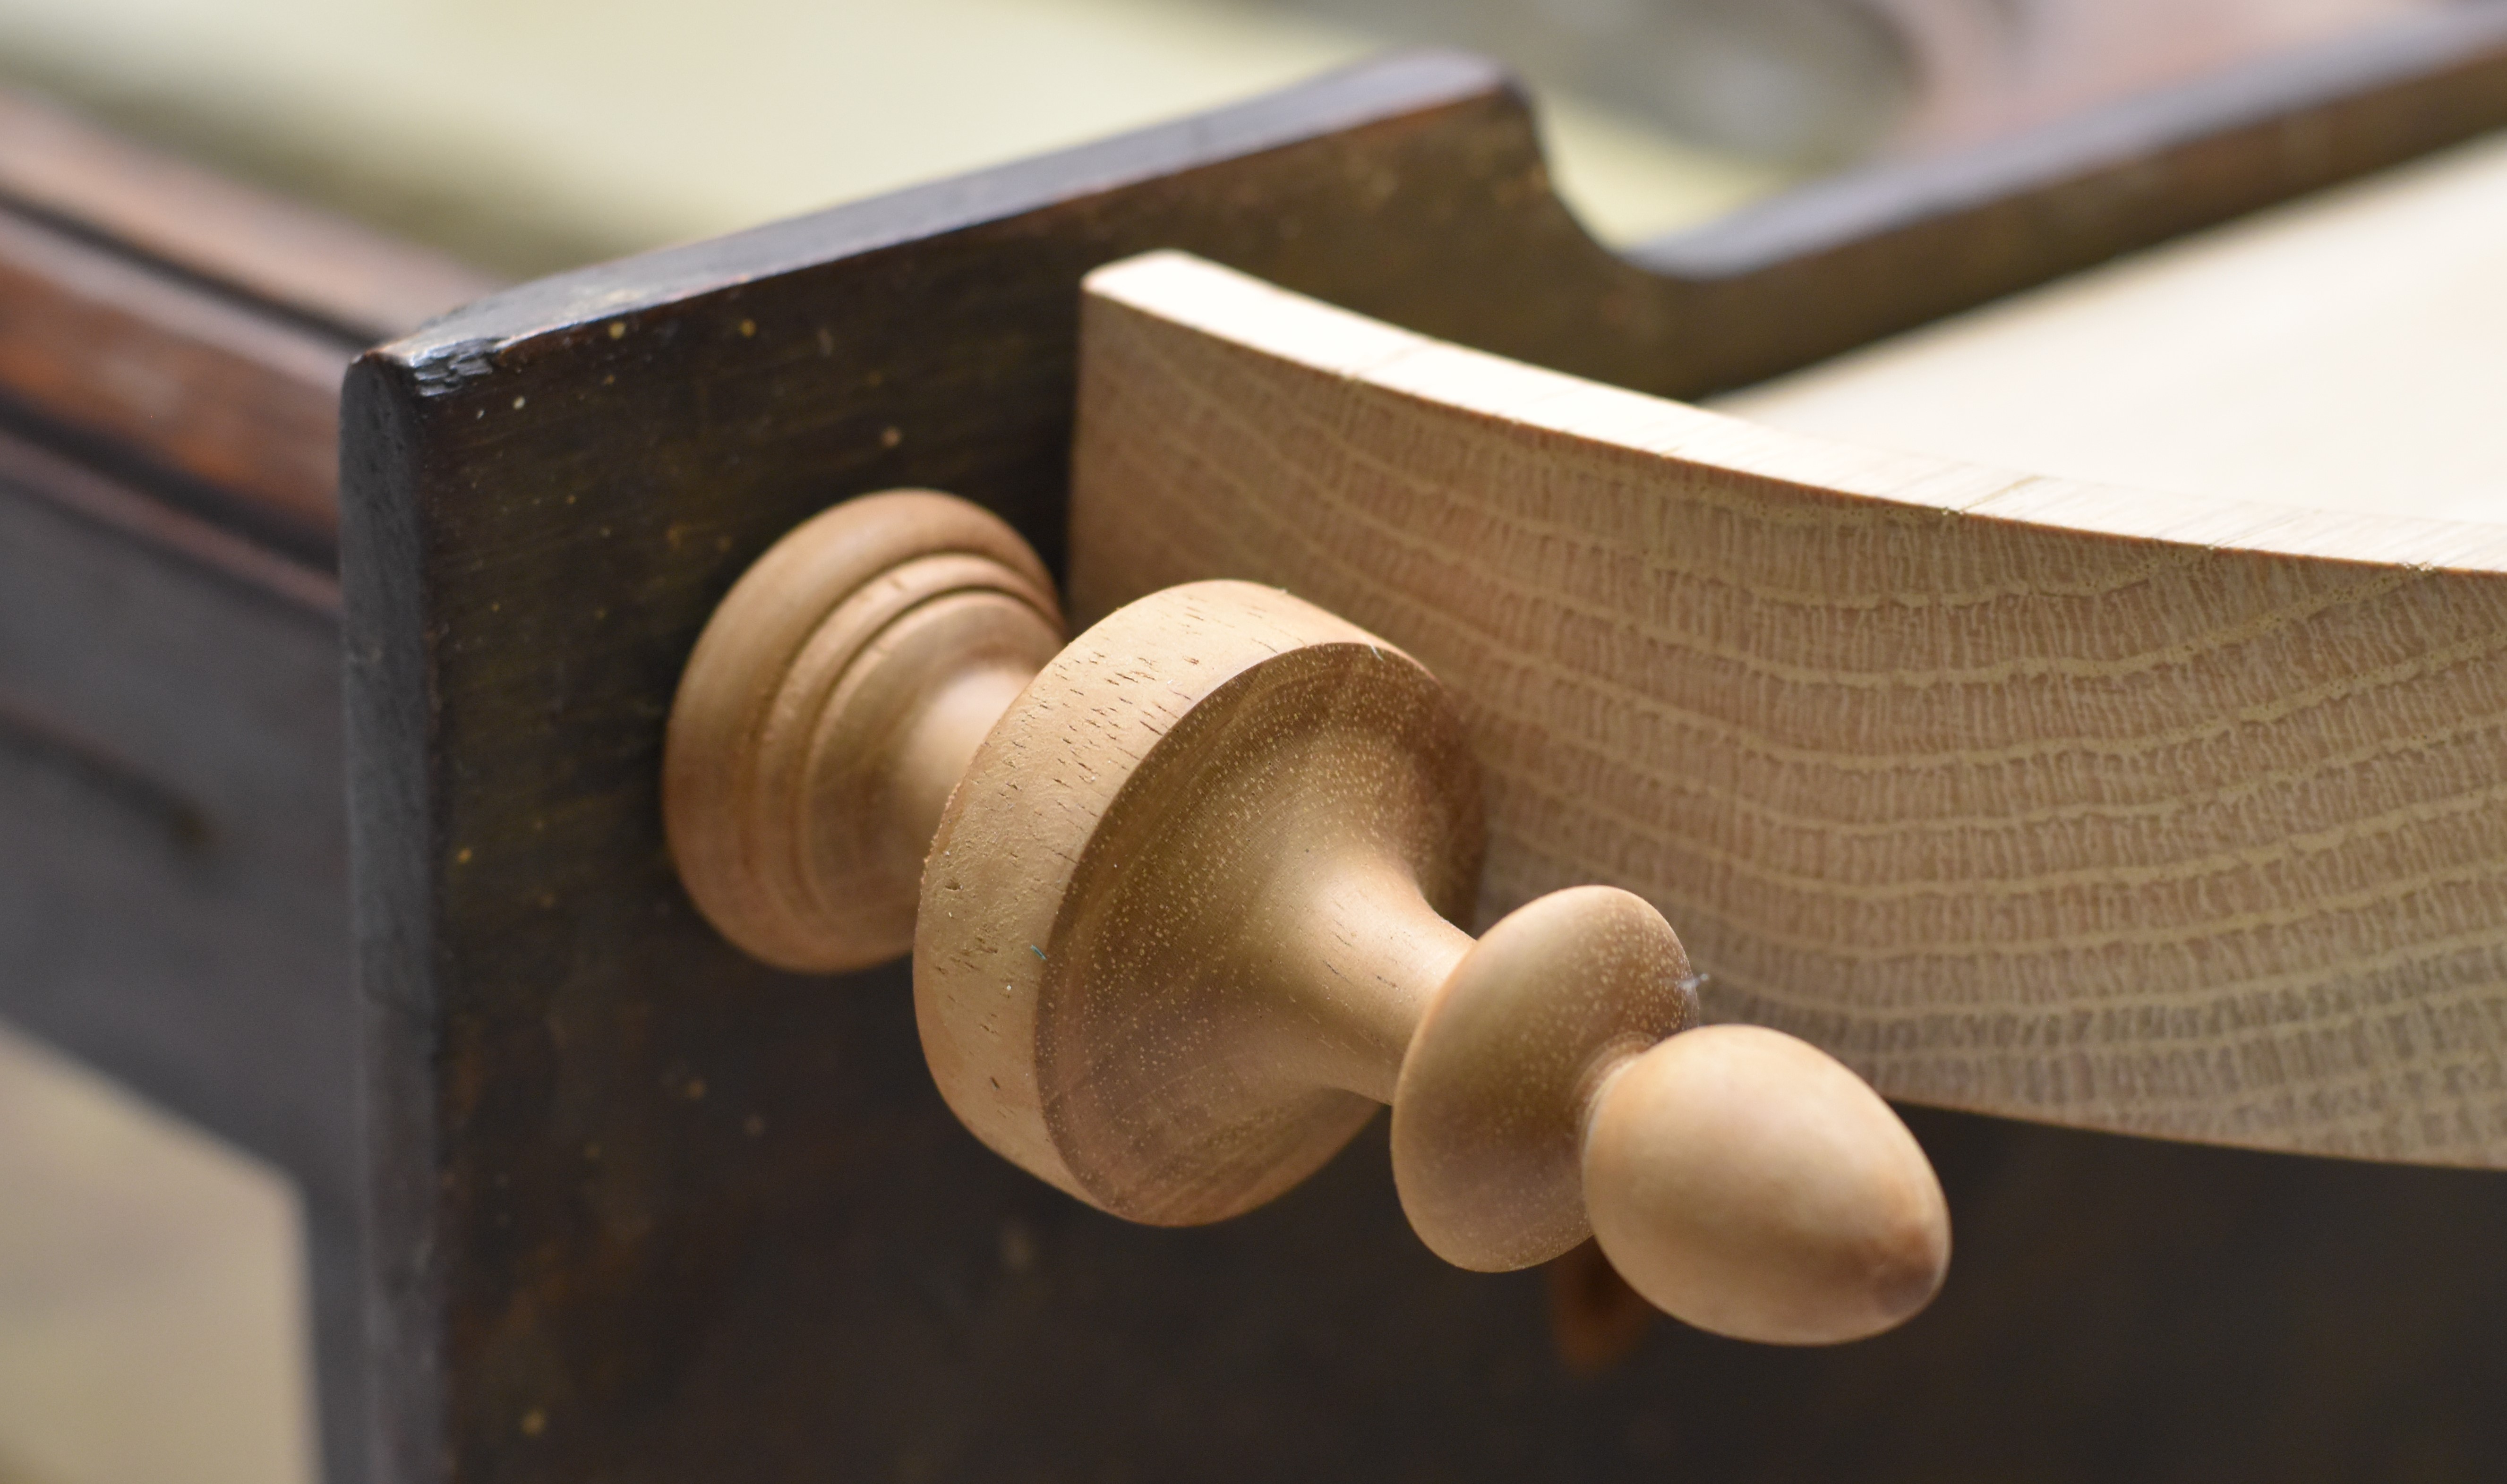
When the finials are turned, the dowels that are used to connect them to the clock are turned so they are loose. This allows for tape or other material to be placed around the dowels to make the fit tighter so they do not fall out. The reason for some of the damage to the old clocks was because the finials were damaged when moving the clock. When the finials can be removed before moving the clock, the pieces survive much better. The image below shows how the dowels are turned slightly smaller, and you can see it drooping slightly because of the smaller size. Once the finish is applied and the tape is applied, the finial will fit perfectly and can be removed when the clock needs to be moved, making damage much less likely.
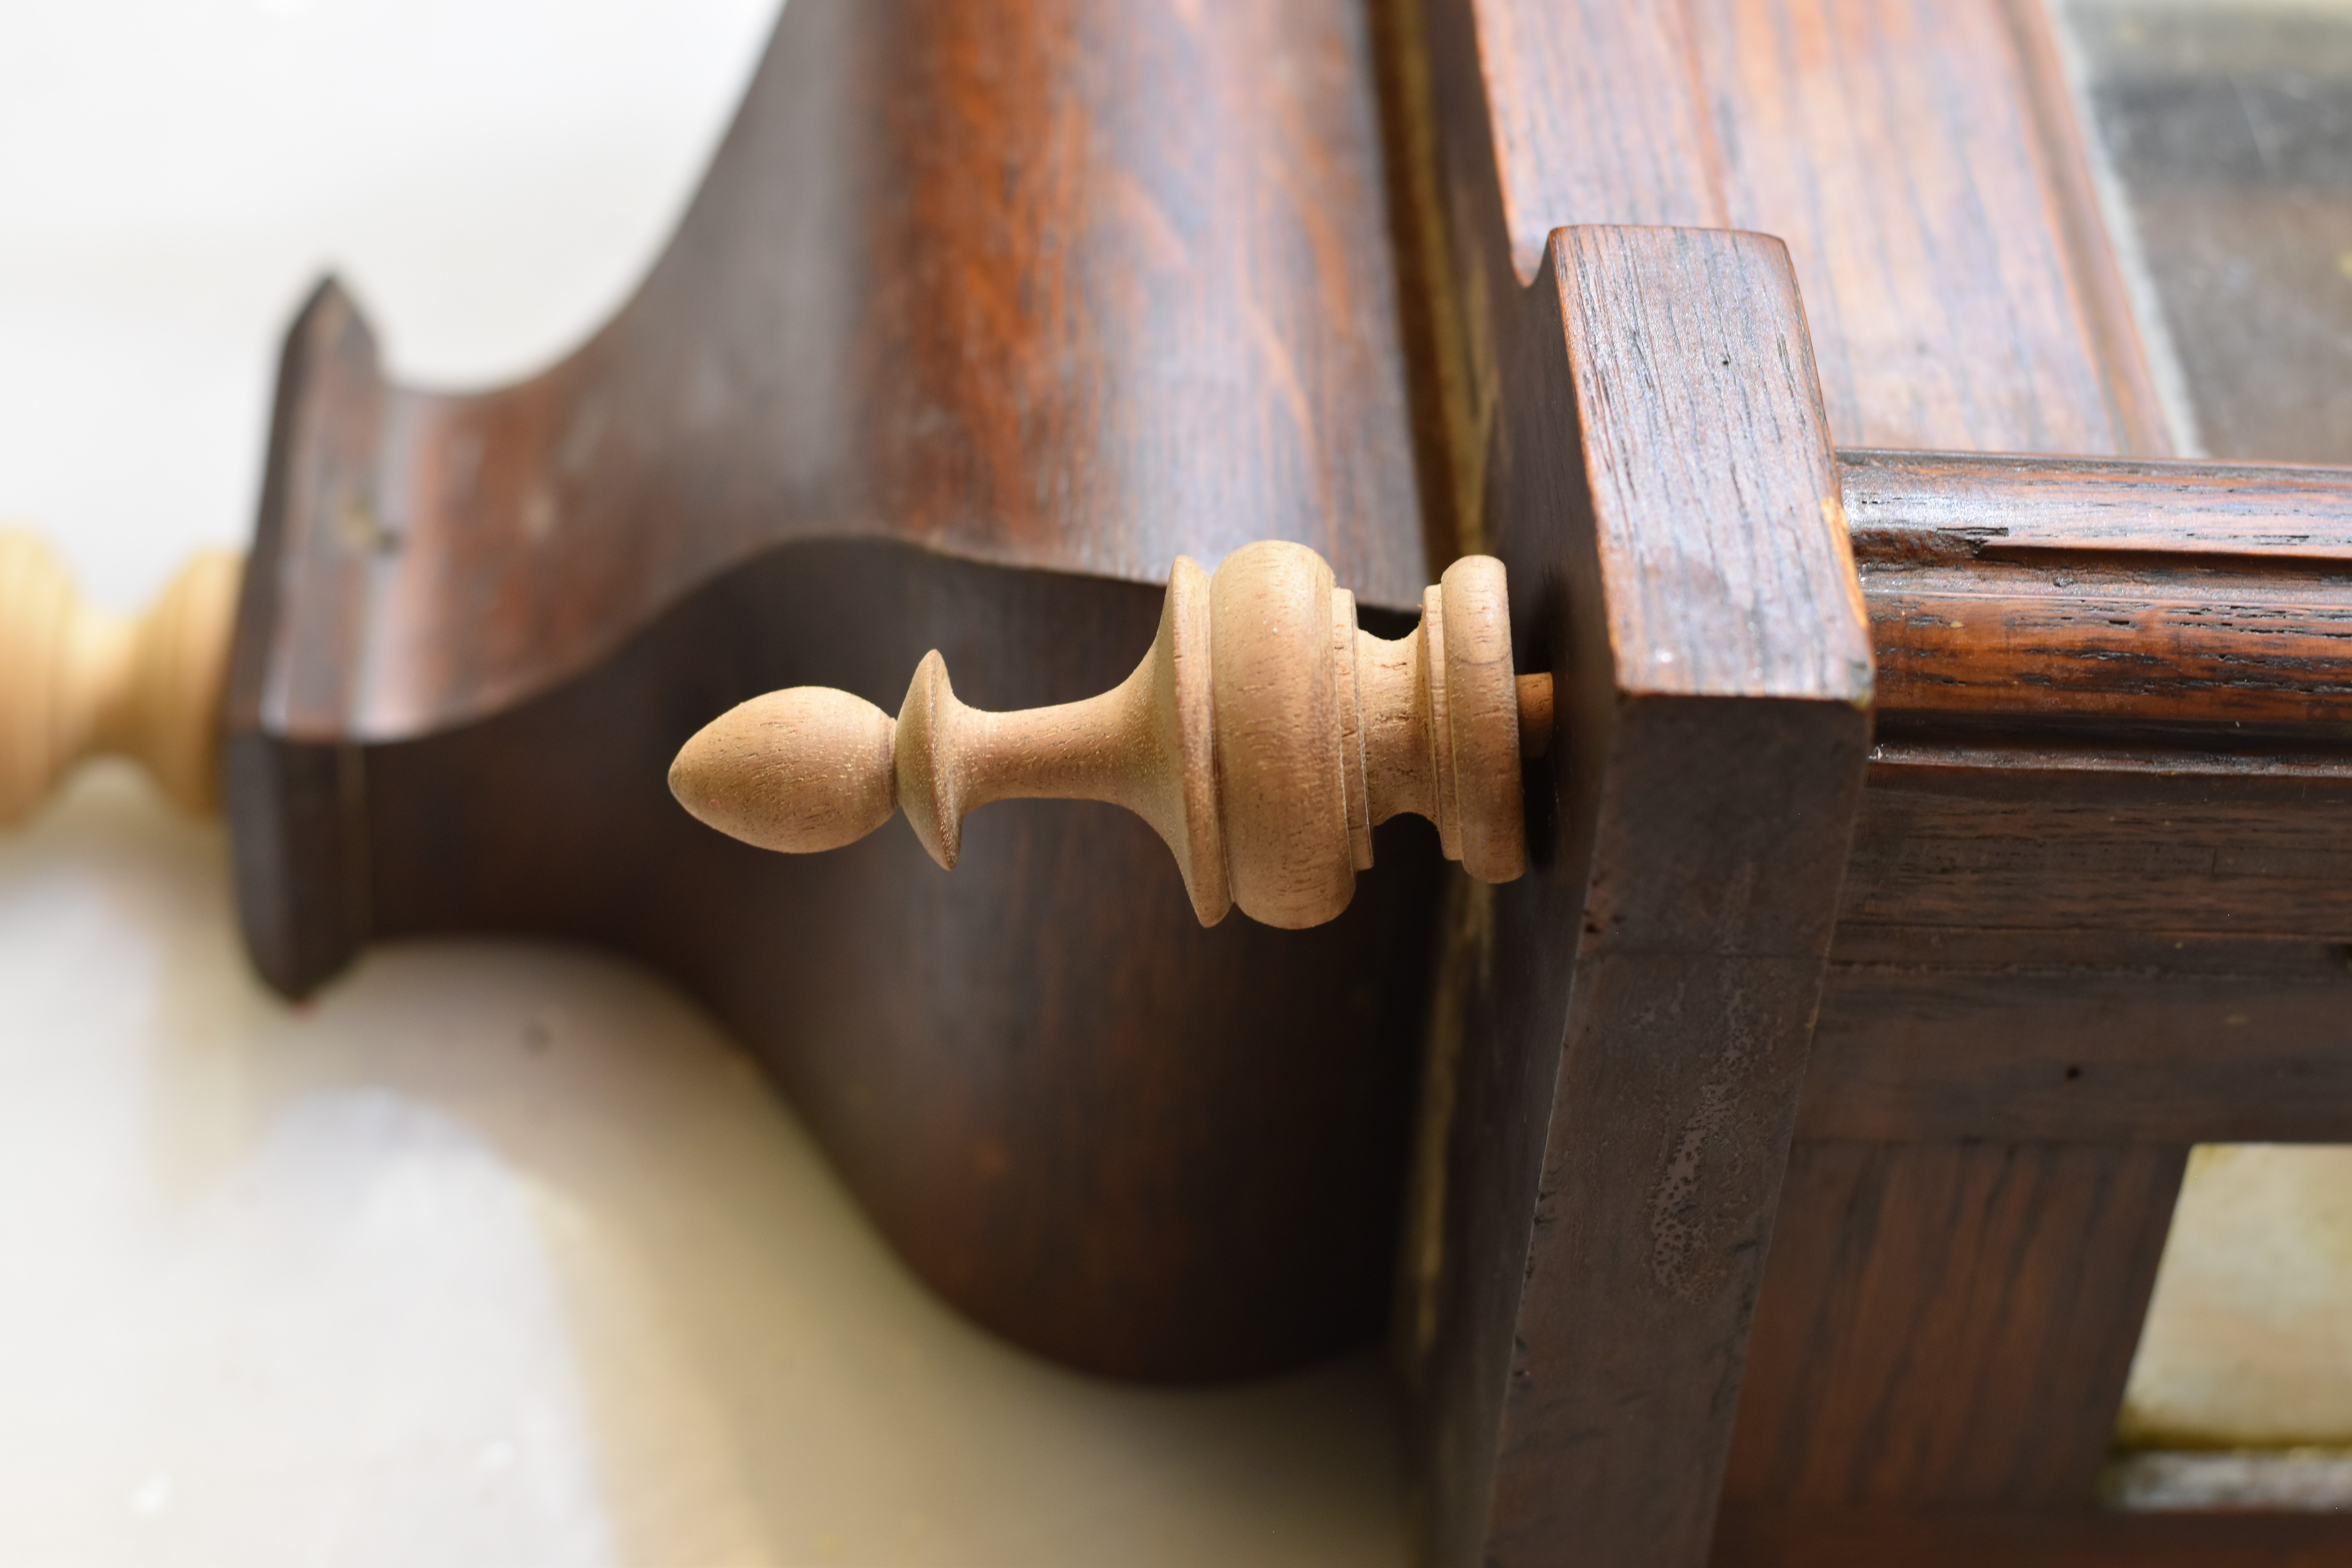
Bottom finial close up
