

Windsor Chair Class has Started!
Class started this evening for my Windsor Chair journey. I will post throughout the week about the progress of making my very first chair! This project is at the top of my woodworking bucket list, so I am very excited to start the project. I will post some additional information after I return from the second part of class this evening.
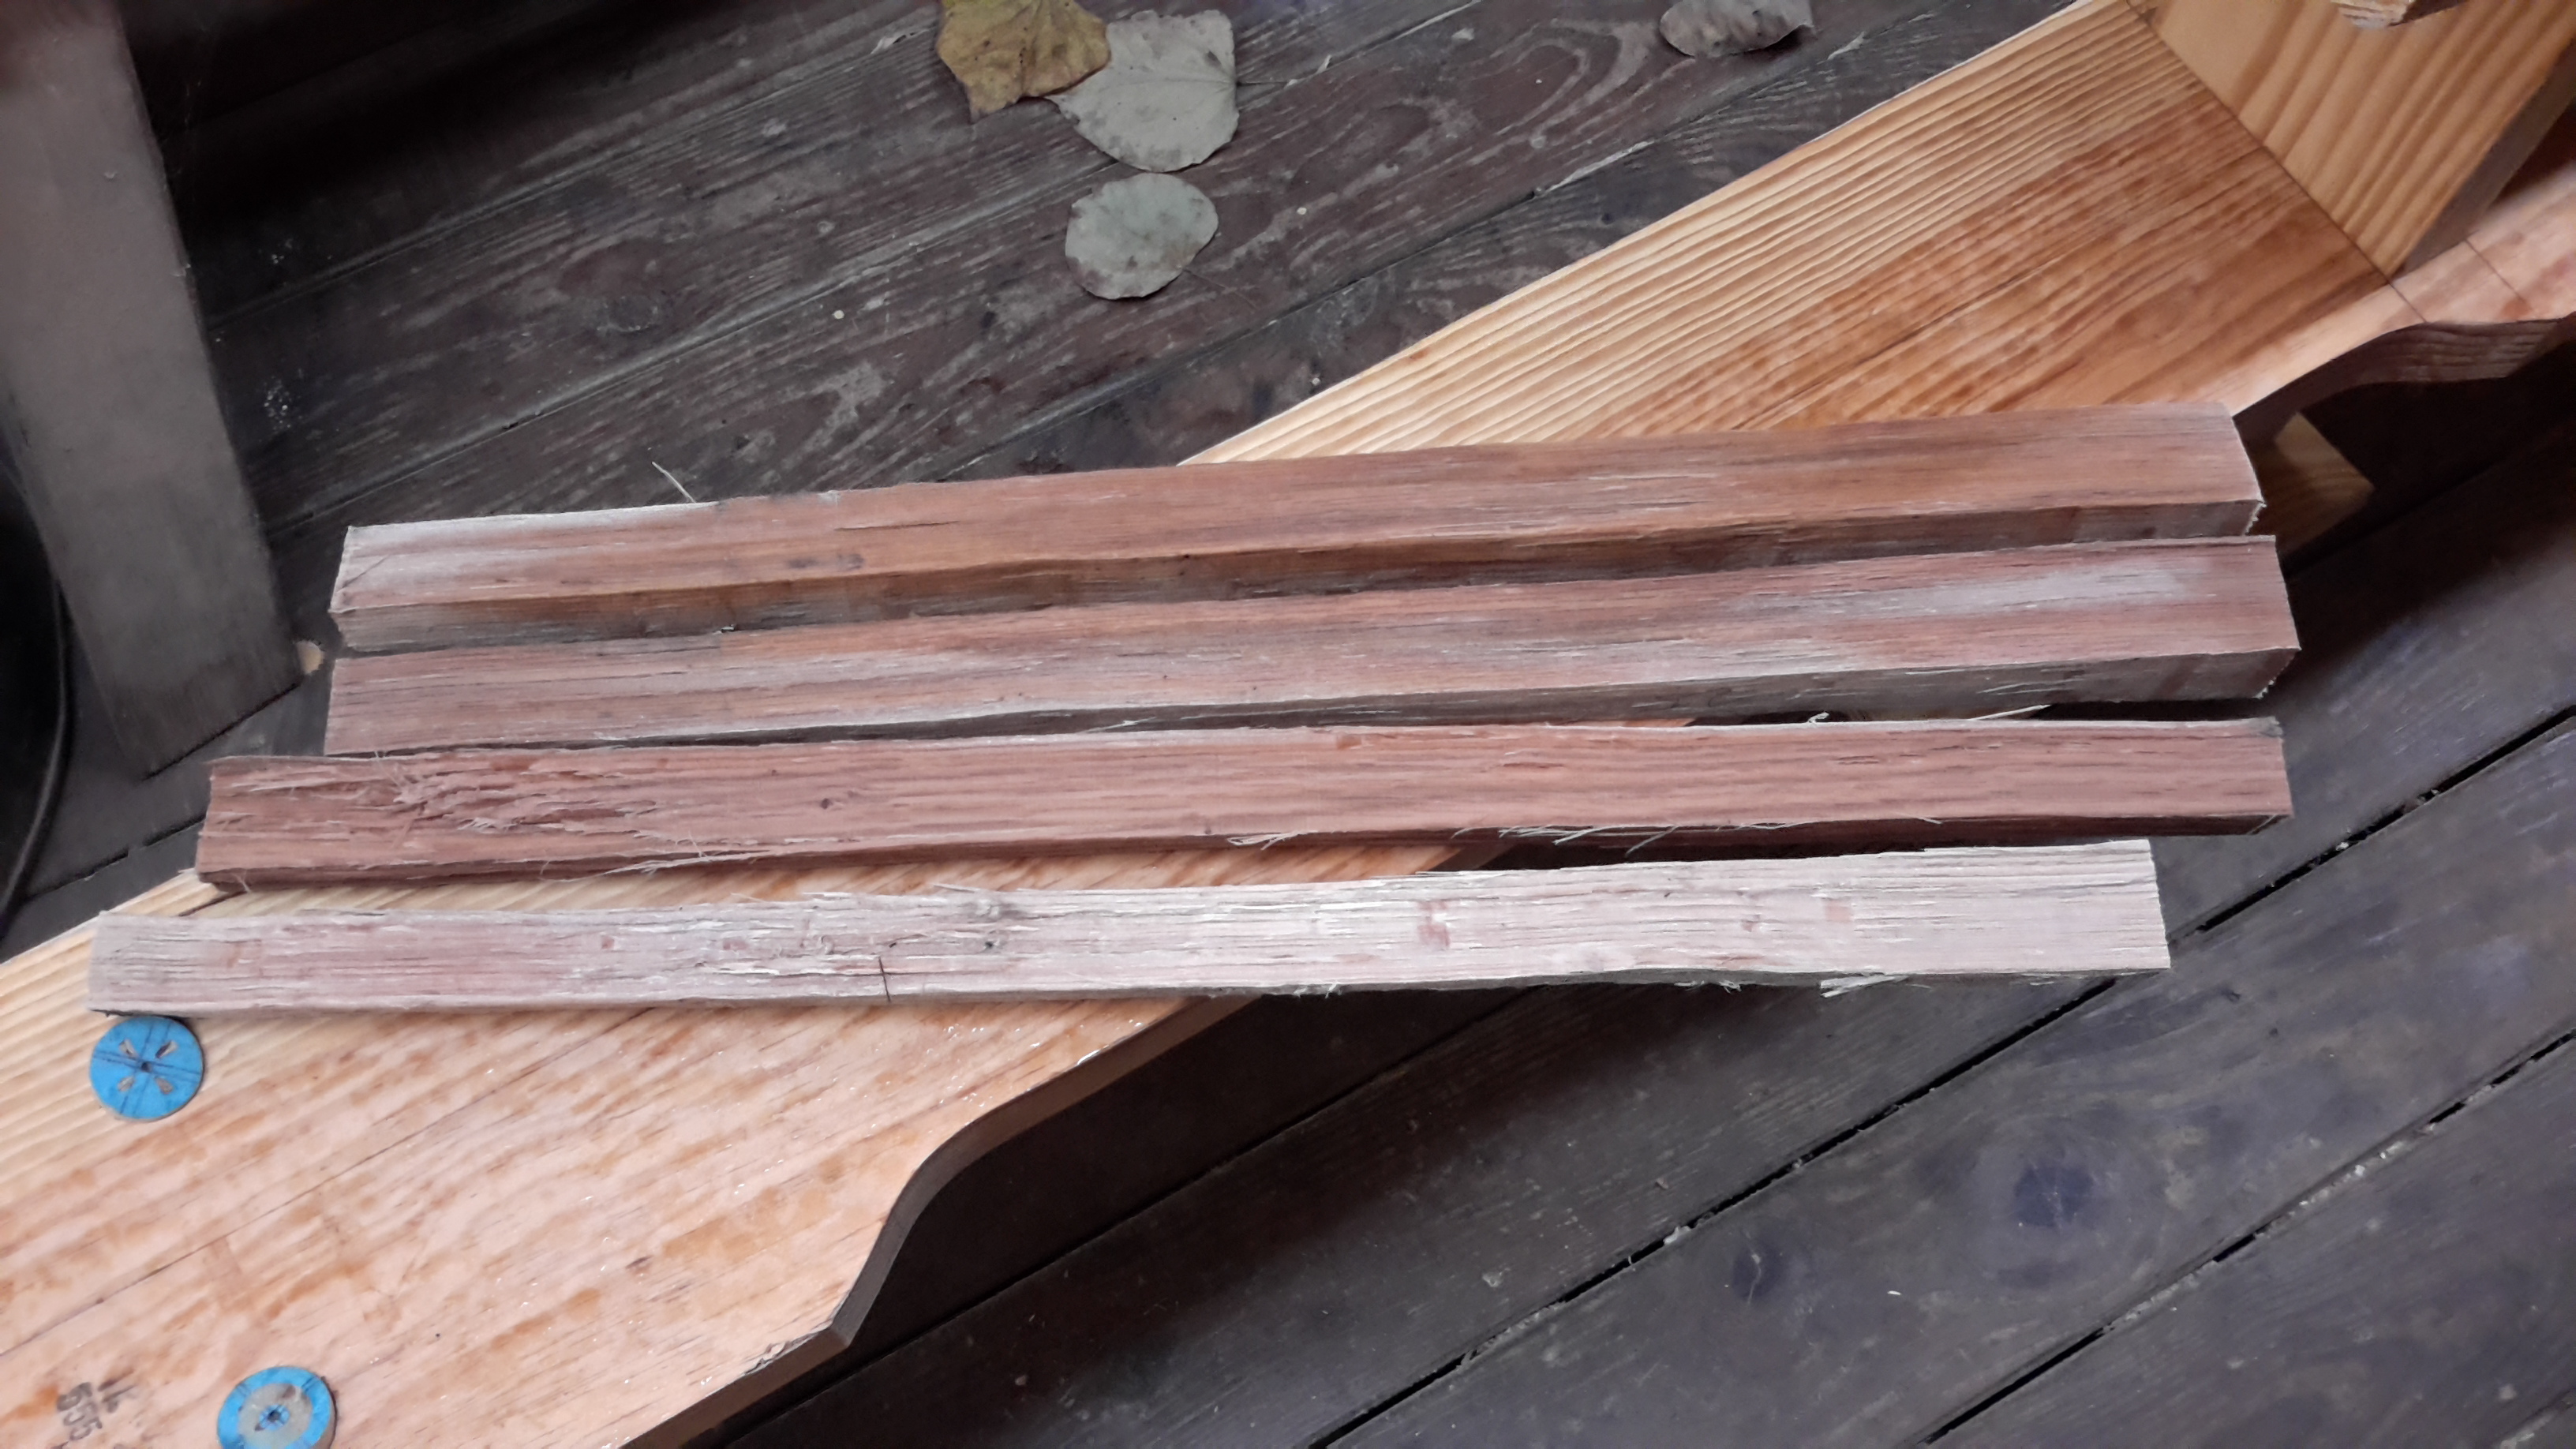
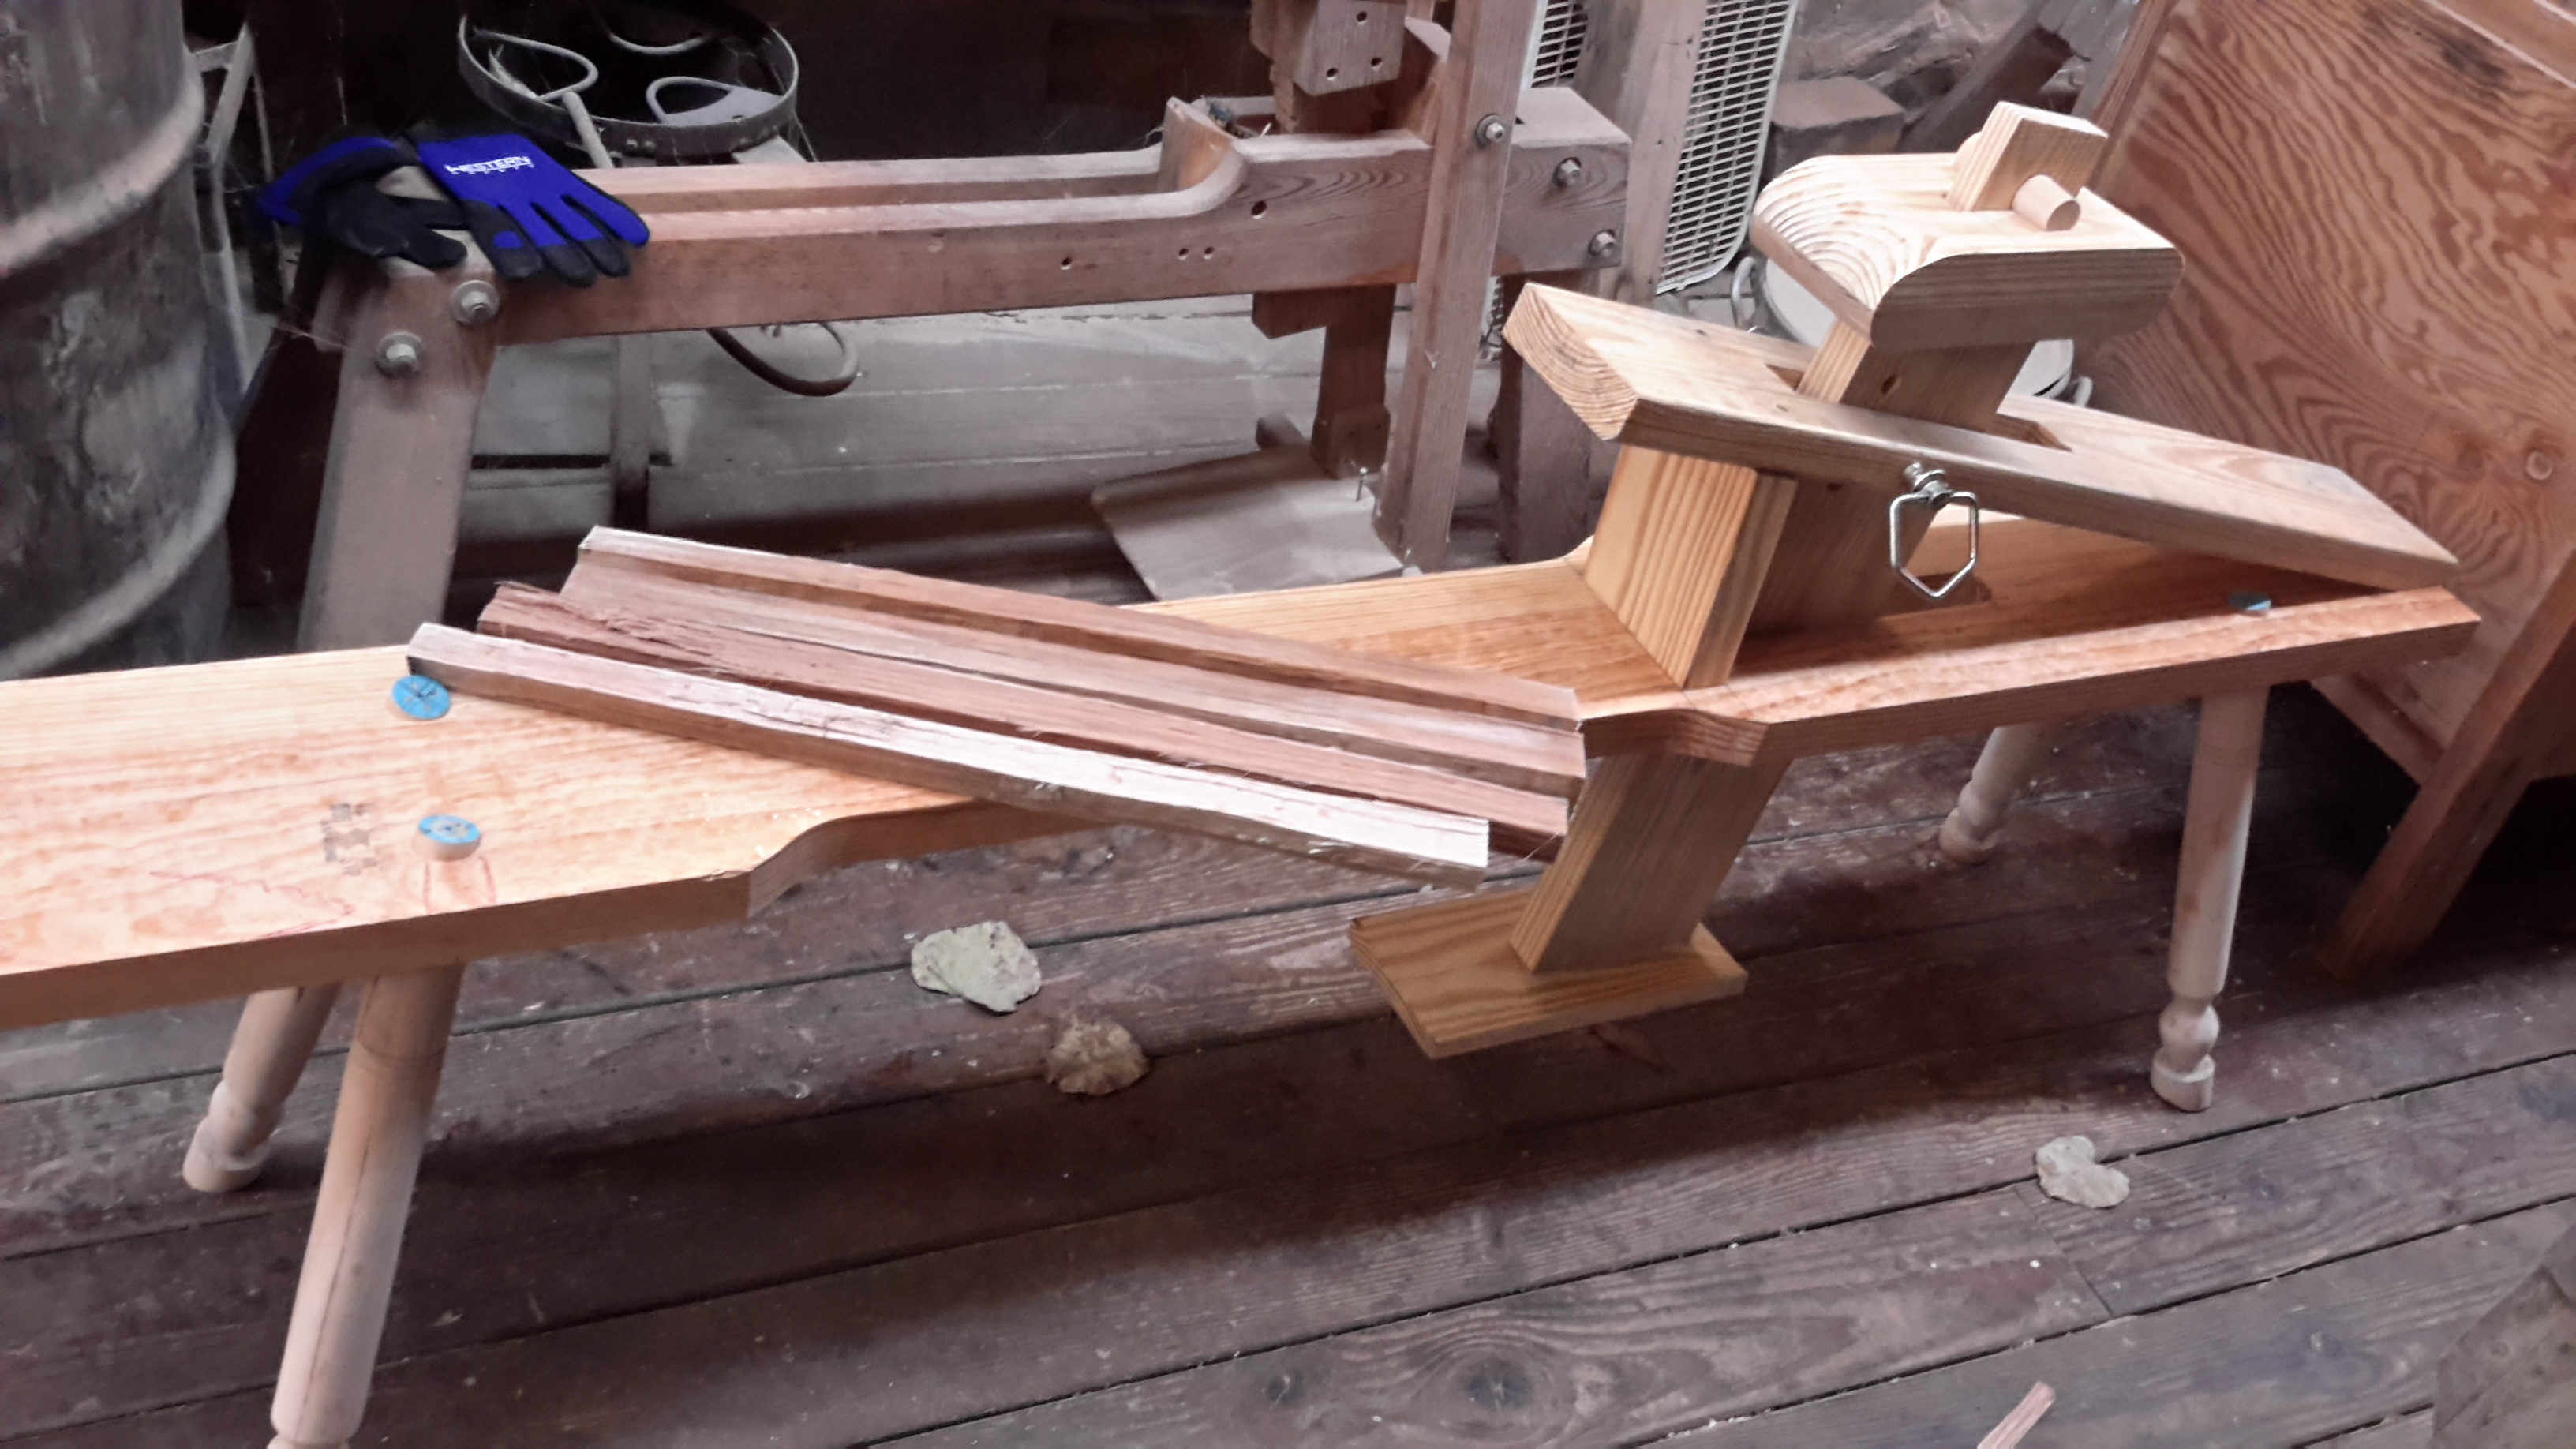
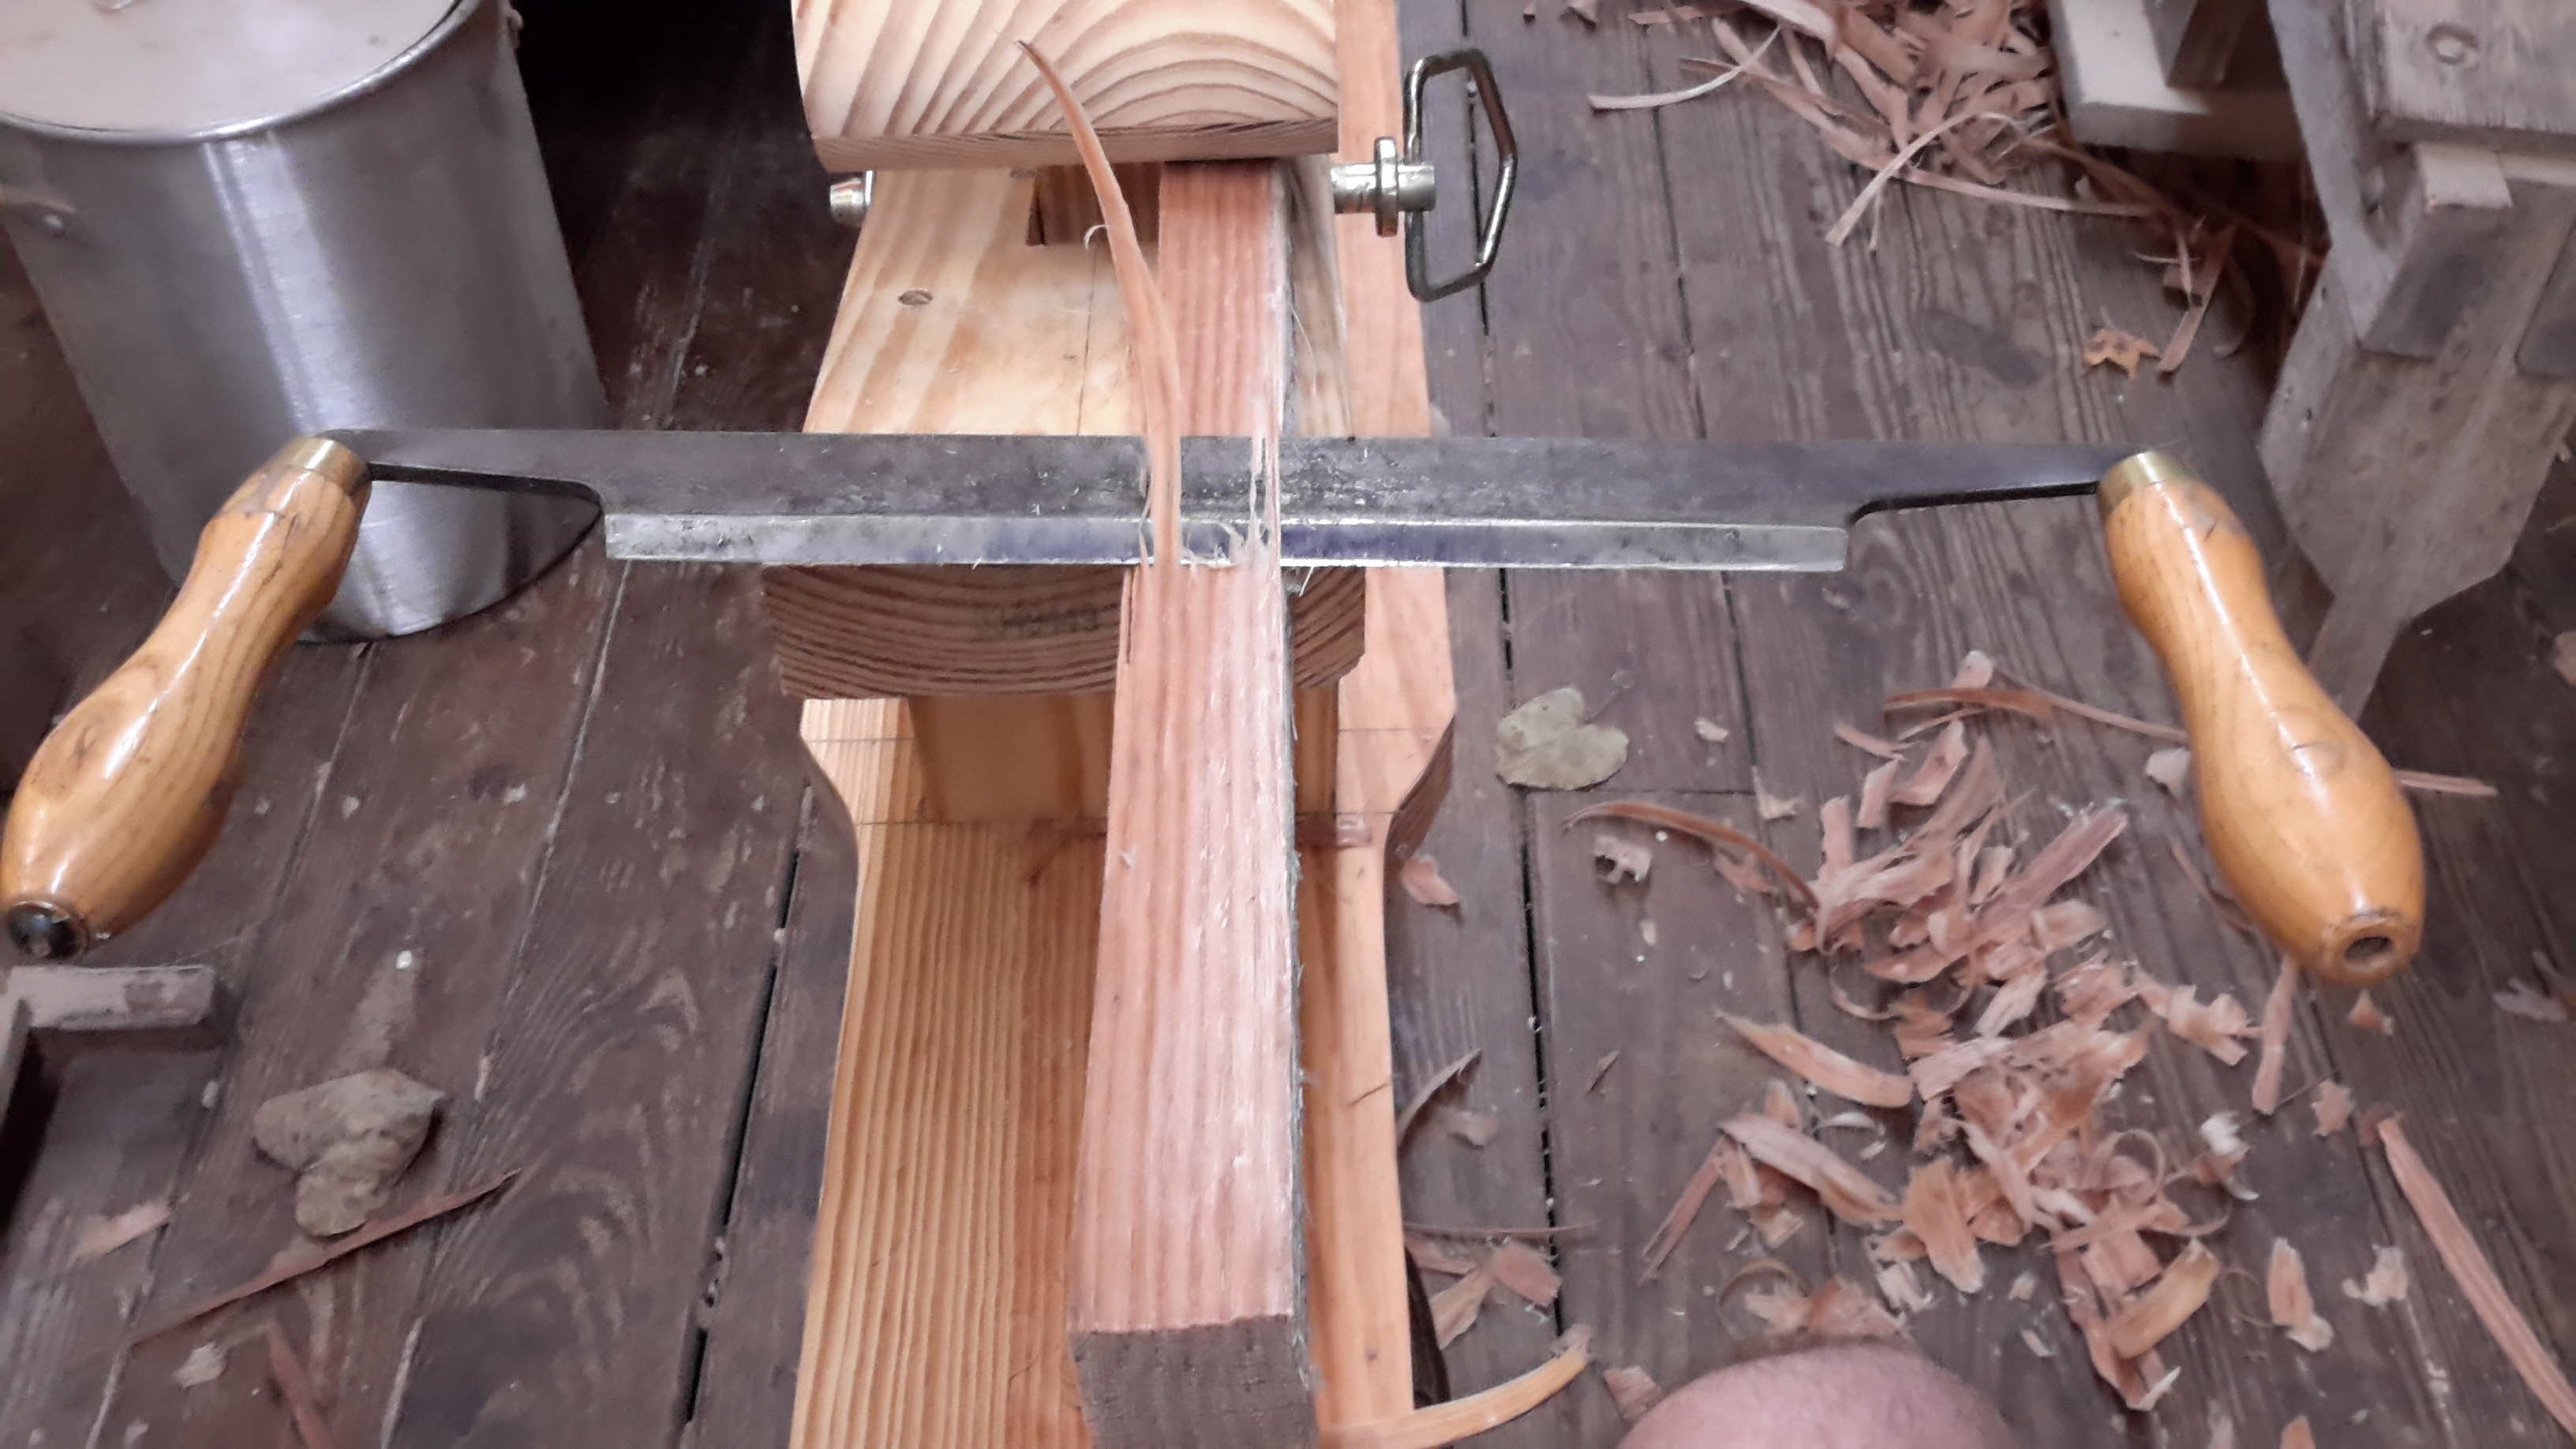
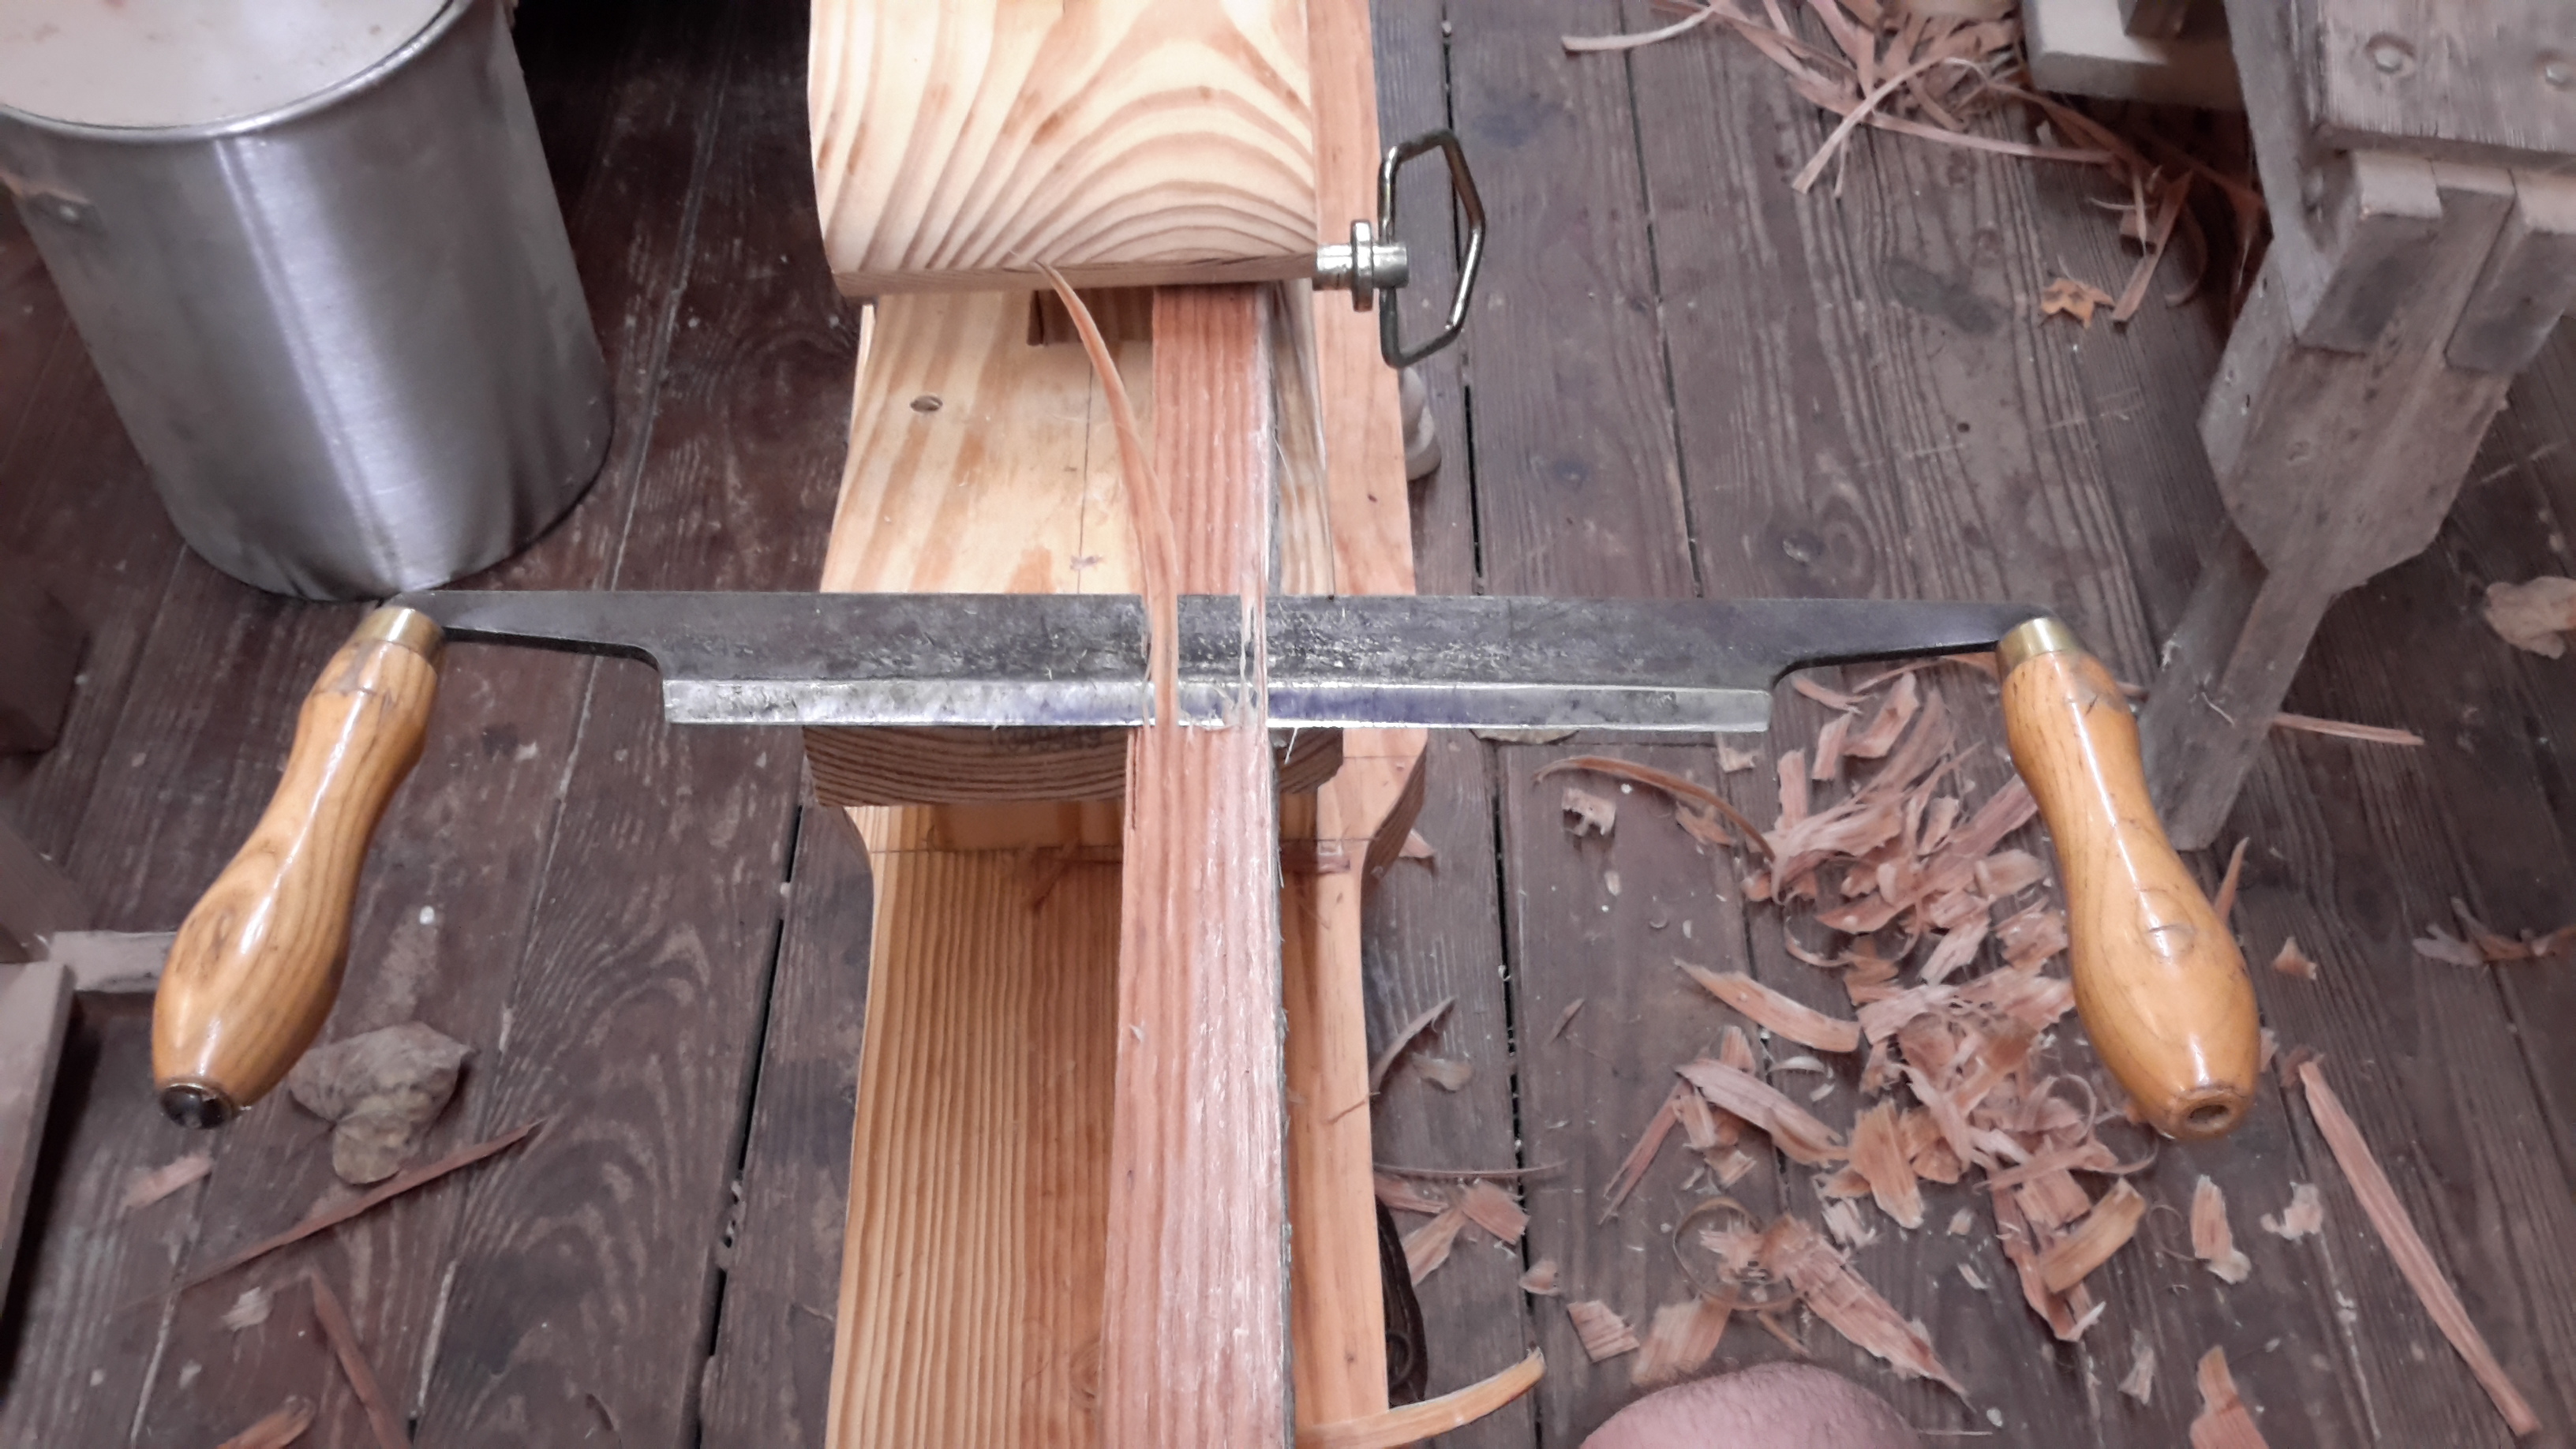
So this class is going to be a testament to hand strength, and physical labor. Taking a chair and making one from a log is hard work! Tonight we took riven staves from an oak log, and we used drawknives to shape them into chair pieces from the green wood. These pieces will fit in the back of the chair and support the continuous arm around the back of the chair. These are approximately 25 1/2 inches long, and anywhere from 2 inches square to 1 inch square. They are freshly cut from the tree, so they are soaking wet! We took the riven staves and we worked them on our shaving horses, until they were approximately 9/16″ at the bottom and around 7/16″ at the top of the stave. You can see the shape that starts around the 8″ mark from the bottom of the stave where the beautiful design element of the Windsor chair comes into play. We need at least 11 of these for a chair! I have strong hands, but this is even taxing me for hand strength and durability. More to come tomorrow.
Pictures of the staves in the raw state:
Picture of the staves on the shaving horse (I built this shaving horse in May with the chair instructor in another woodworking class):
The drawknife being used to shape the chair rods:
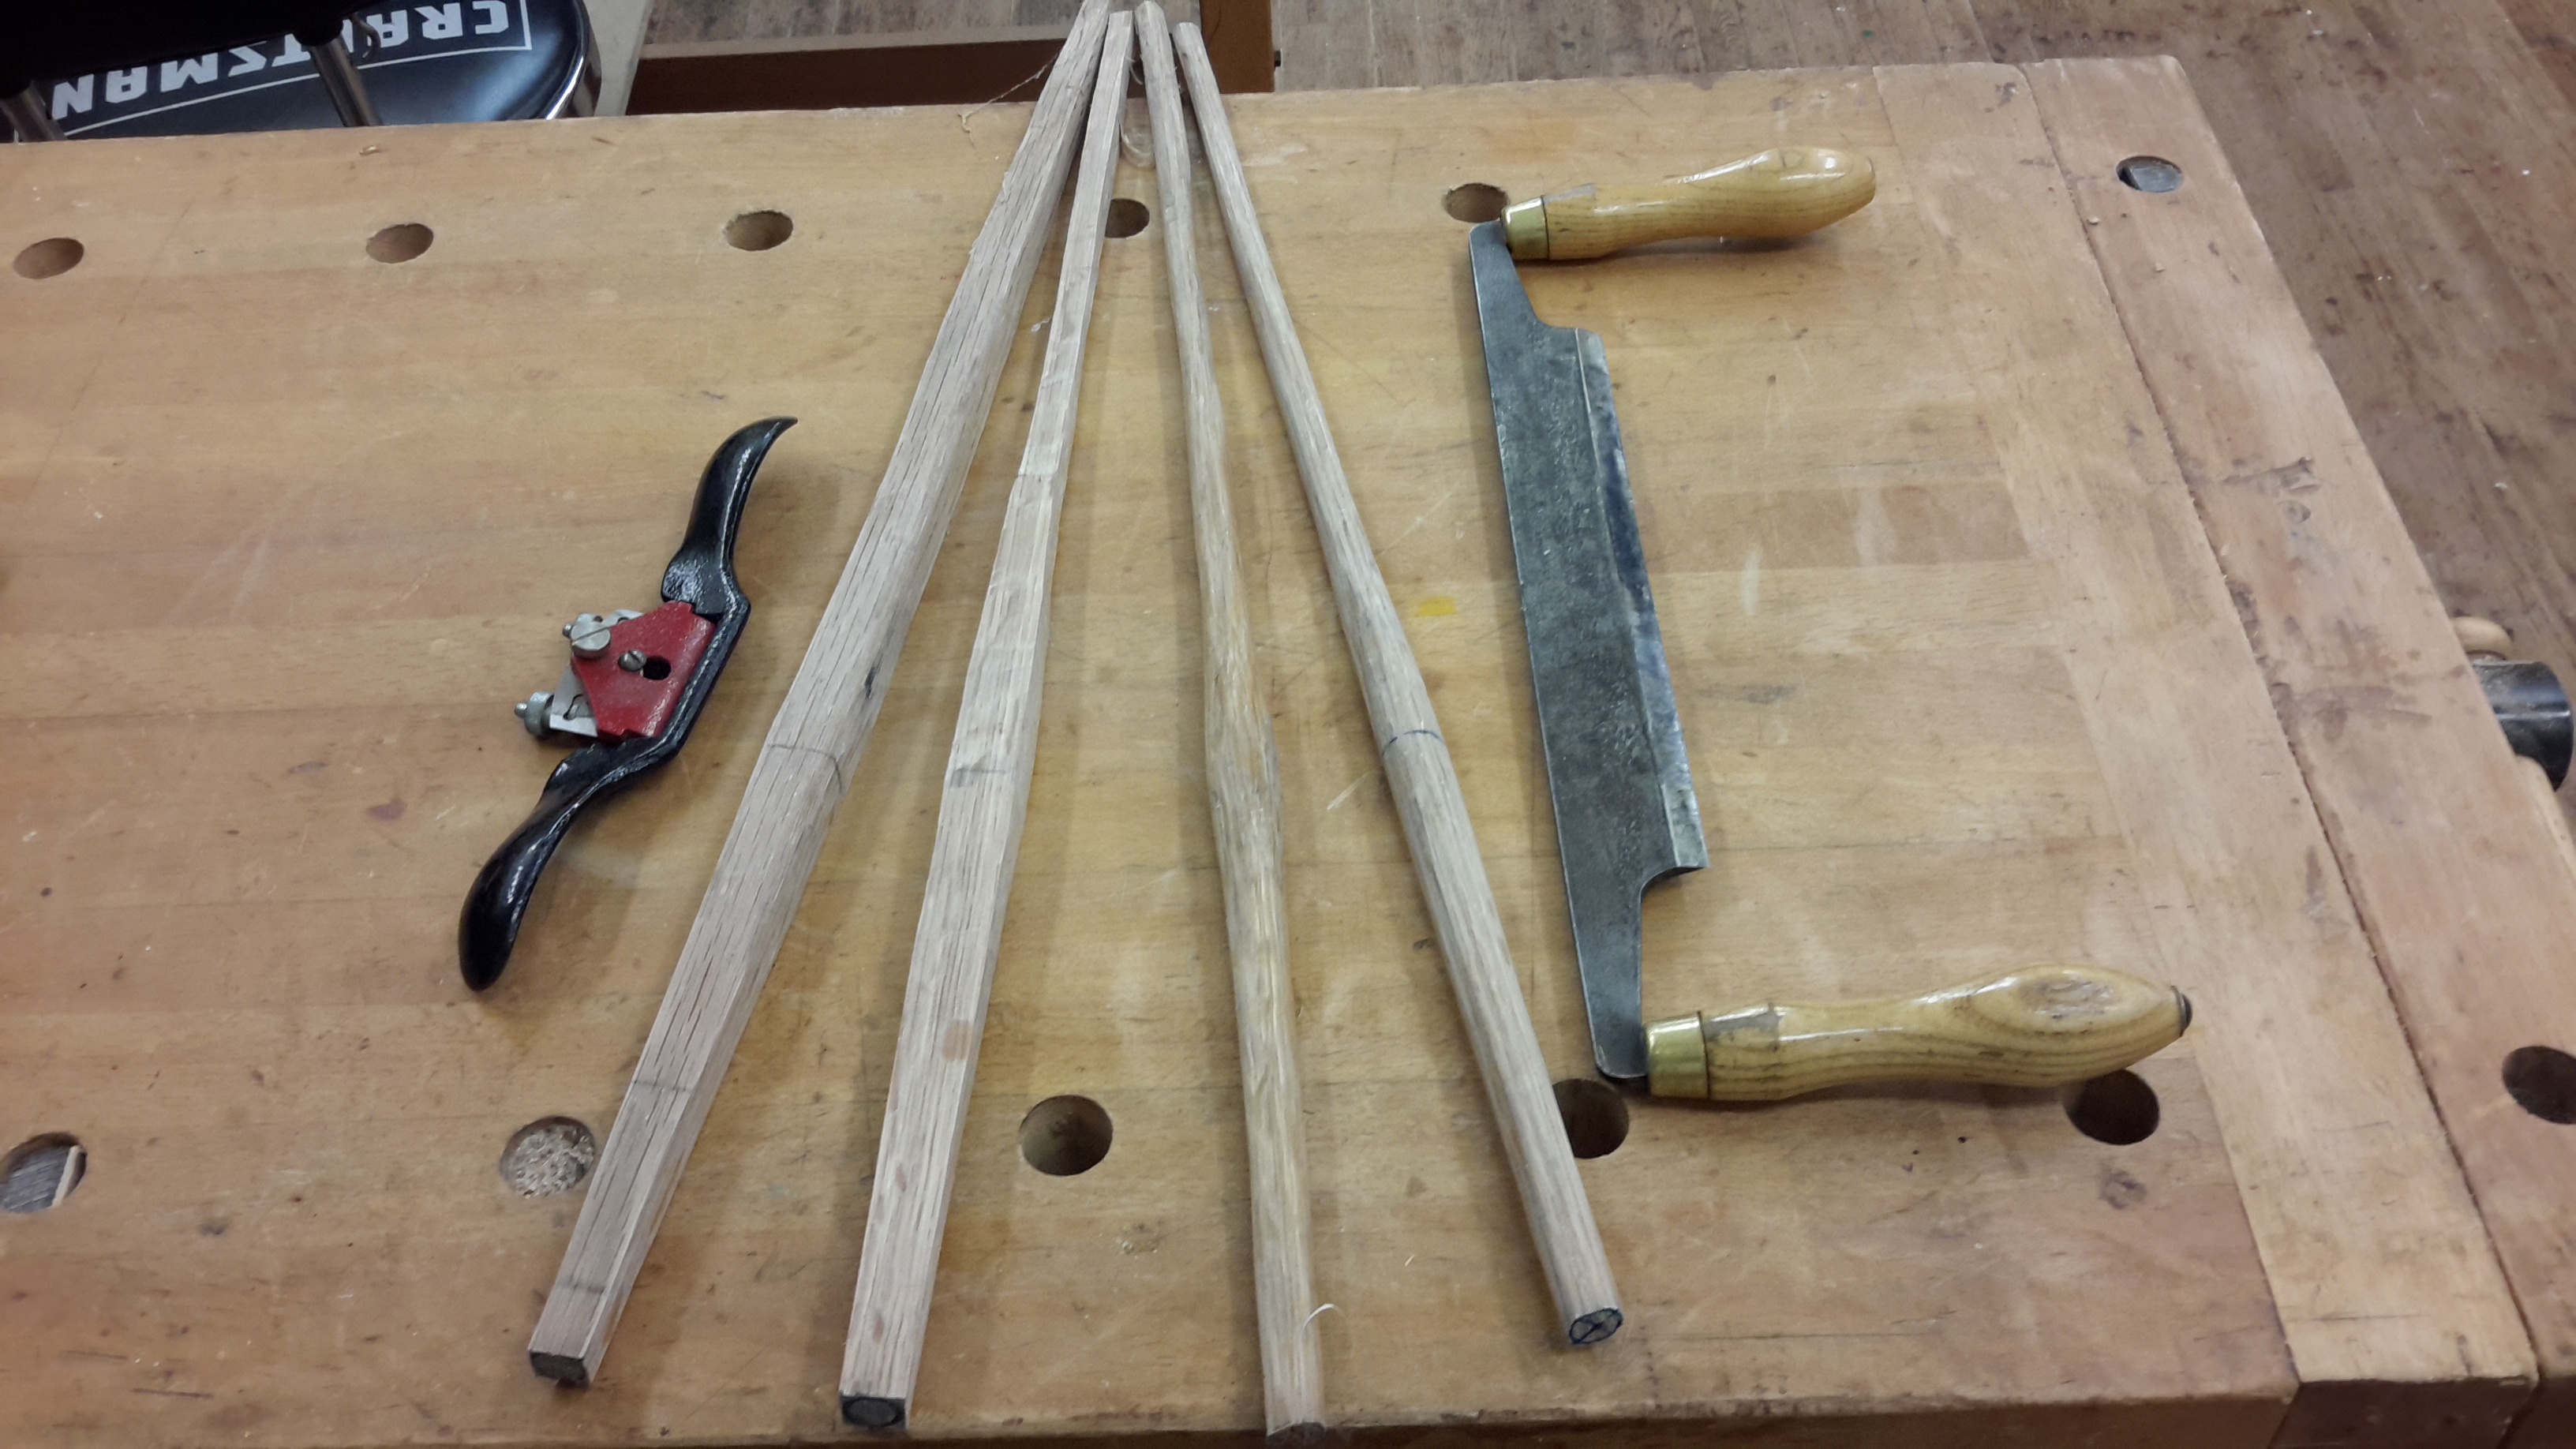
The tools used, and a chair rod in the 4 different steps of being completed (step one is on the left, and the completed rod is on the furthest right):
