

Windsor Chair- Blast from the past
Well, it has been like an old home week. I have revisited quite a few of my “long term” projects and have made an attempt to clear the decks and get some of them in the house for display. One of the toughest and most challenging projects I have ever undertaken was the Windsor chair project. It has sat in my dining room with a sheet over it for the past 2 and a half years! It sits in the corner like a short, fat ghost under the sheet and mocks me every time I go by it. I decided to drag it out the door and load it into the truck and take it over to the shop and see how I could push it to the finish line (see what I did there!). I was still amazed at how little the chair weighed, and how strong the joints were in the now dried oak and pine. I also noticed how much needed to be done to the chair in order to get it ready to be painted in the traditional black milk paint scheme. I want this chair to have a traditional finish, while looking like it is over 150 years old.
So the first step was to remove the excess wood in the wedges used to hold the spindle joints tight. A quick 30 minutes had all of the wedges trimmed both for the chair arms and chair back. I then noticed that the two wedges in the seat bottom for the arm spindles also needed to be trimmed.
Now for everyone’s most favorite part of woodworking….SANDING!!!
A quick 5 hours later, I had the wedges sanded flush on the chair arms and the chair back. I also was able to smooth out the seat details that I had left to be done at a later date. It took some time to get the seat front both even in appearance and feeling smooth. I removed the excess length of the wedges on the bottom of the chair as well.
I will need to continue sanding the spindles and the legs to a smoother appearance and then we will be ready to paint the chair. I plan on using General Finishes Red Milk Paint for the first coat, and then General Finishes Black Milk Paint for the top coat. I will sand through some of the black paint in the typical wear areas so the red will peek through for an aged look. I will then complete the finish with some dark wax to complete the aged look. Keep checking for updates!
The Windsor chair with the “wedgies” still protruding:
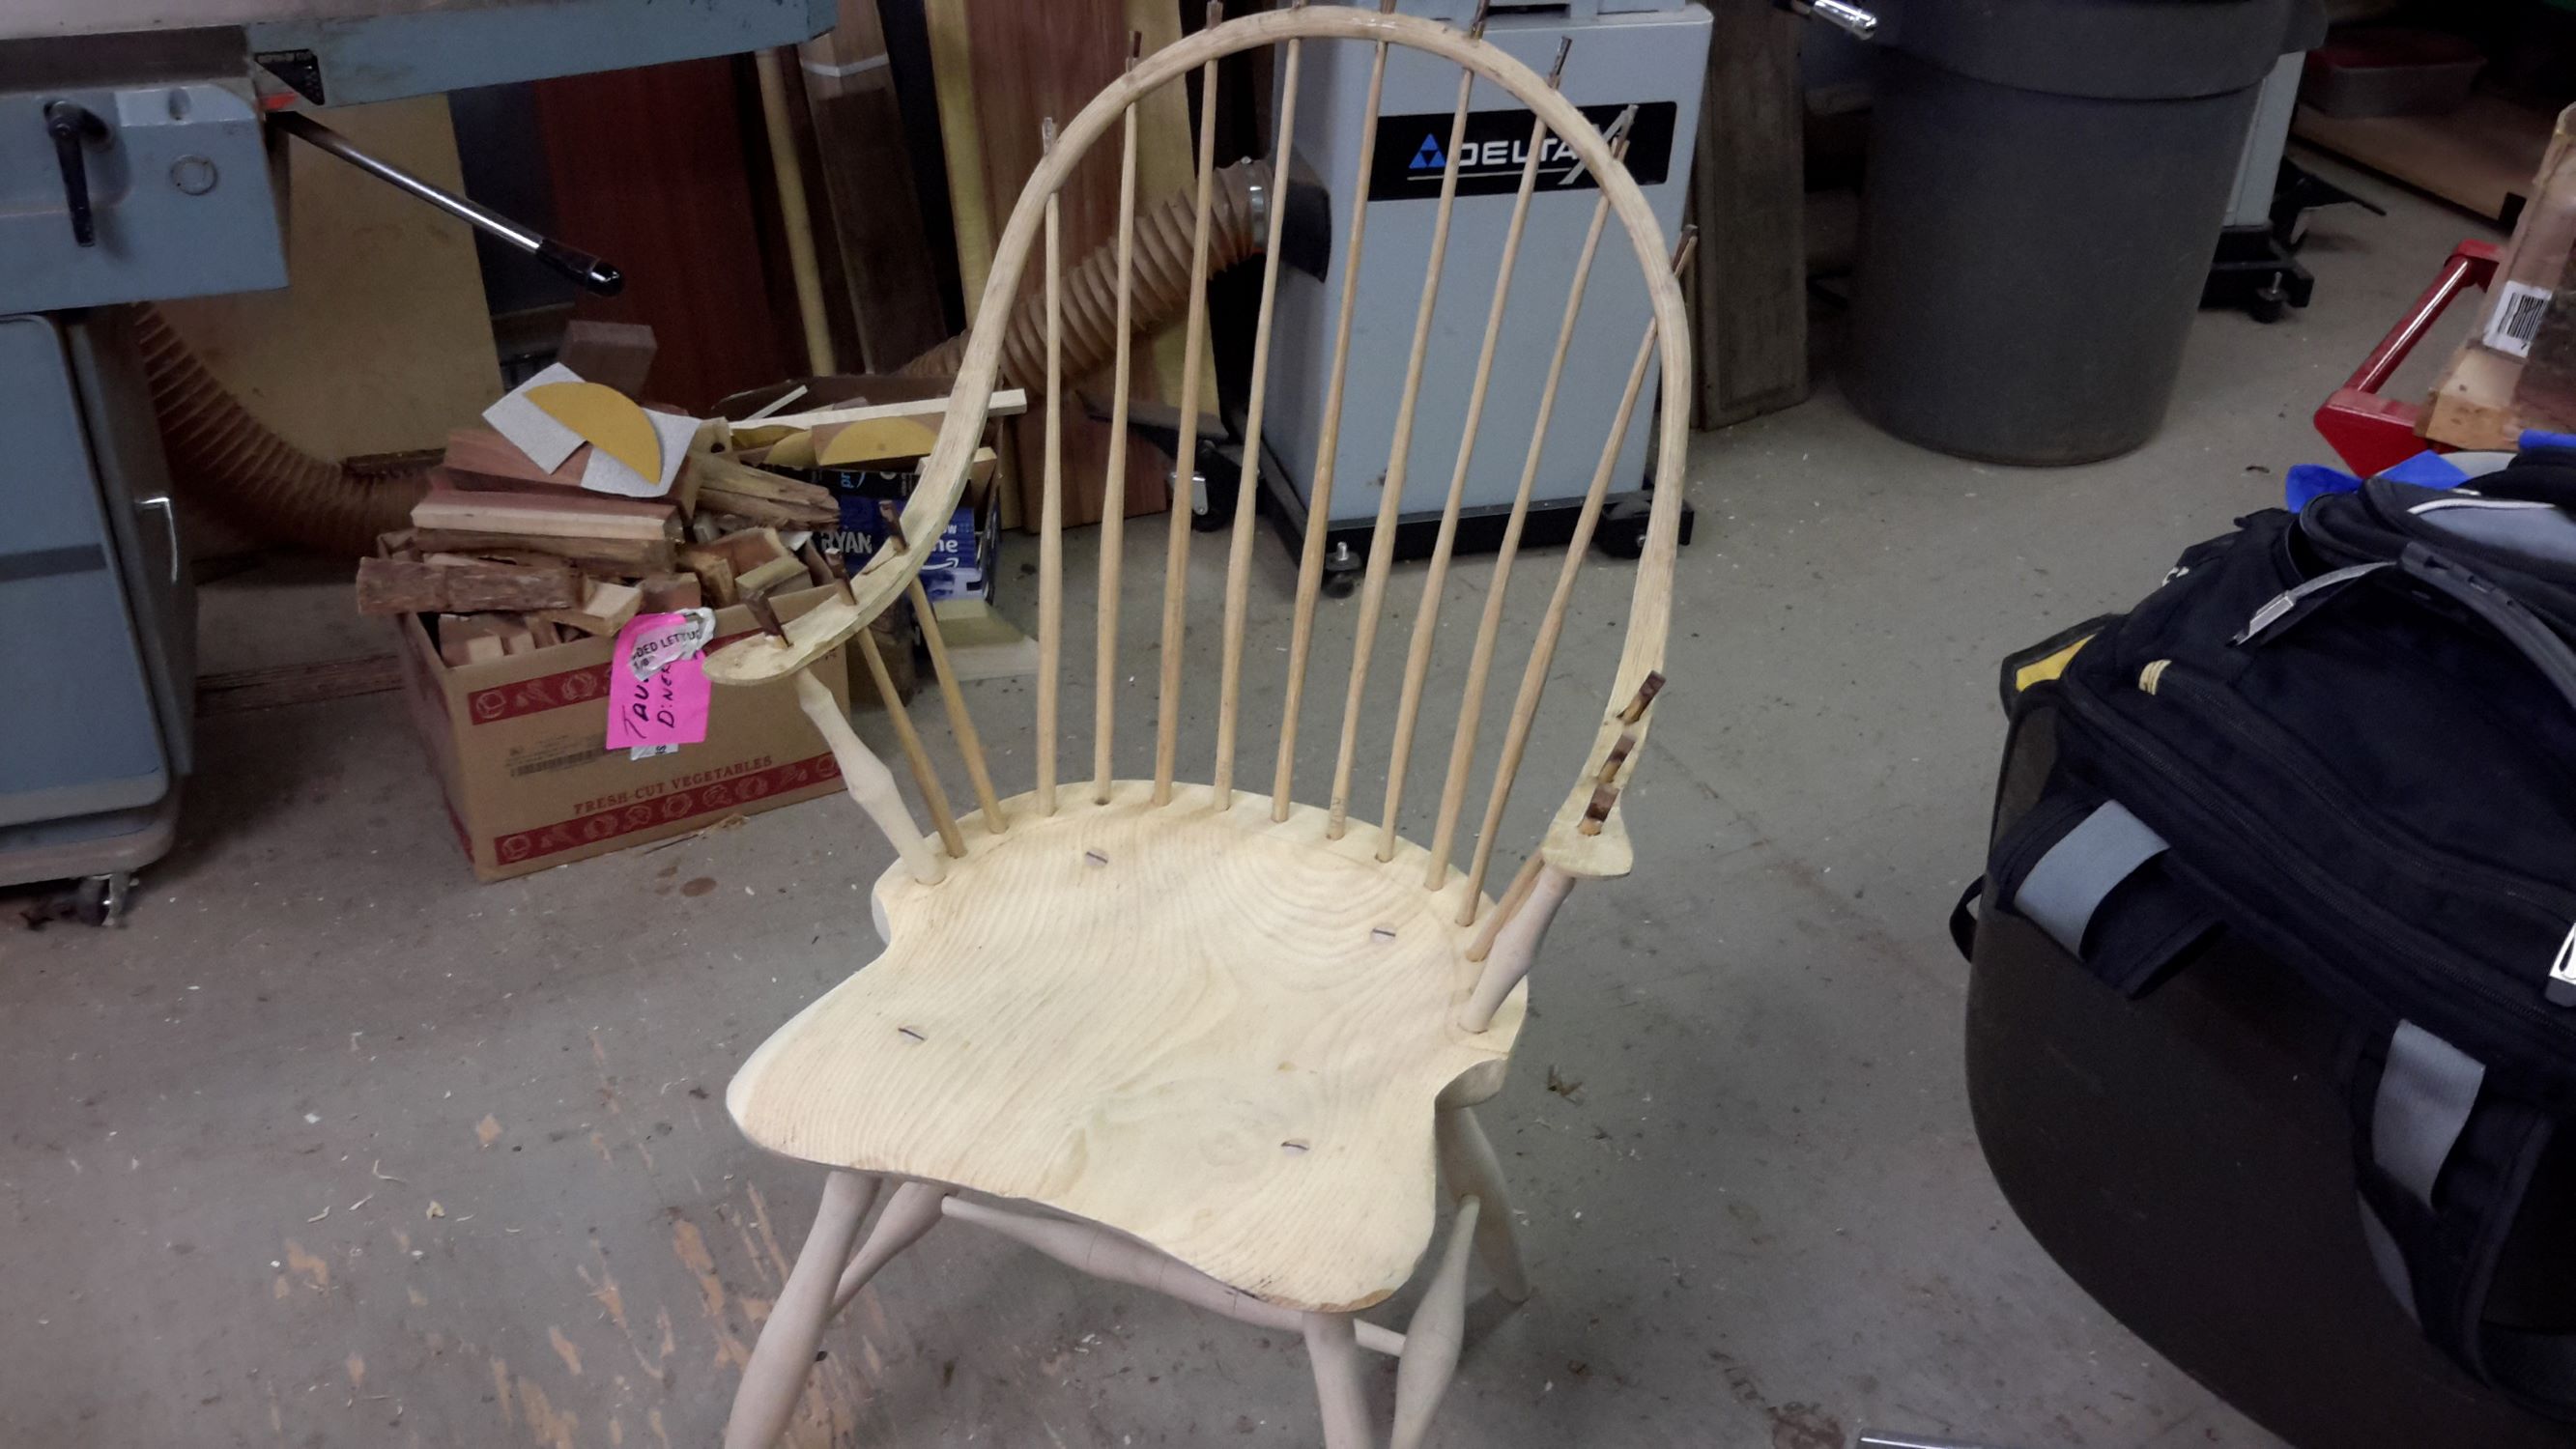
Windsor chair wedges
A closer look at the “wedgies” in the arm of the chair:
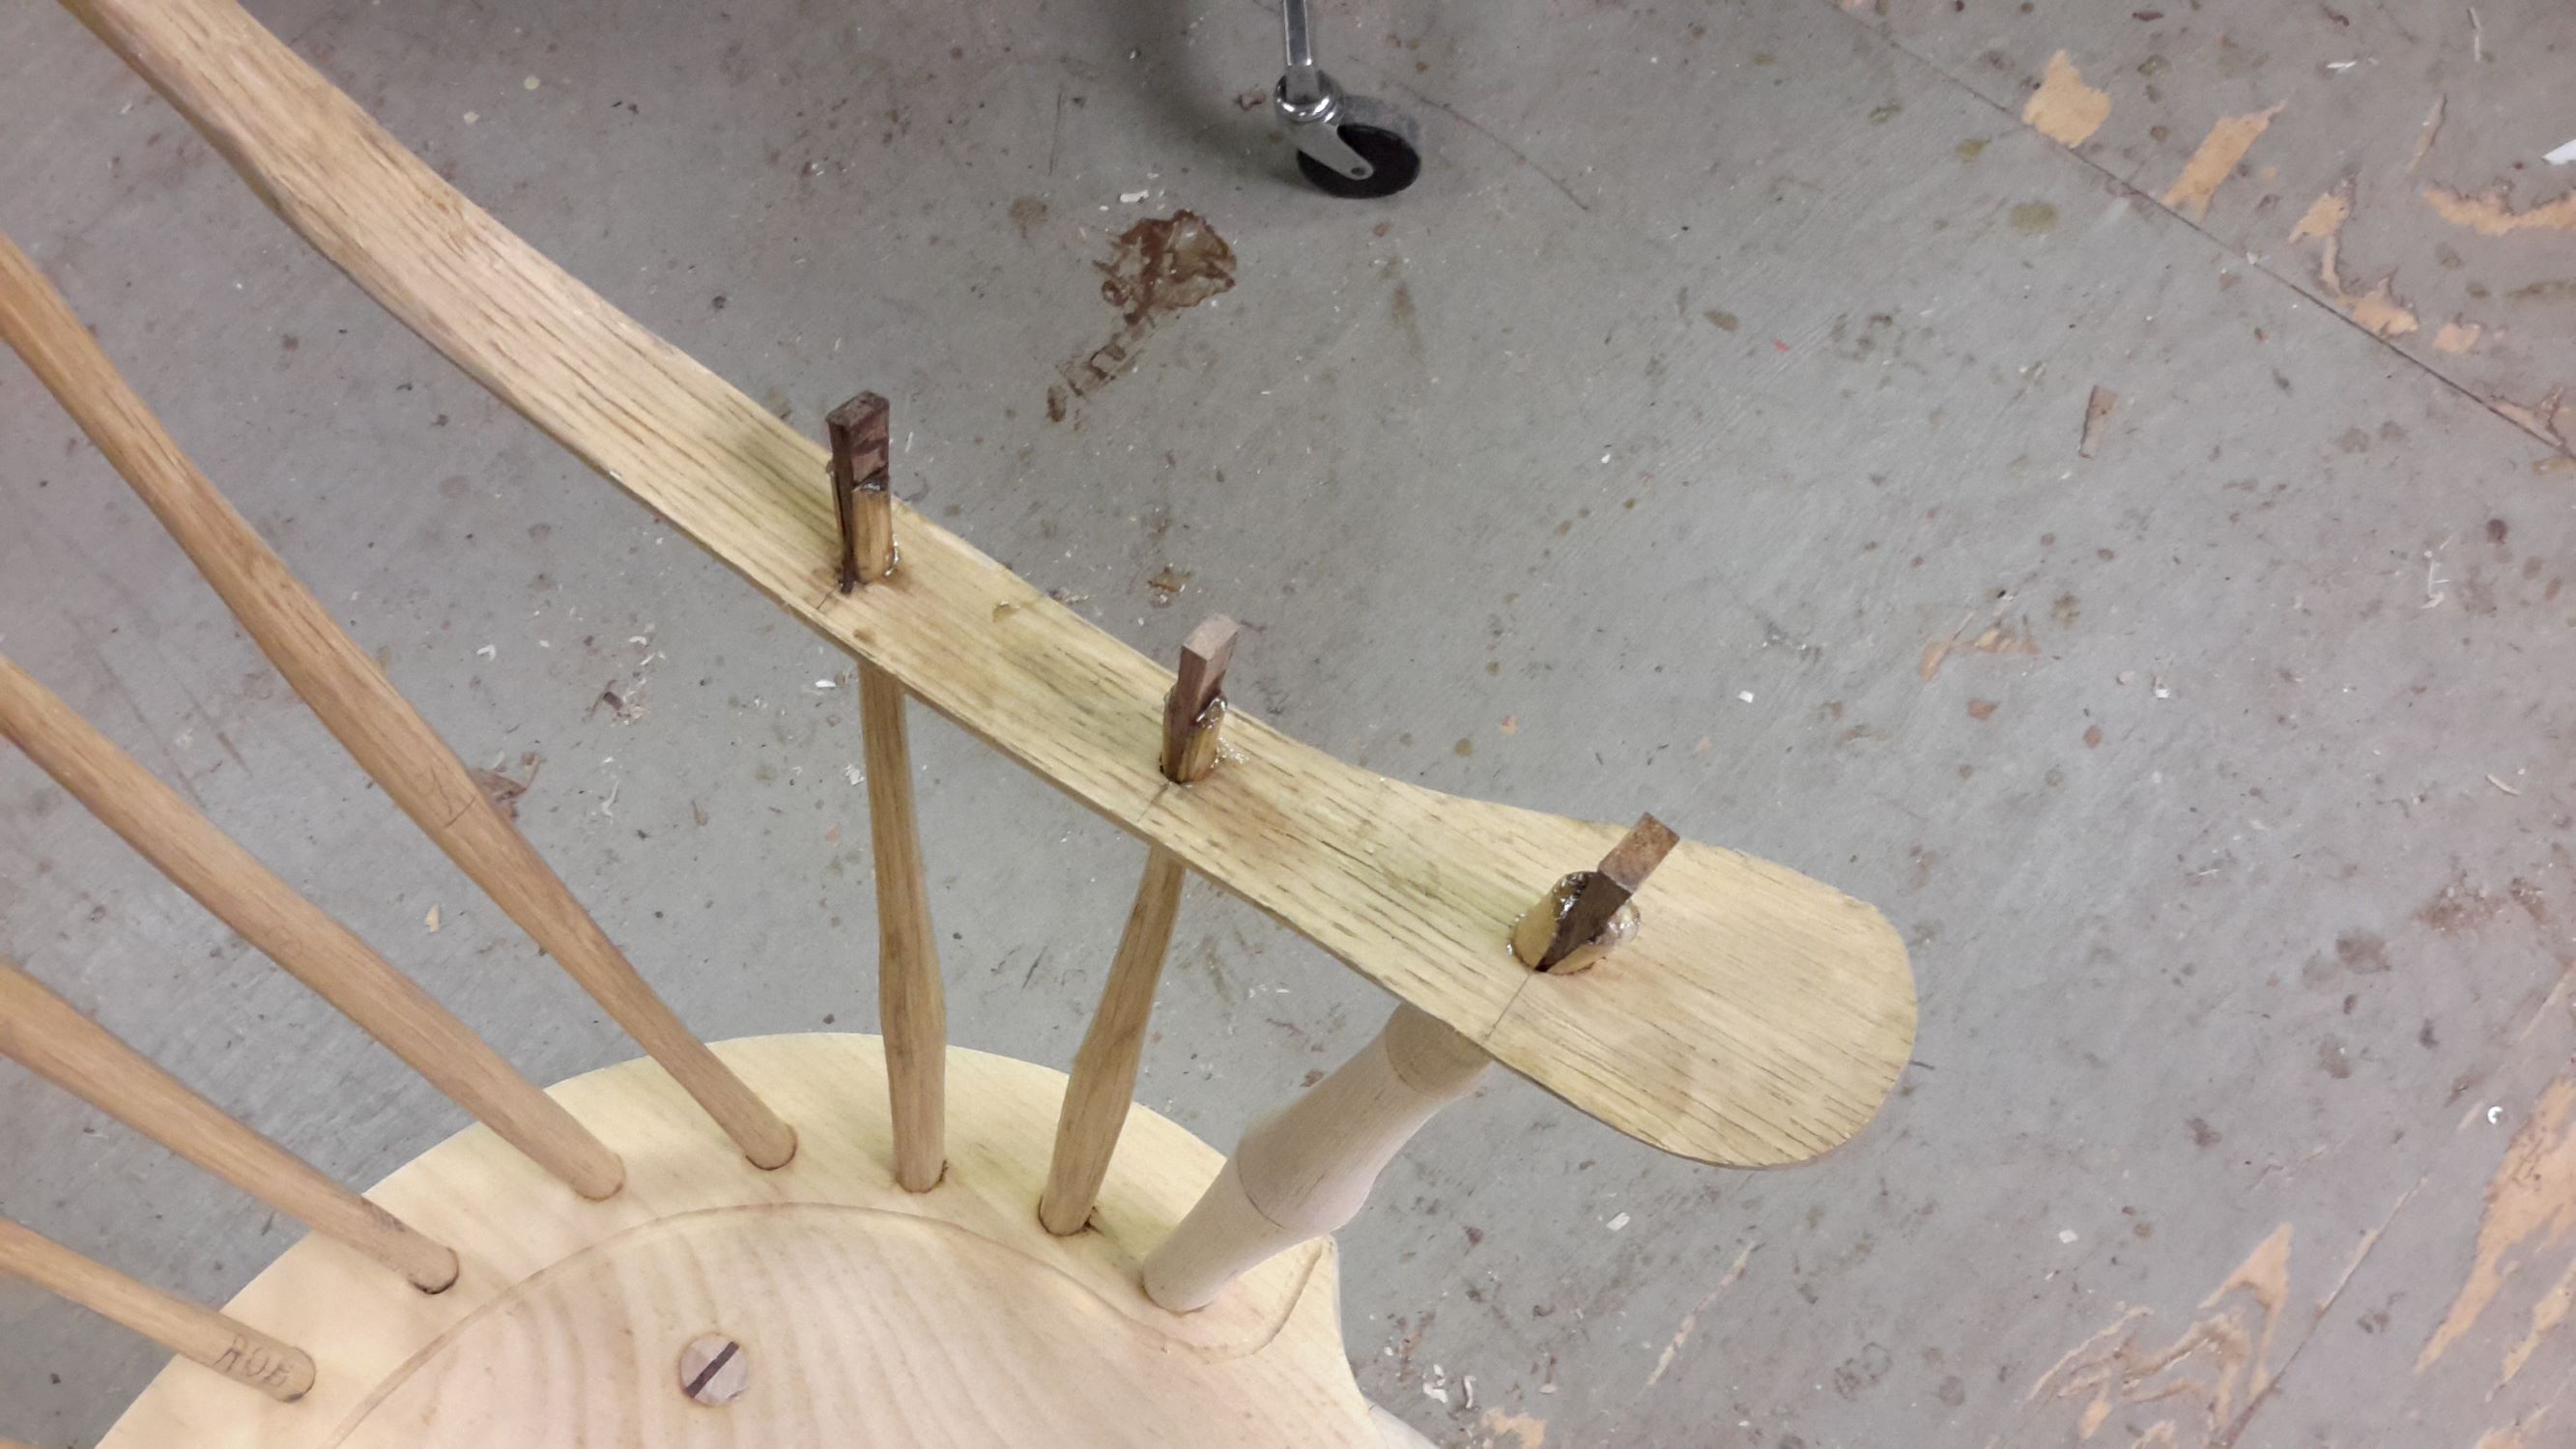
Windsor chair arm with wedges
The Windsor chair back with the wedges cut off and sanded:
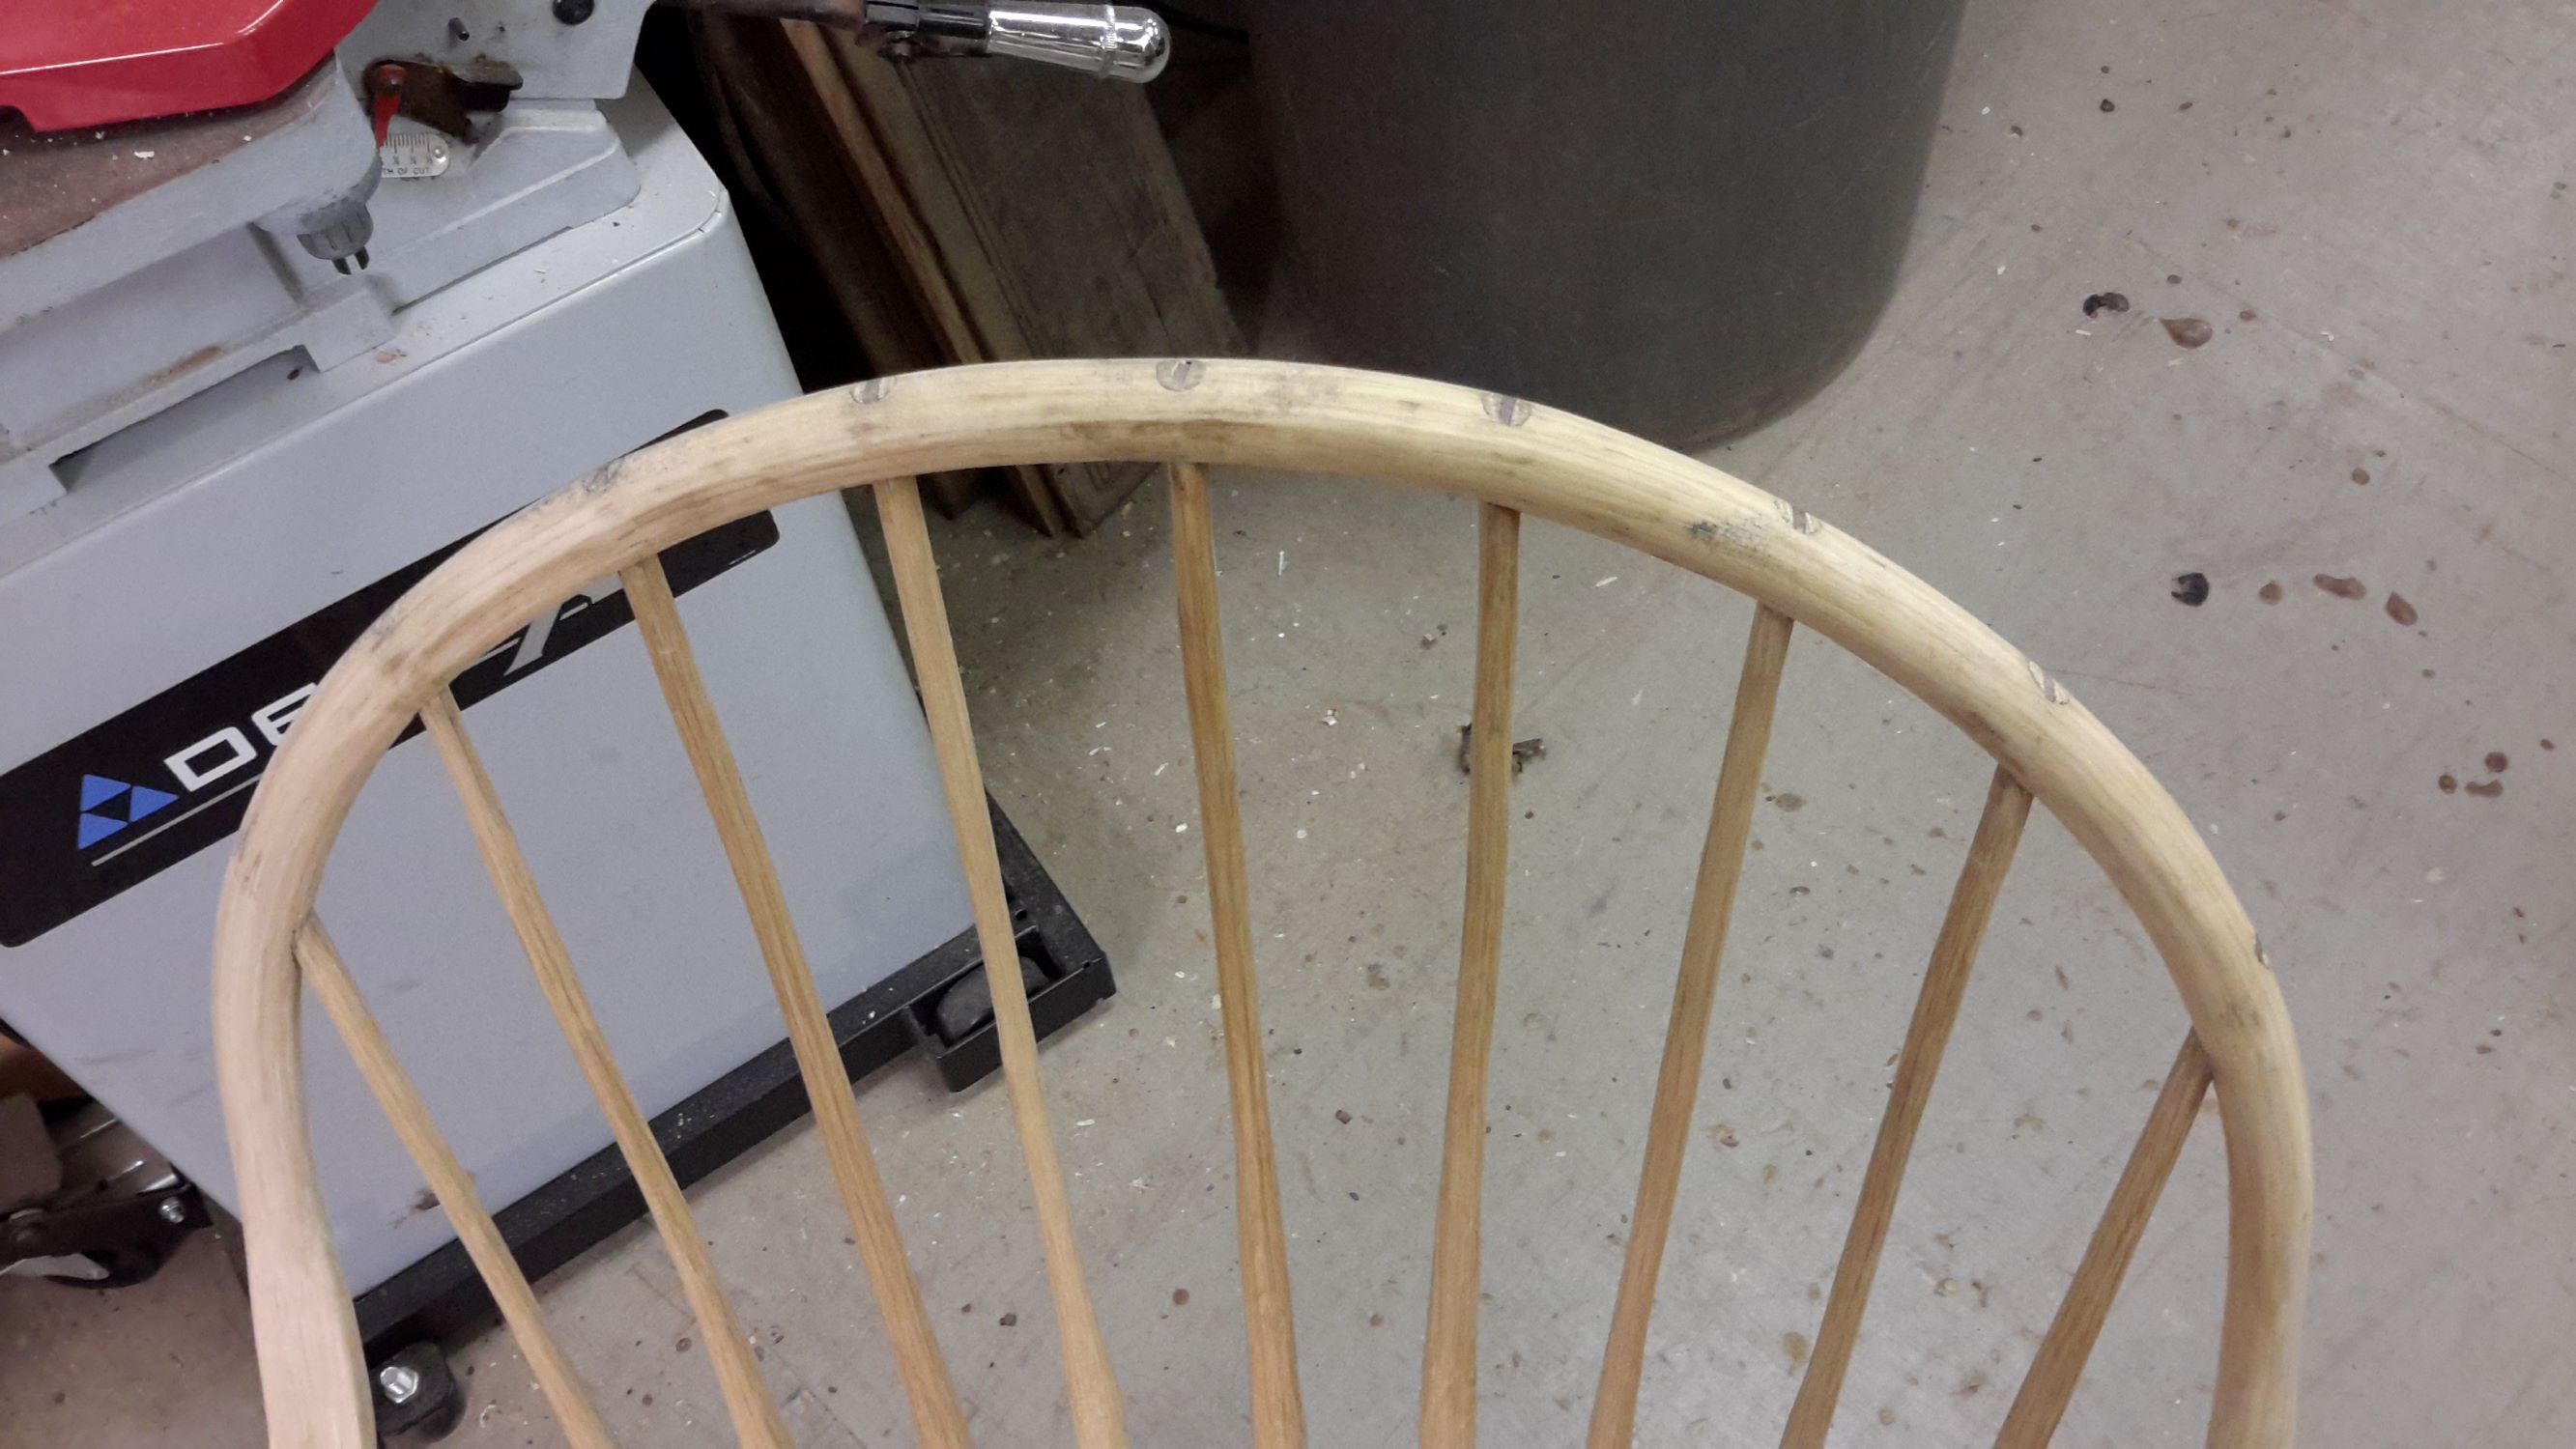
Windsor chair back sanded and wedges removed
The Windsor chair seat, final shaped and rough sanded:

Windsor chair seat final shape and rough sanded
The chair needs to be final sanded, and then painted. Keep watching for updates on the Windsor chair!!
