

Top Secret: Chess Table meet Chess Board!
I took the completed chess table down to Ronnie Holland to be spray finished. If you are in the North Georgia area, and you are looking for very high quality re-finishing work to be completed, you cannot beat the work Ronnie does. He is a talented individual who really cares how things should be done. I highly recommend him for your re-finishing needs.
I picked up the chess table, and proceeded to attach the chess board to the table. I used table clips from Rockler in order to attach the chess board to the table. It required slots be cut into the table base along the framing, and then holes to be drilled for the clip mounting screws. If you have ever done work like this before, it is very difficult to take a piece that has been completed, and then viciously attack (ok, that might be a little over dramatic description, but it certainly seems that way when you have a biscuit joiner in your hand, and one slip will ruin an entire project) the piece with drills and biscuit joiners. We try to drill and do as much as we can prior to the piece being completed, but in this case, it could not be done until it was all finished.
Once the slots had been cut and the clip mounting holes were drilled, it was time to assemble everything. Again, slipping with the biscuit joiner or the drill at this point would be catastrophic, so careful measures were taken, and practice cuts were made, and then we did some more measuring and more practice cuts to ABSOLUTELY be sure we had it right! This is no time to rush into things, as it cannot be undone, and extra holes and scratches in the finish are not good!
After all of the care we took, the not square table began to rear its ugly head again. We had to settle for the chess board to be a little off of square in order for the table to look good, but once you flip the table over on the legs, you have to have a ruler to tell it is not perfectly square! I need to get a simple brass drawer knob for both sides of the drawer and install the knobs. I also have some very thin drawer runner plastic tape to add to the drawer runners, in order to keep the drawers smoothly operating.
The next big operation is I have to plan, design and build the interior of the drawers. I plan on building an interior for the drawers which is lined in fabric, and holds an entire chess set, checker set and some other odds and ends. Back to the drawing board so I can get a concept down on paper for the organization and implementation of the drawer interiors.
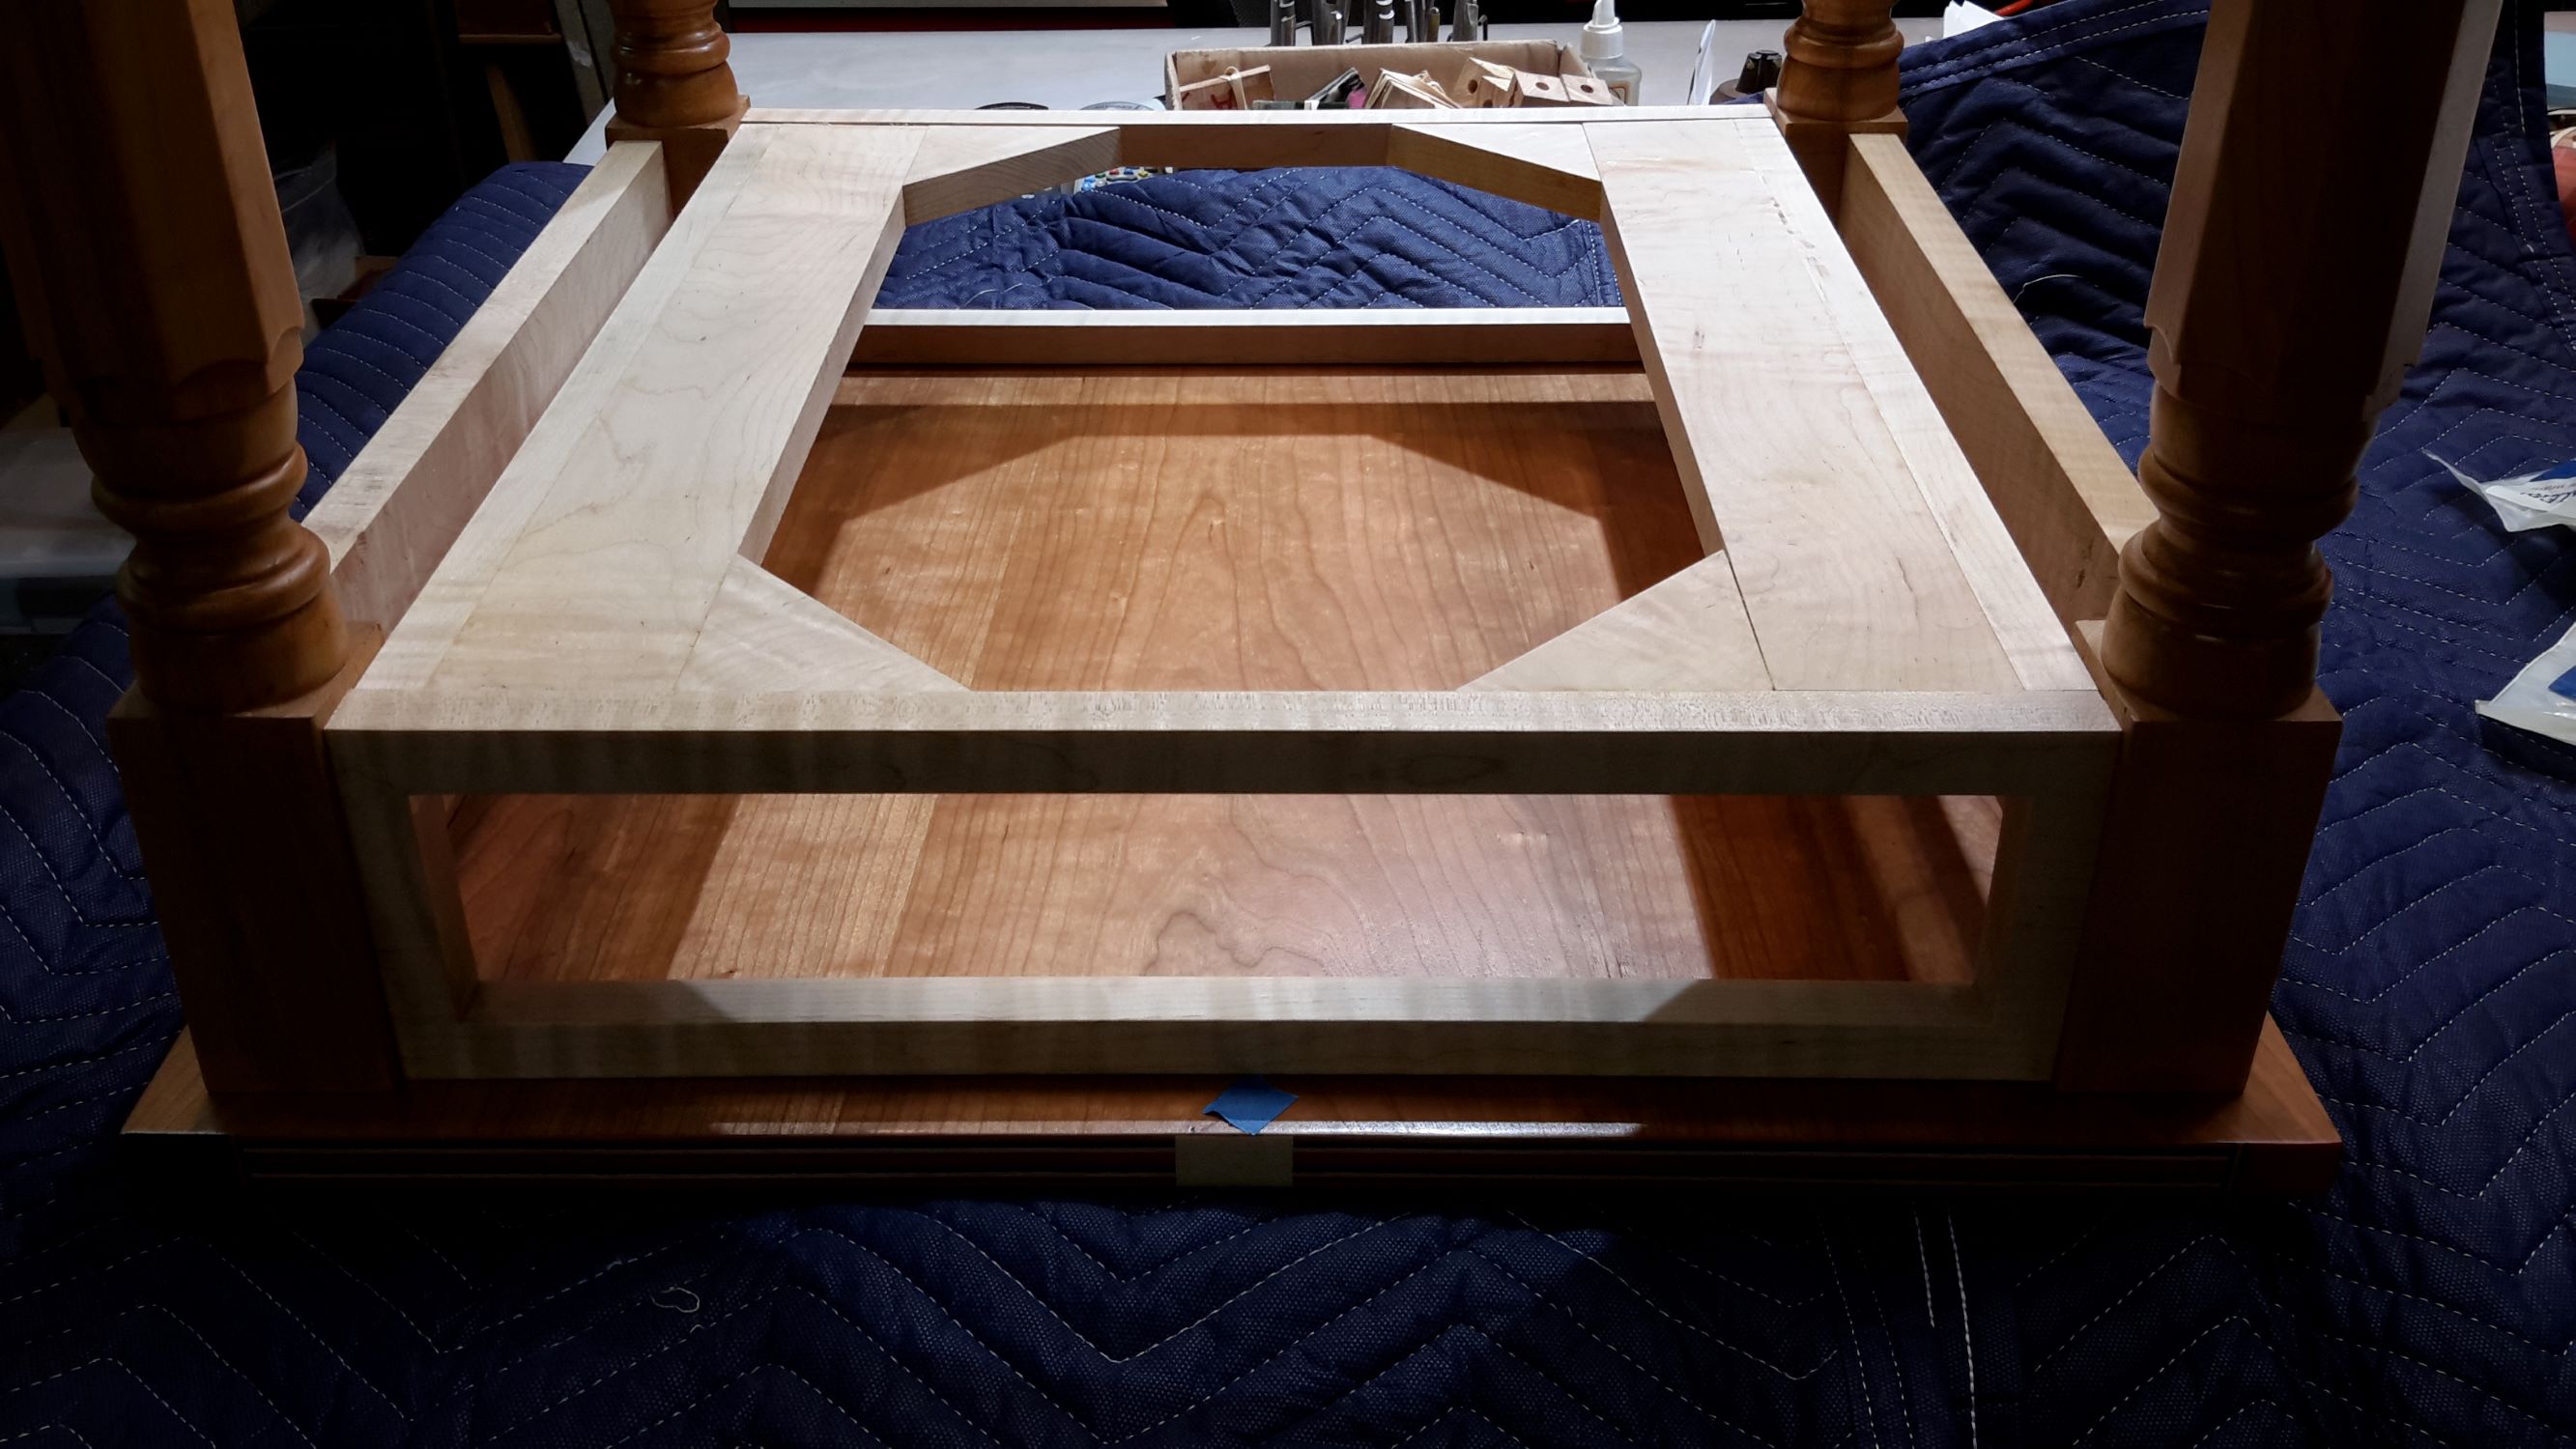
The table and chess board being dry fit and laid out-
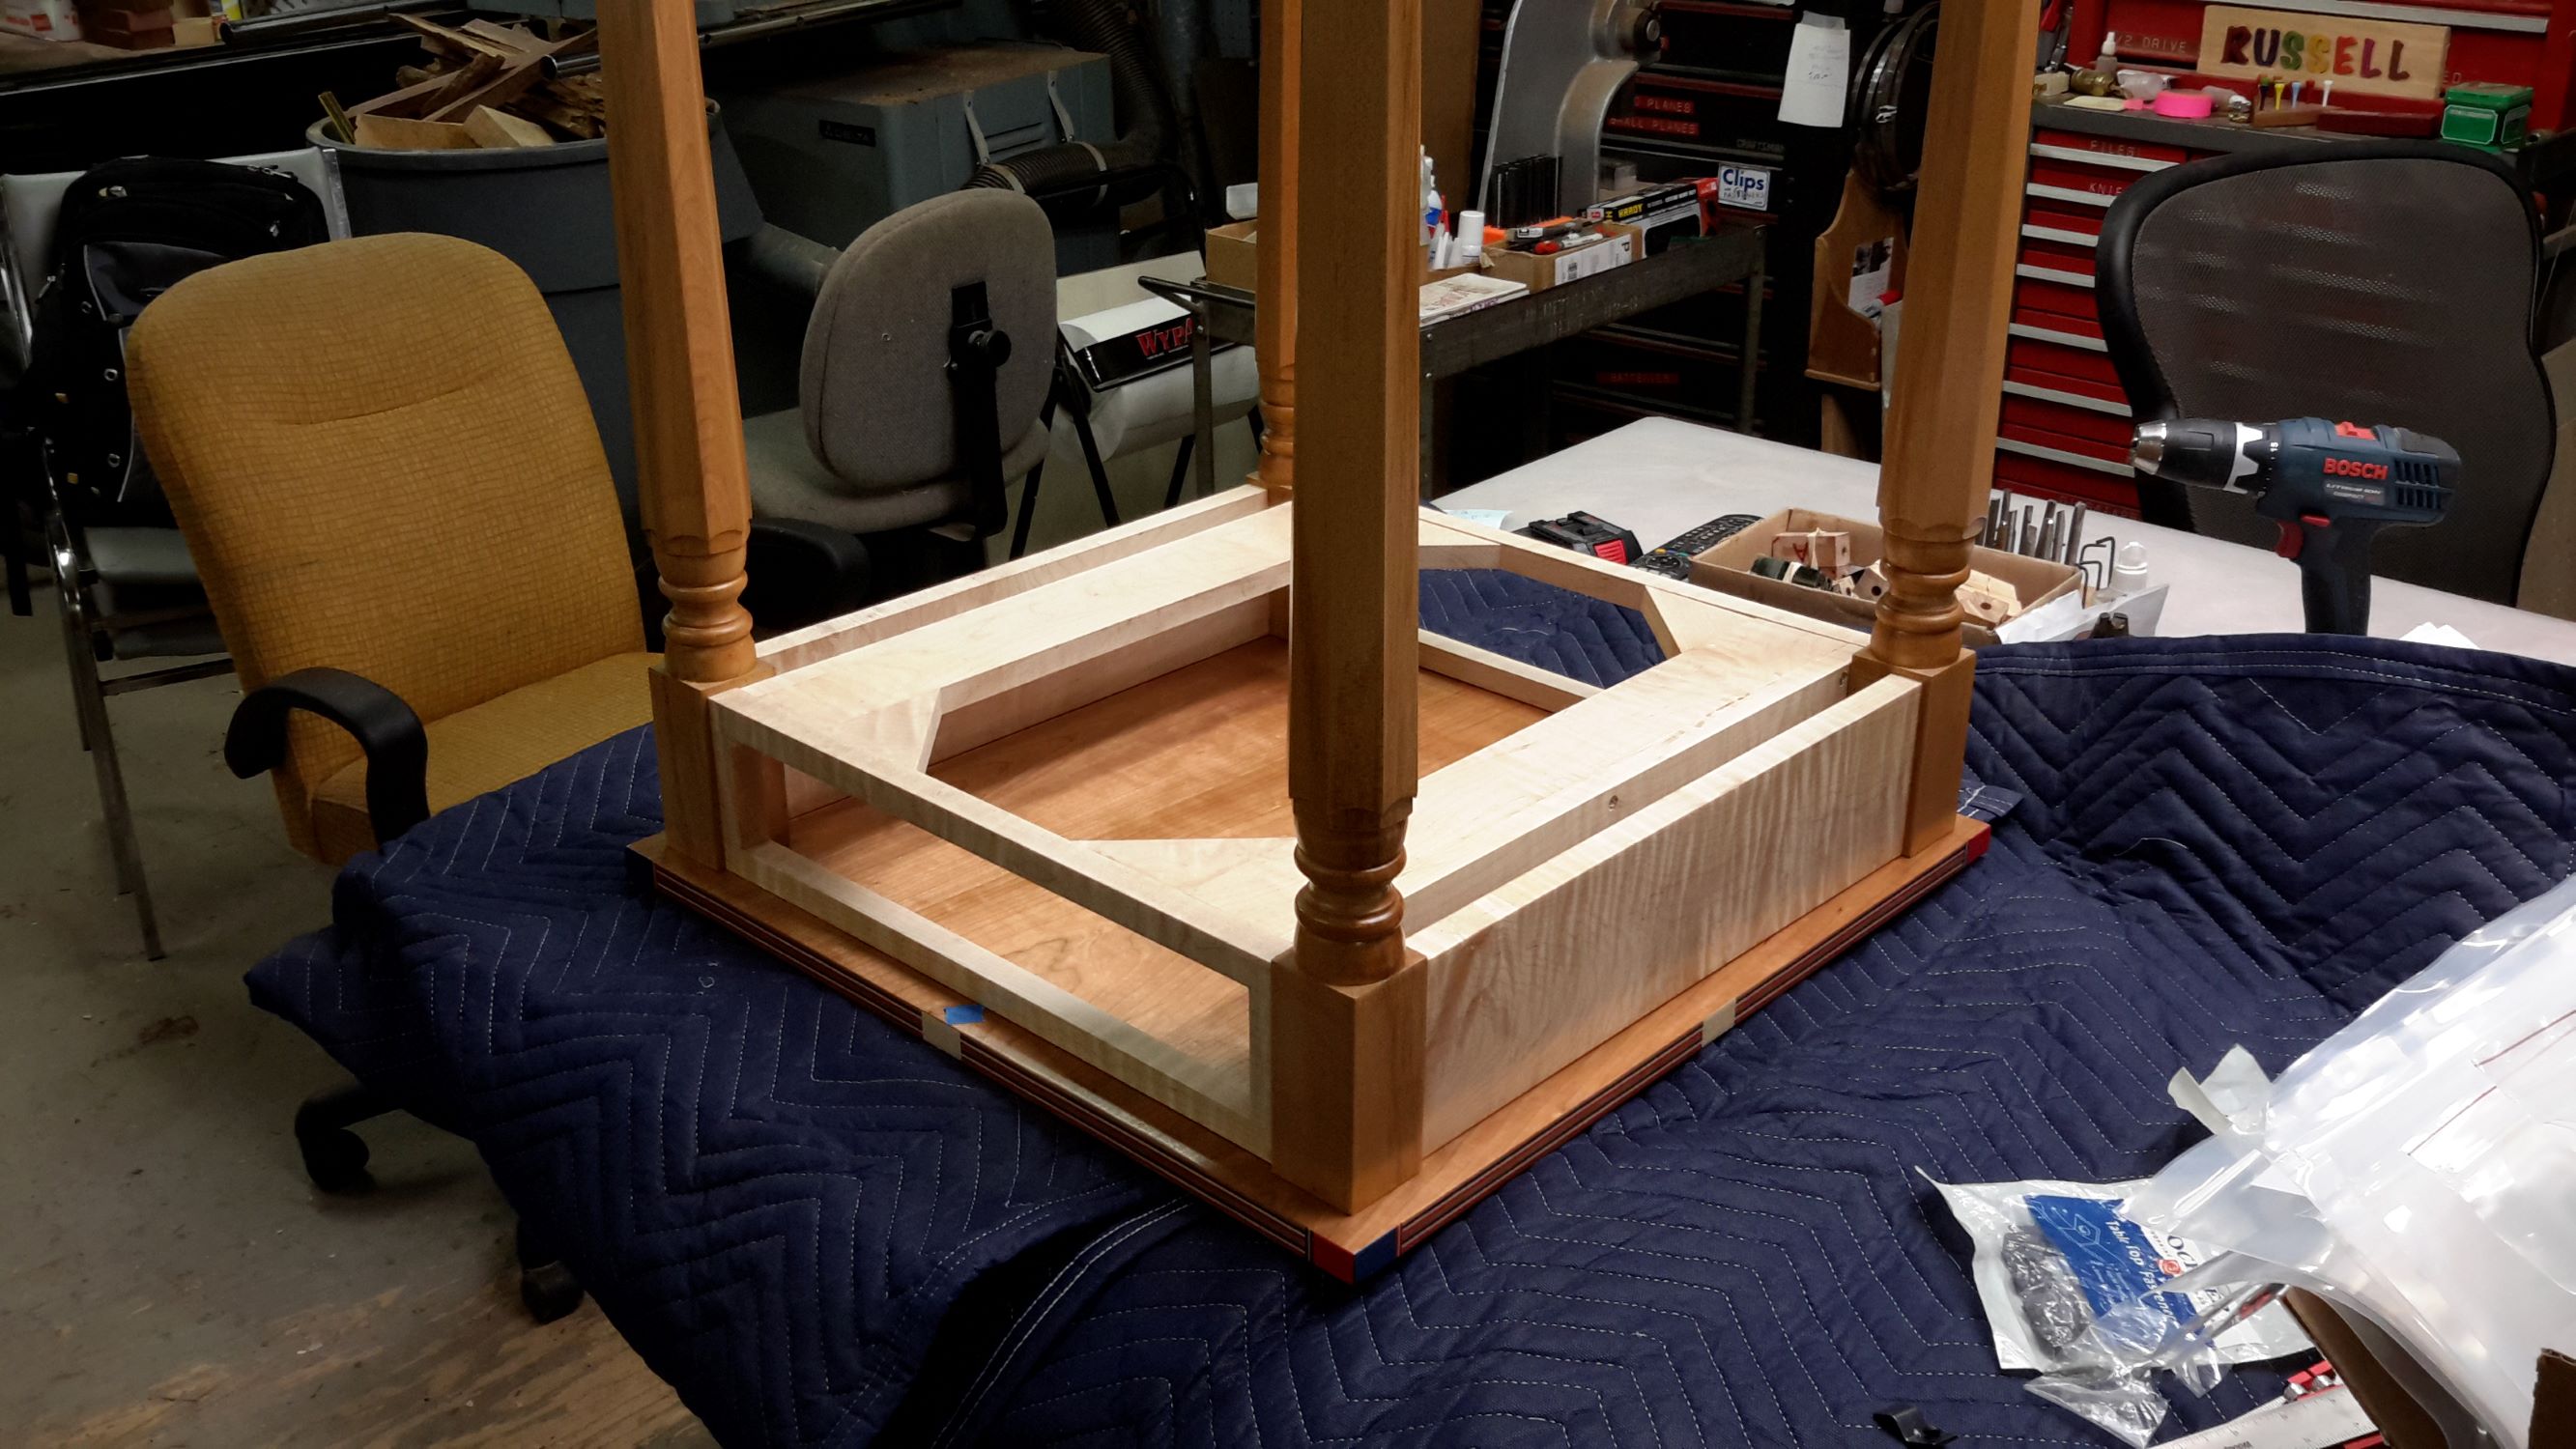
table and top being dry fitted together
Holes are now drilled for the attaching clips (make sure the tape on the drill bit is set to the correct depth, as a big hole coming out of the top would not be so good!)-
holes for the clips have been drilled
Nothing strikes fear into a woodworker like standing over an “almost” finished project, and drilling and using a biscuit joiner! Some test cuts (using scrap wood of course) provided where to set the biscuit joiner for the maximum gripping power of the table clips (you can see the geometry of the table clips as well)-
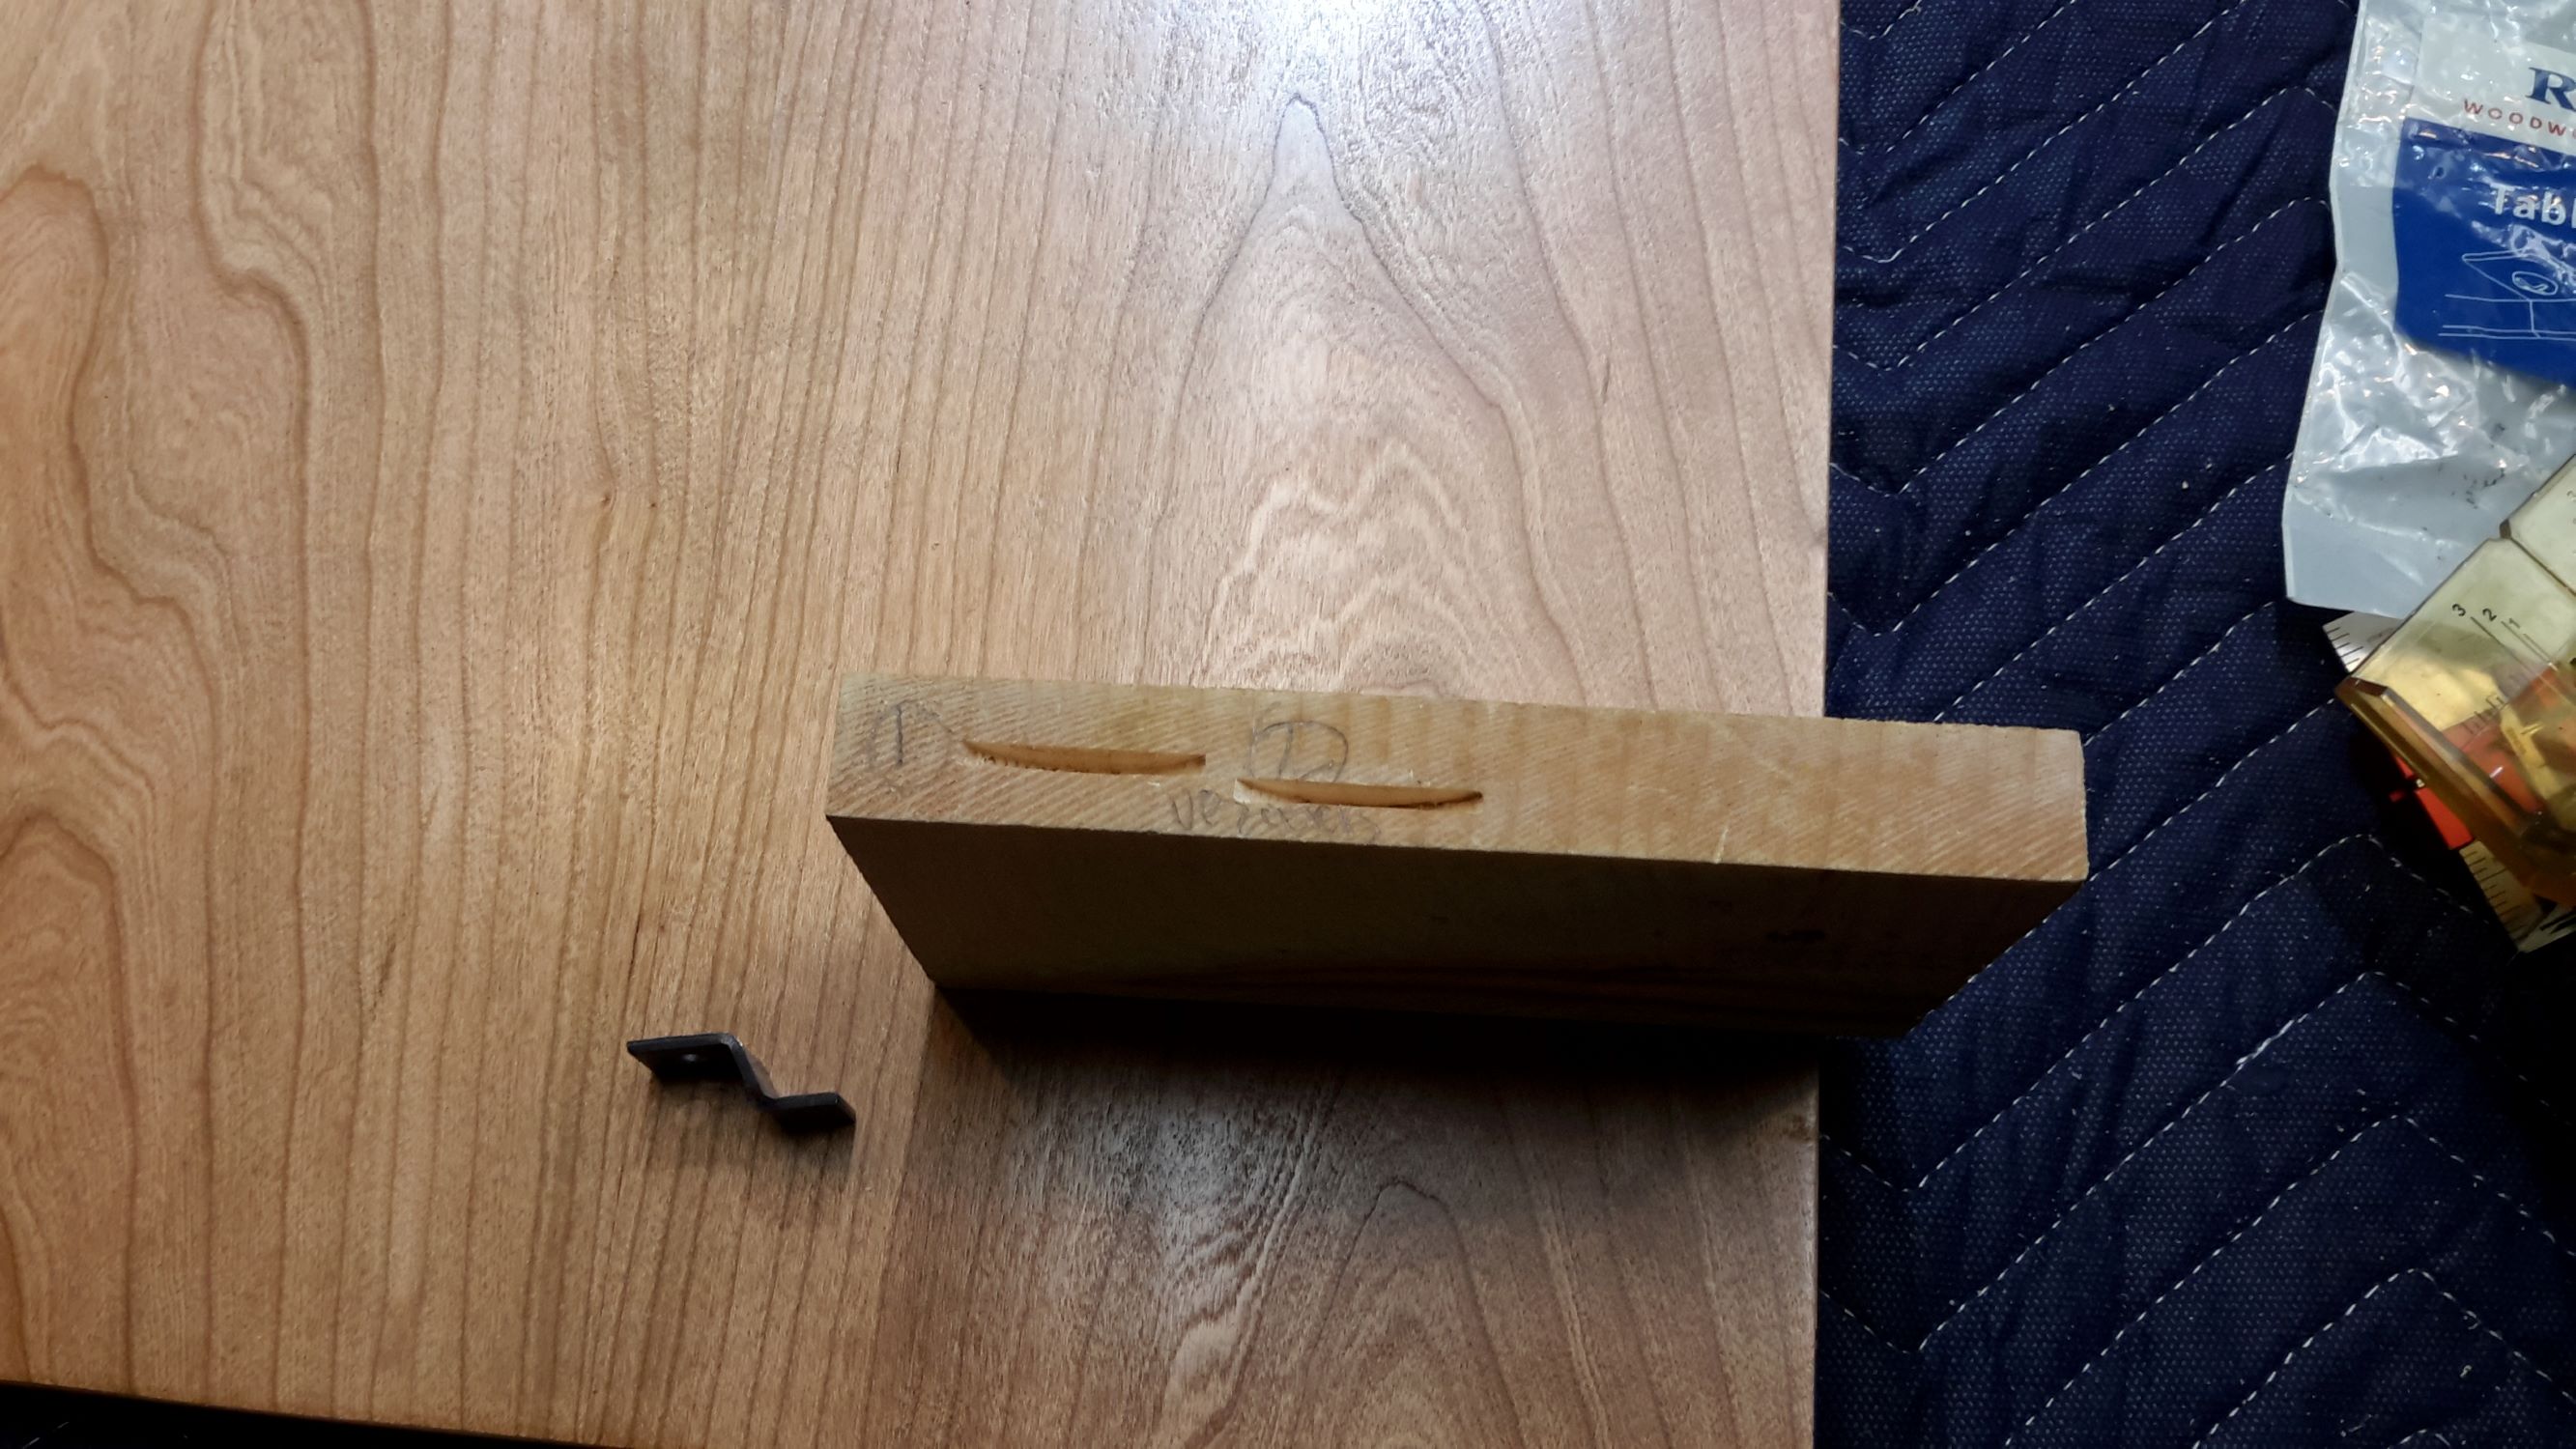
test cuts for the mounting clips
The now married parts! Happily married I might add! I am glad that part of the project is now OVER!-
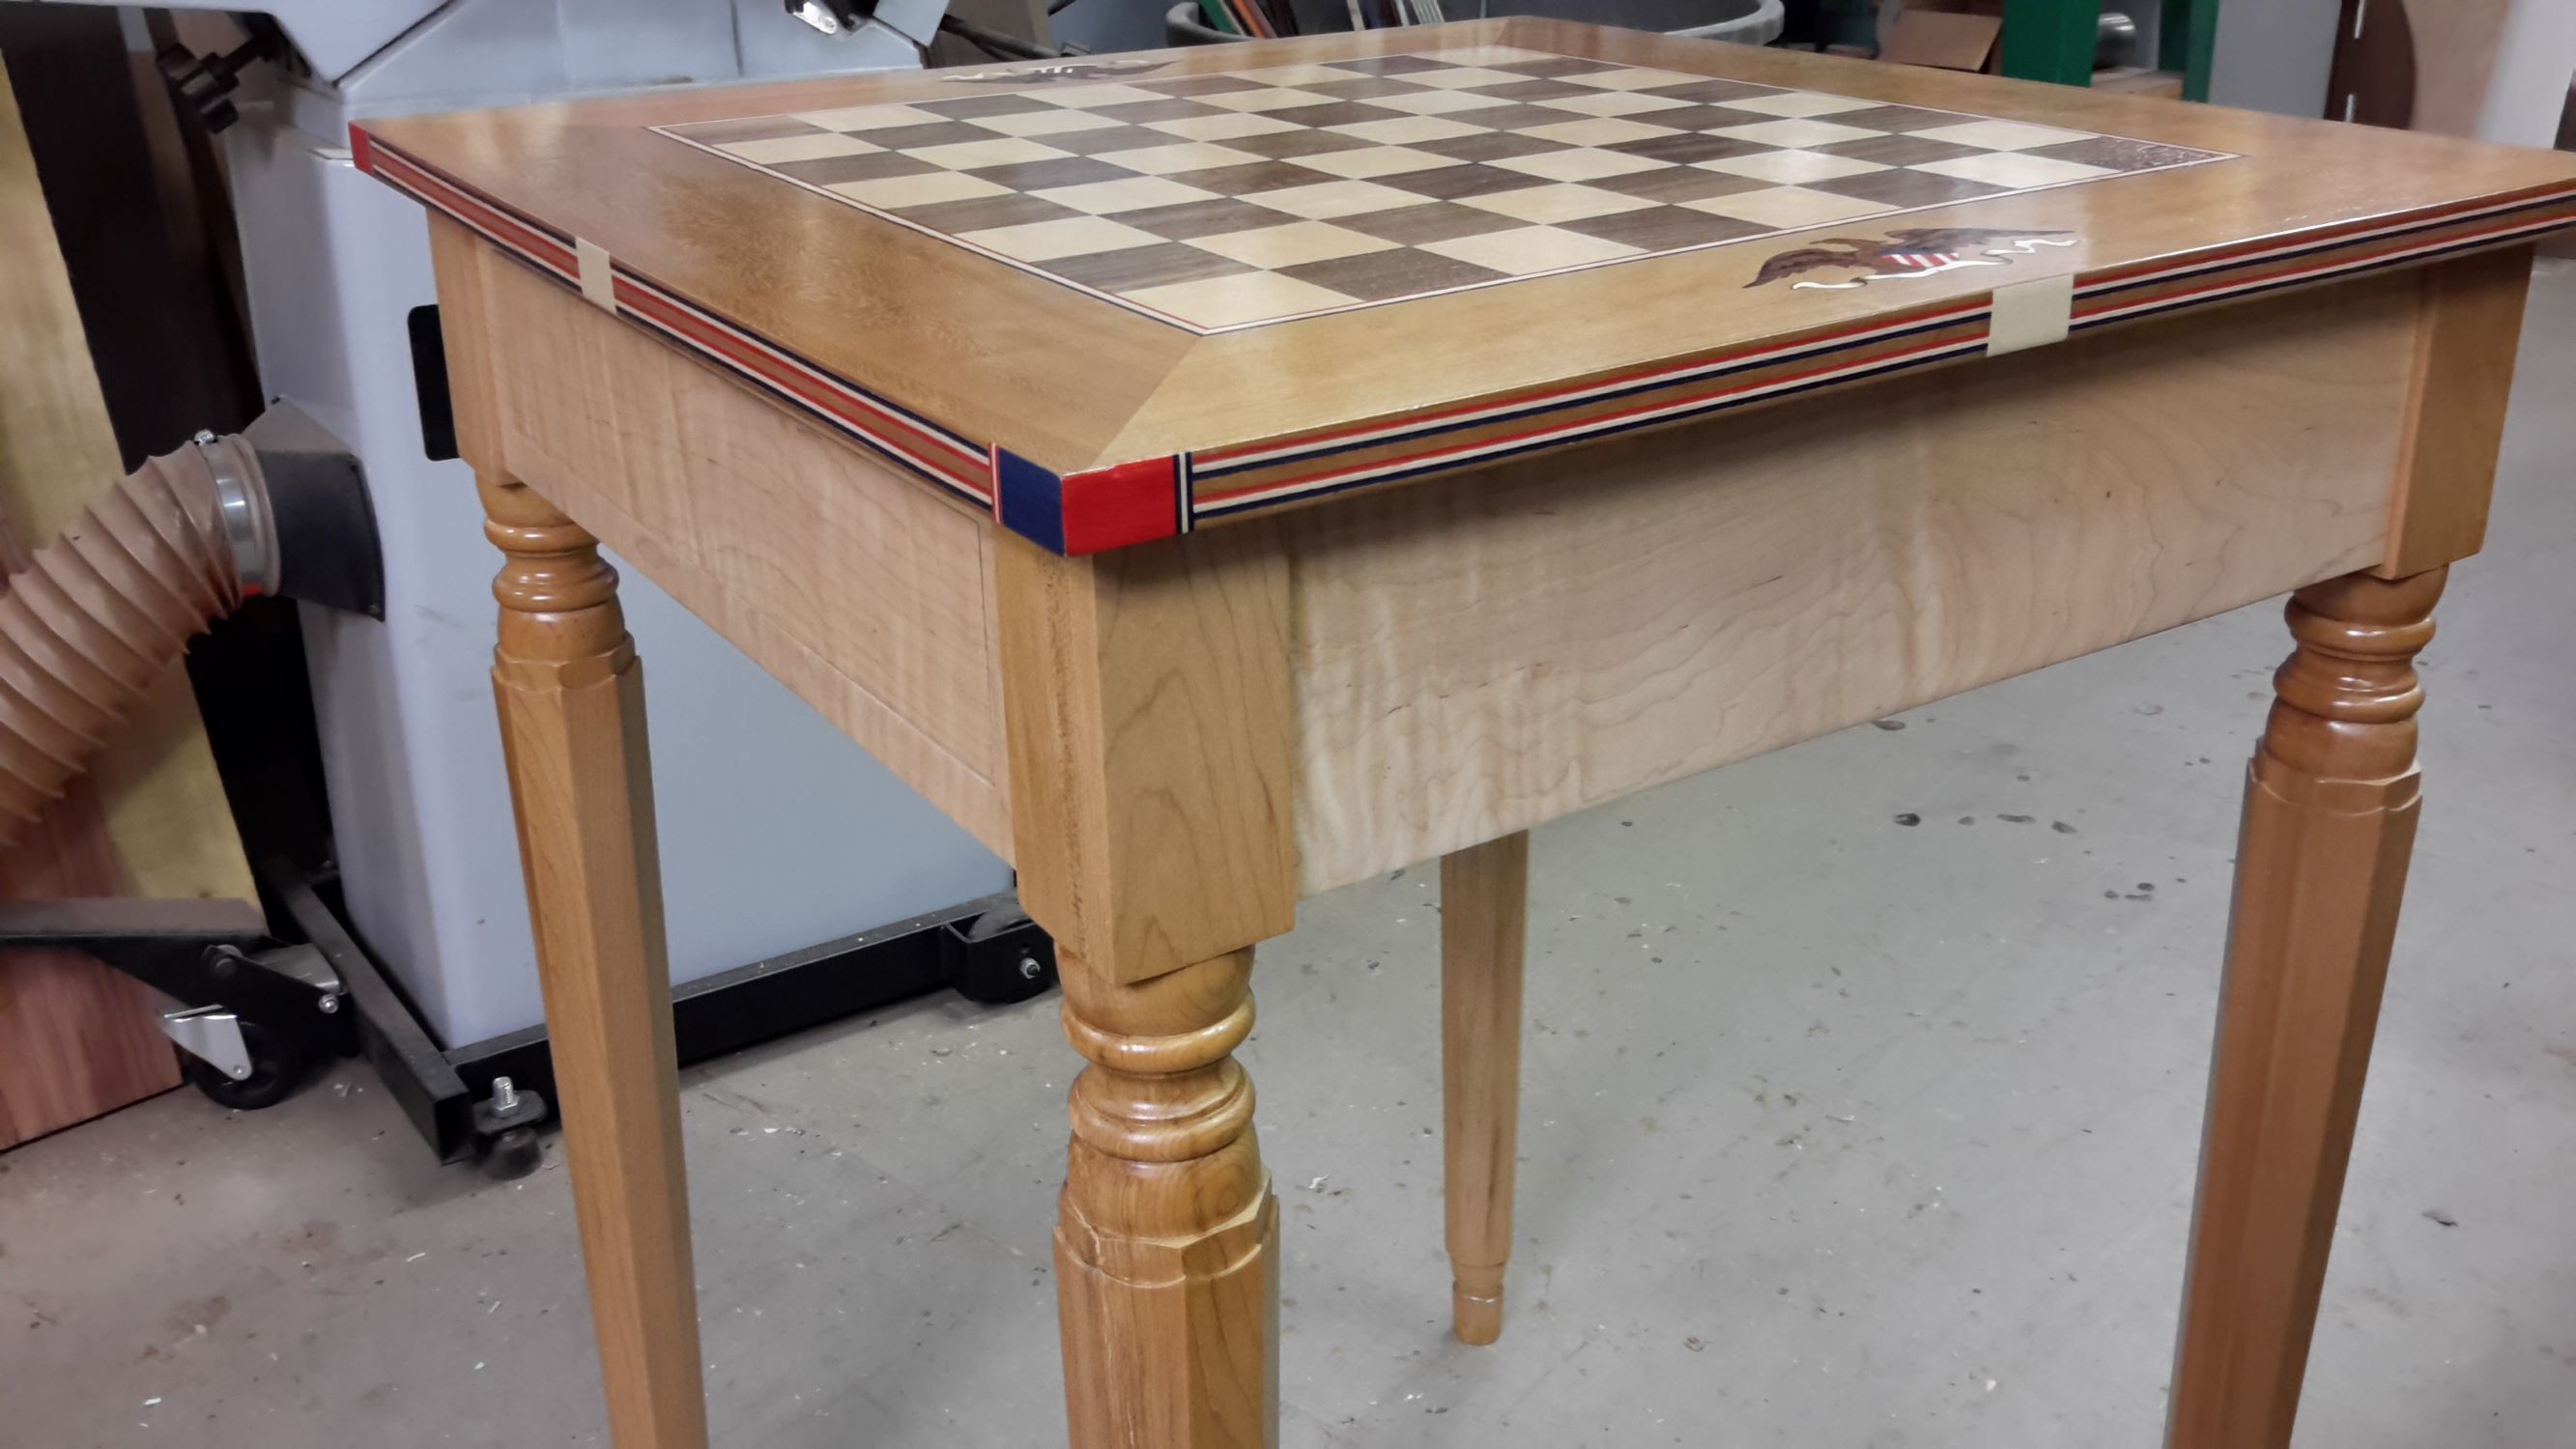
table with top installed
Another view of the chess table-
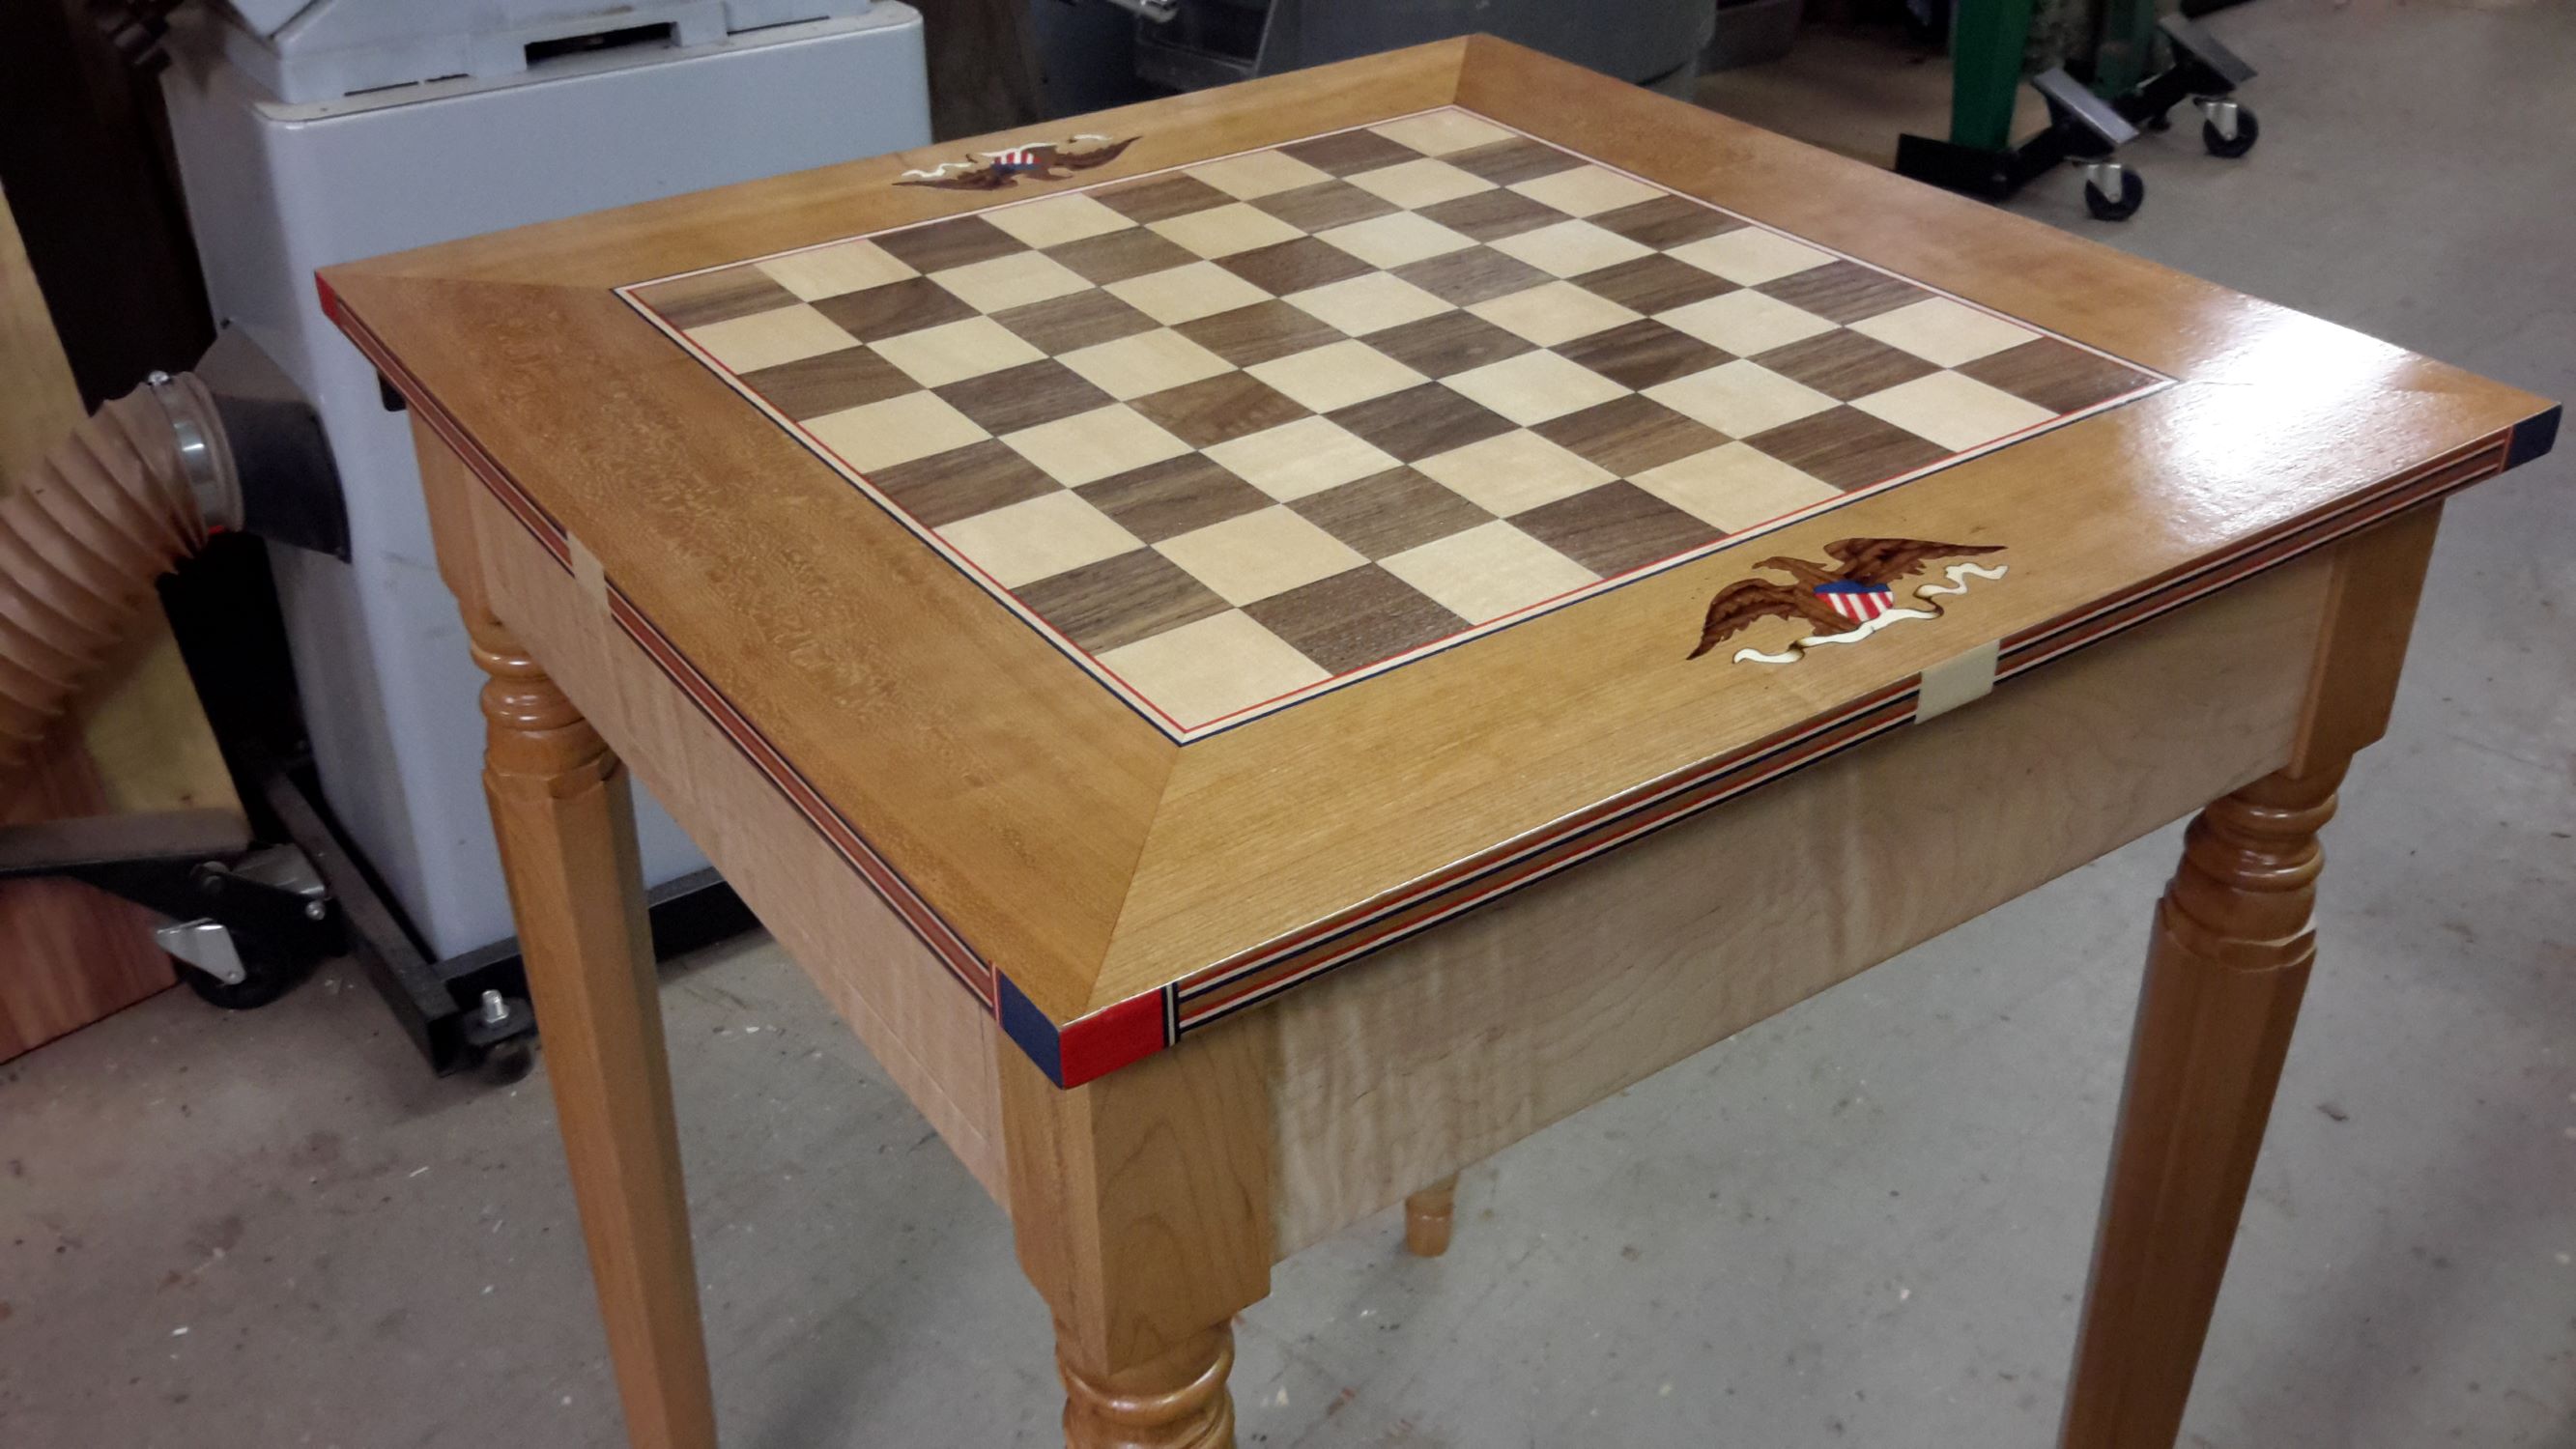
chess table with the top installed, top view
Stay tuned, the designing and building of the drawer interiors will be next!
