

Day Six- A Chair is born!
More rain…but at least it is warm. I am physically tired and my body is griping about the amount of physical labor it is being asked to do. These chairs are ton of work. We were in the studio until 11:30pm last night, and this morning we are back at it at 7:00am. I am a little nervous about all of the work that still must be done to get this to be an actual chair. We have lots of parts, but nothing put together yet.
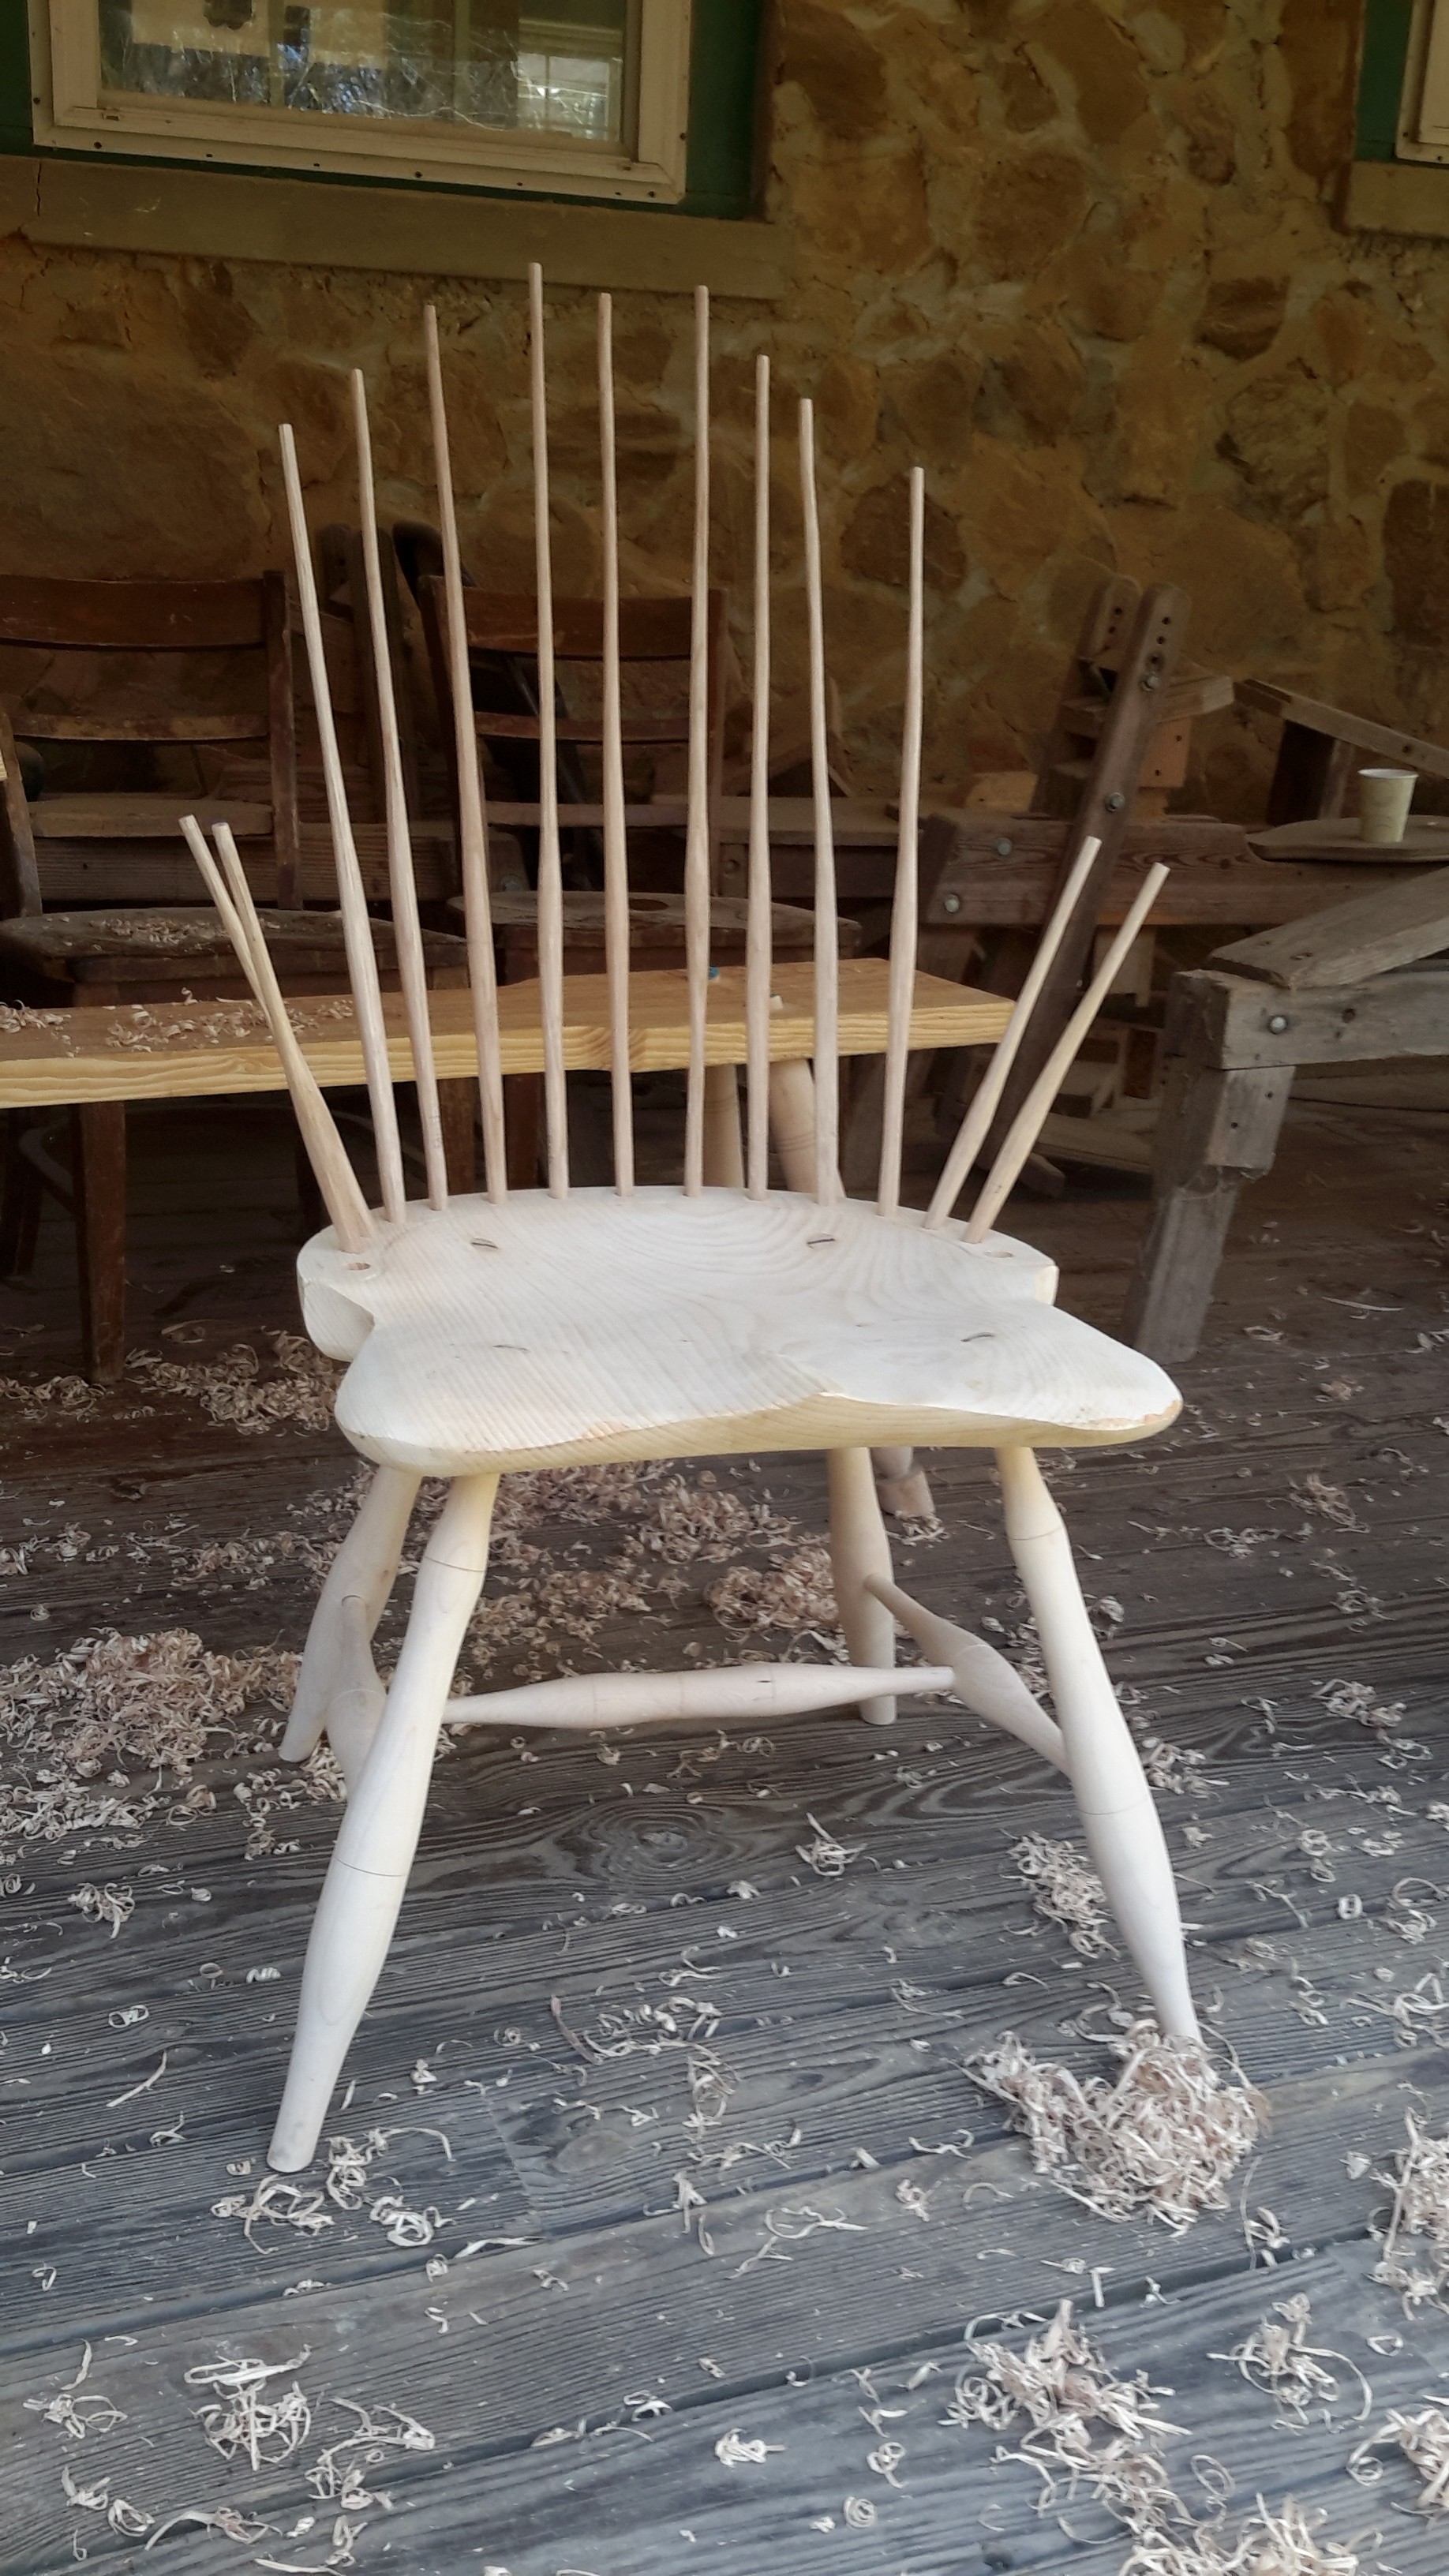
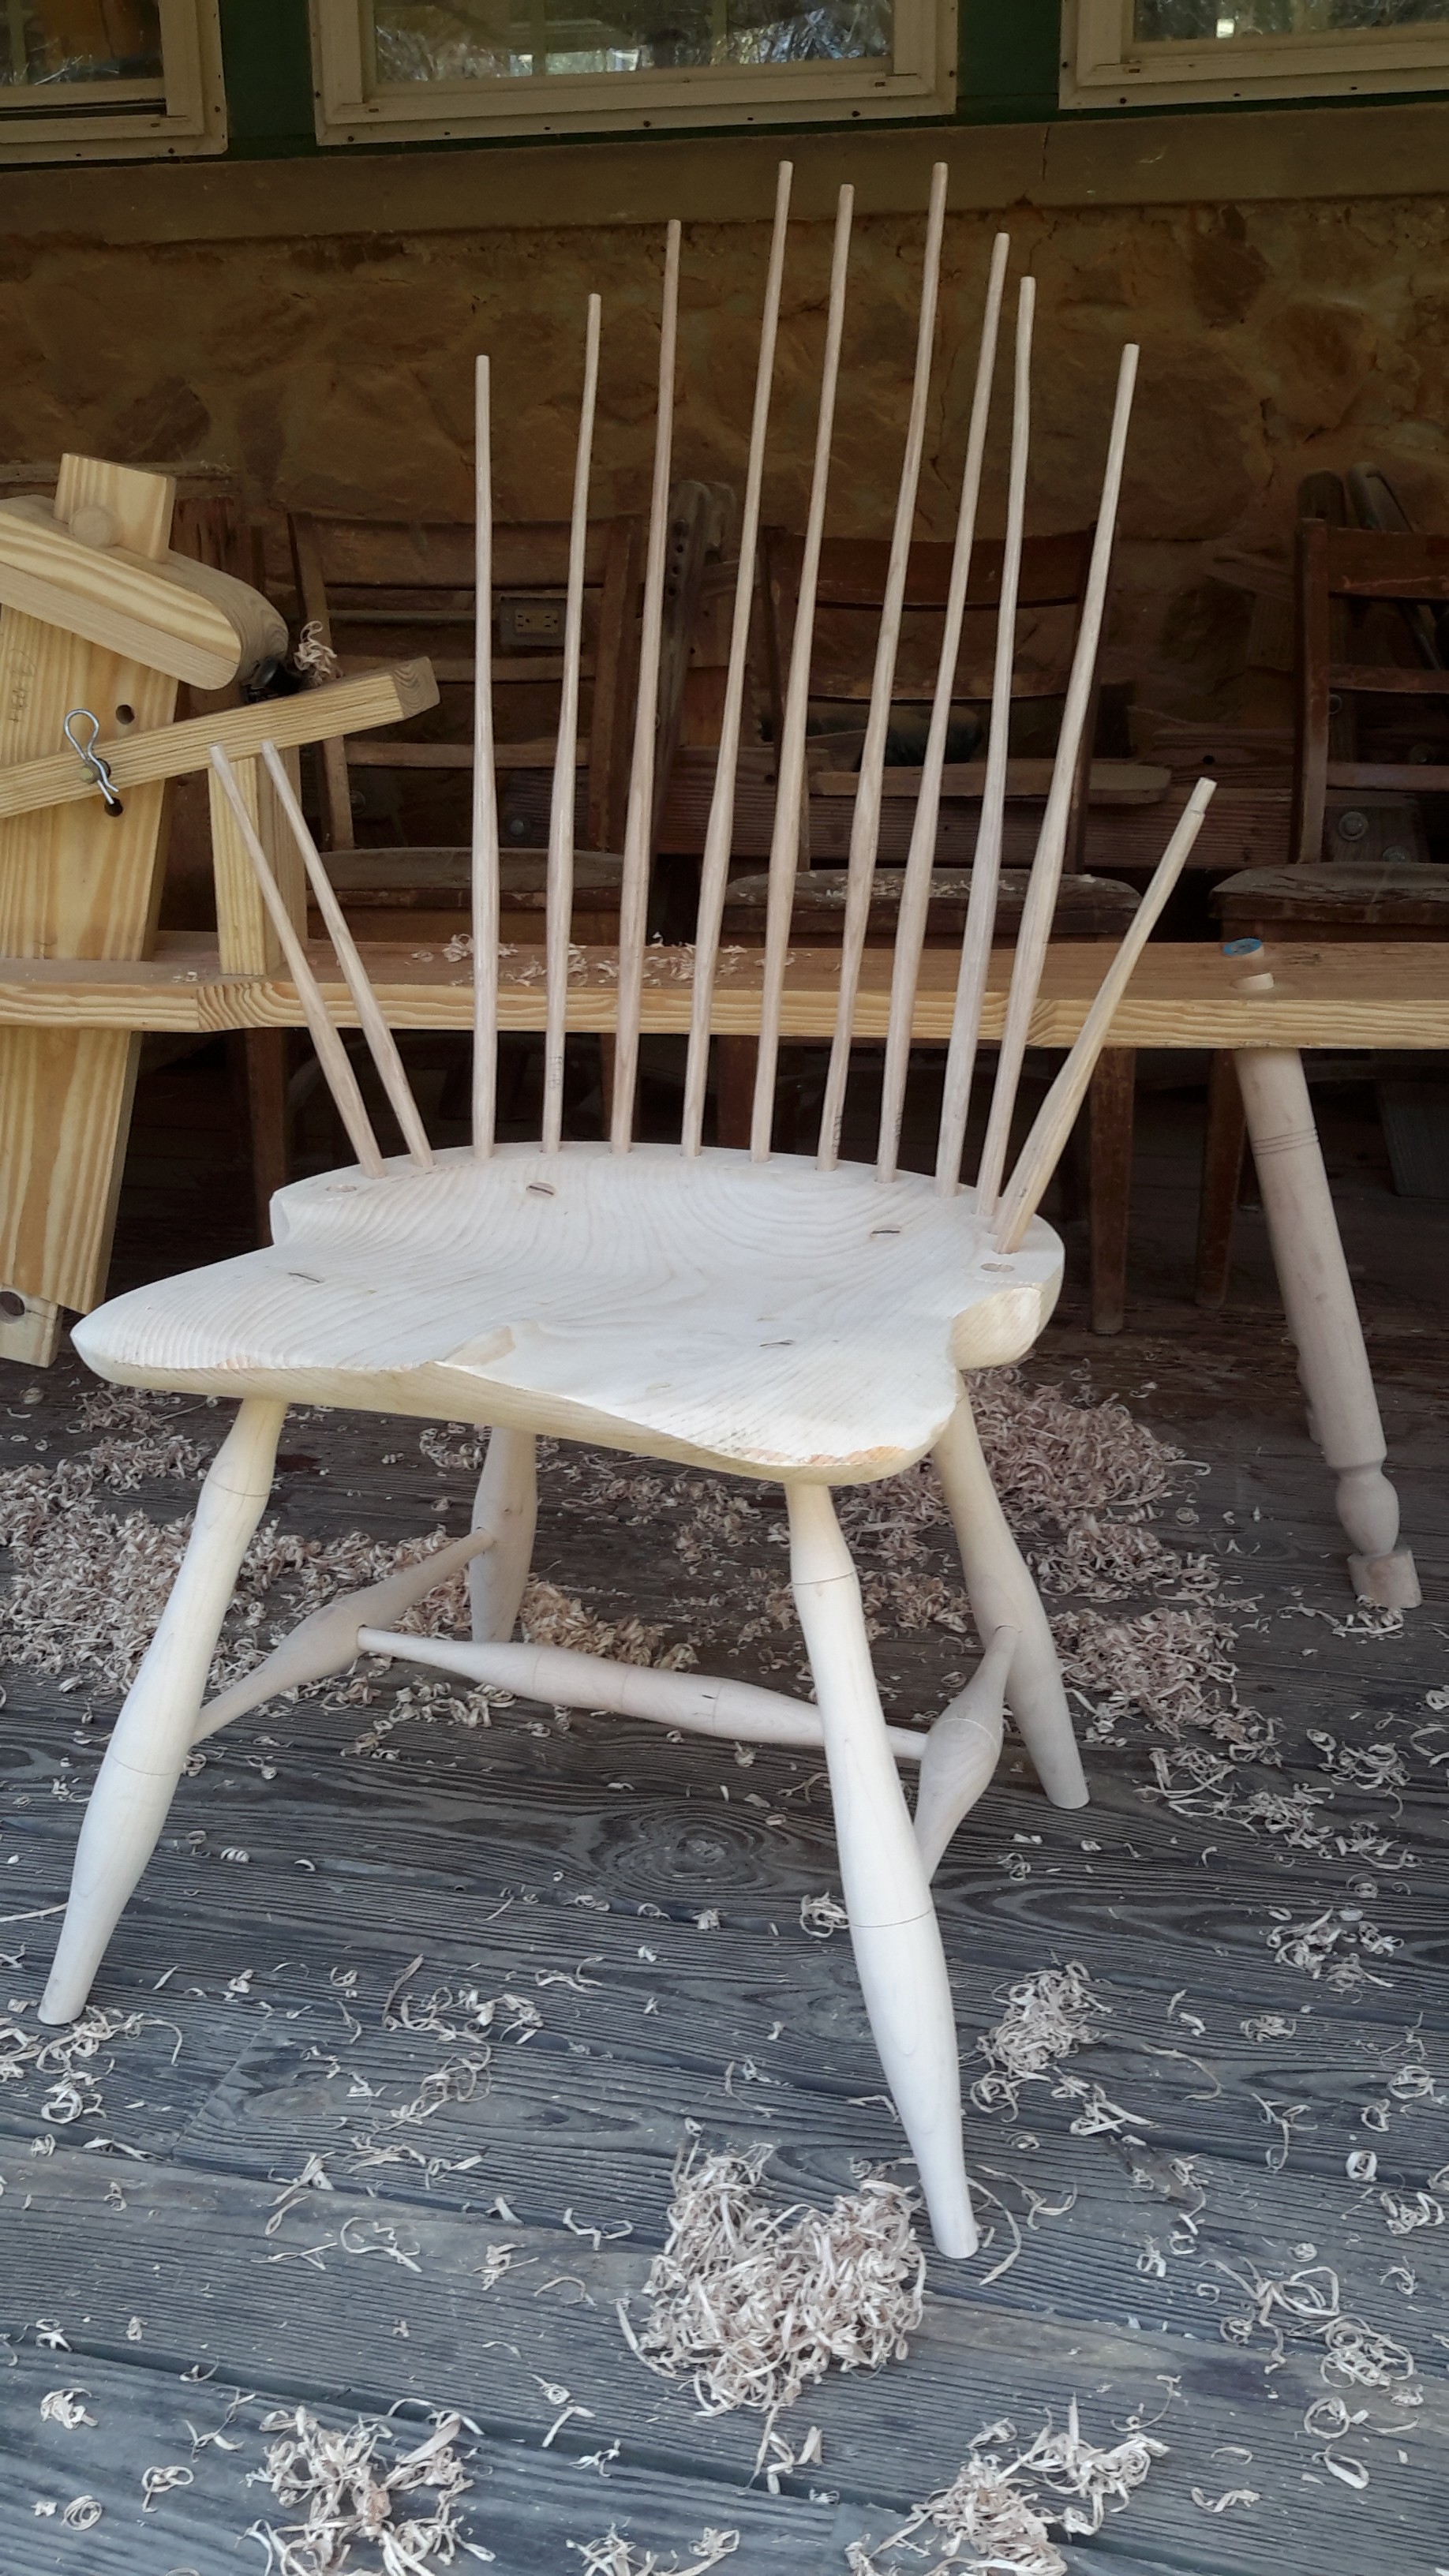
The day started off naturally with getting spindles finished. These things seem to multiply like tribbles. There are jokes going around in the class about leaving these things in the warm drying box, and having two more spindles show up every time we open the door! We are trying to thin the spindles down enough to look elegant for the back of the chair, but not too thin as to snap apart. We also have some pretty tight tolerances for the top and the bottom dimensions of the spindles, so they fit in the seat bottom tight, and the top of the continuous arm tight as well. Better attention to detail during this step, saves a bunch of time during the final fitting and set up of the parts.
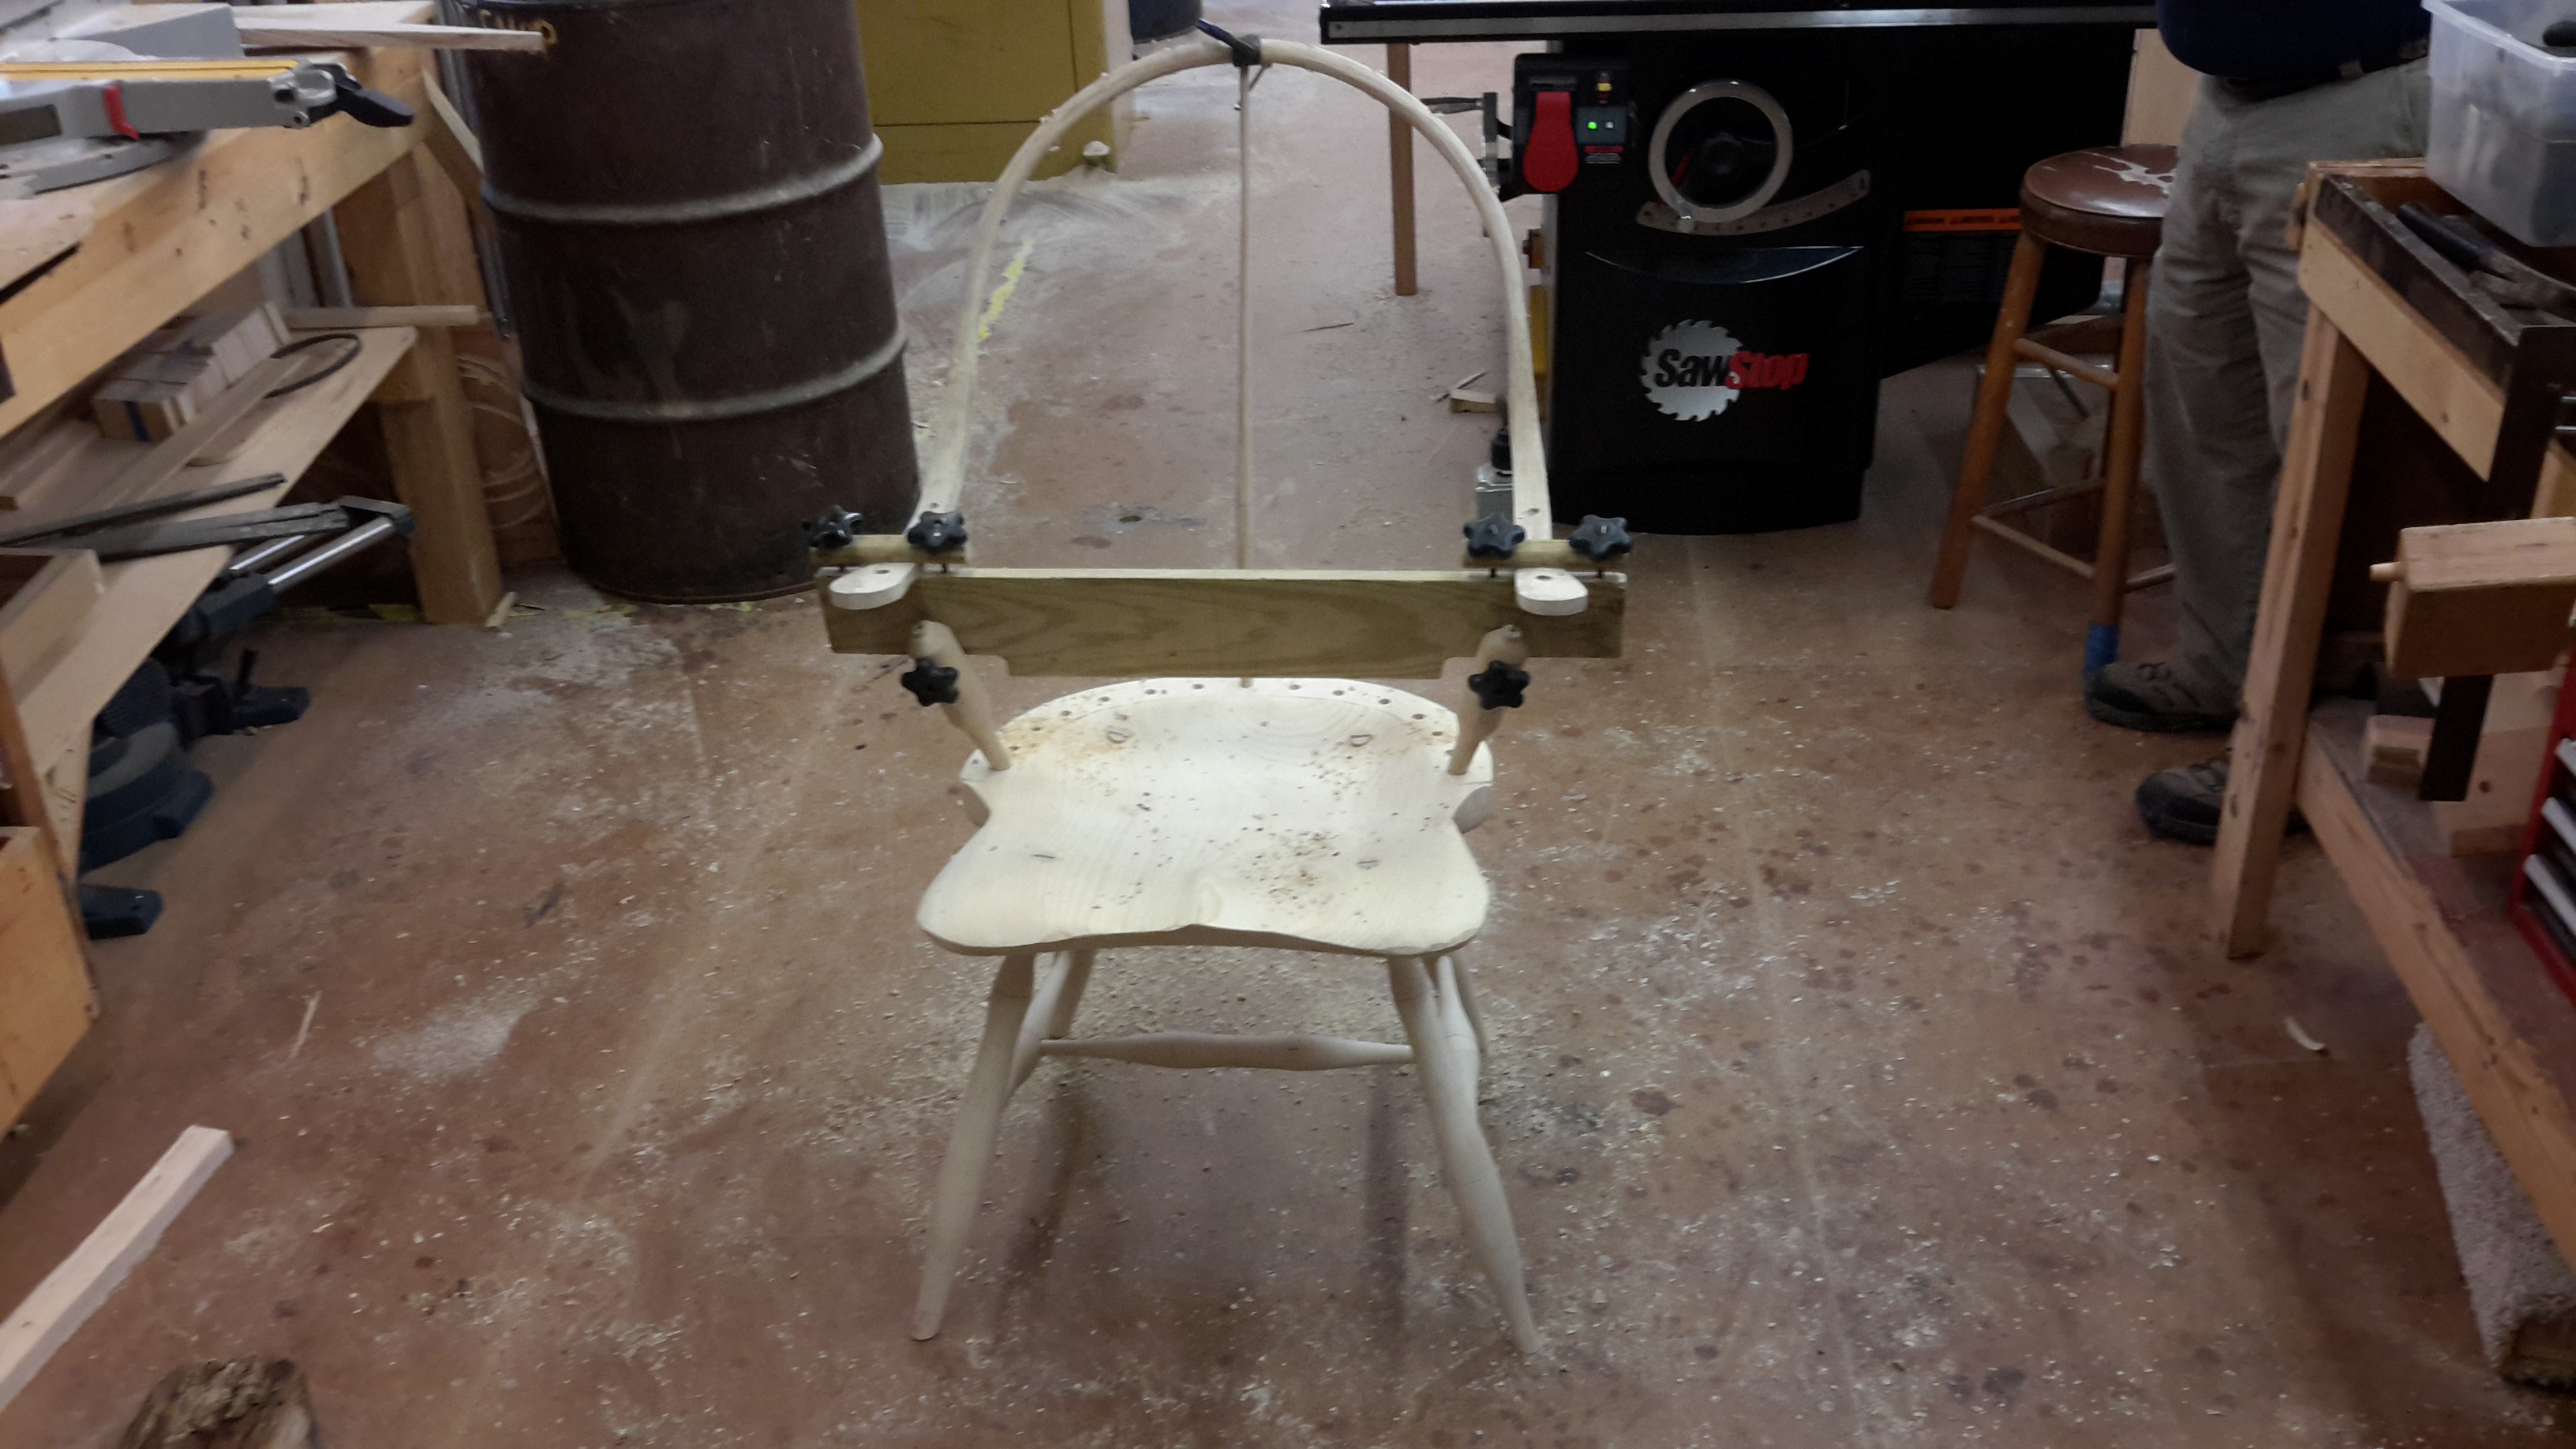
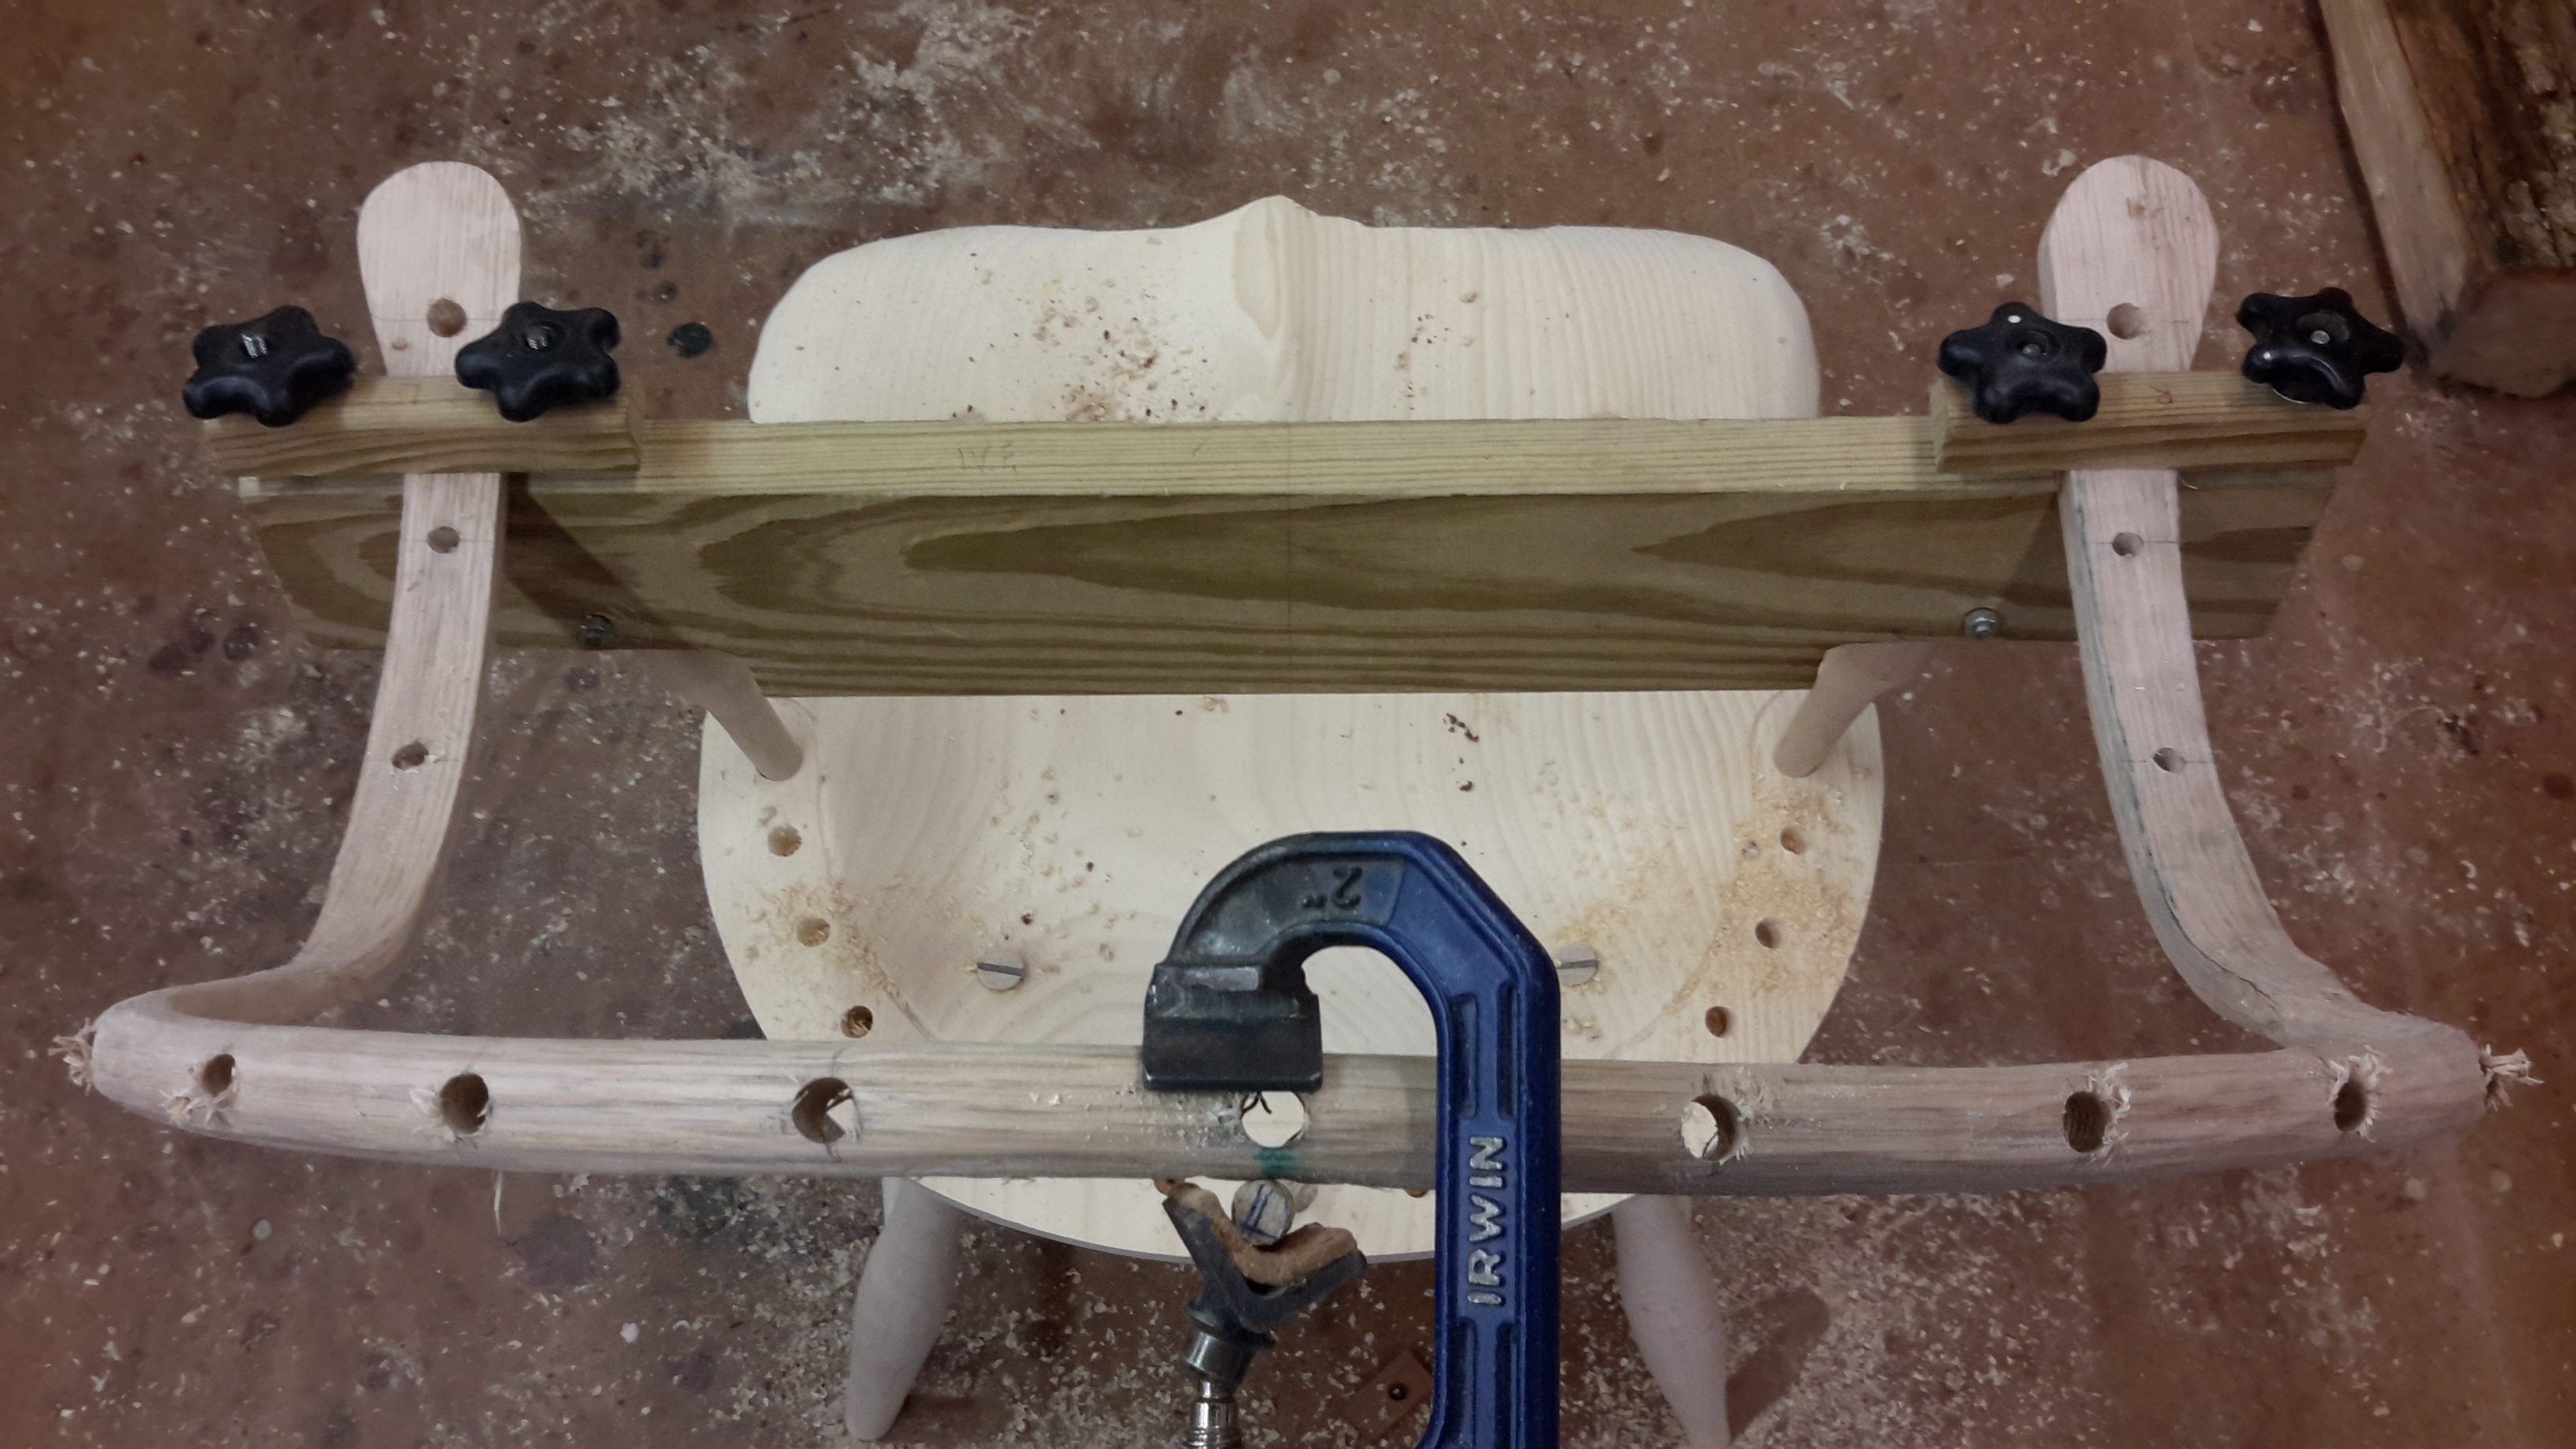
We moved to the seat and dimensions of the holes for spindles, arm posts and the continuous arm placement. The legs were leveled and cut at the bottom. With the help of a jig, we were able to lay out the continuous arm, and then dry fit the spindles and see how the parts fit together. Once we knew everything was able to fit and we had the pieces labeled specific to the holes they belonged we moved on to filing and card scraping the inside of the continuous arm loop (once this is set up with the spindles and glued, there is no way to make adjustments easily, so now is the time to do it!).
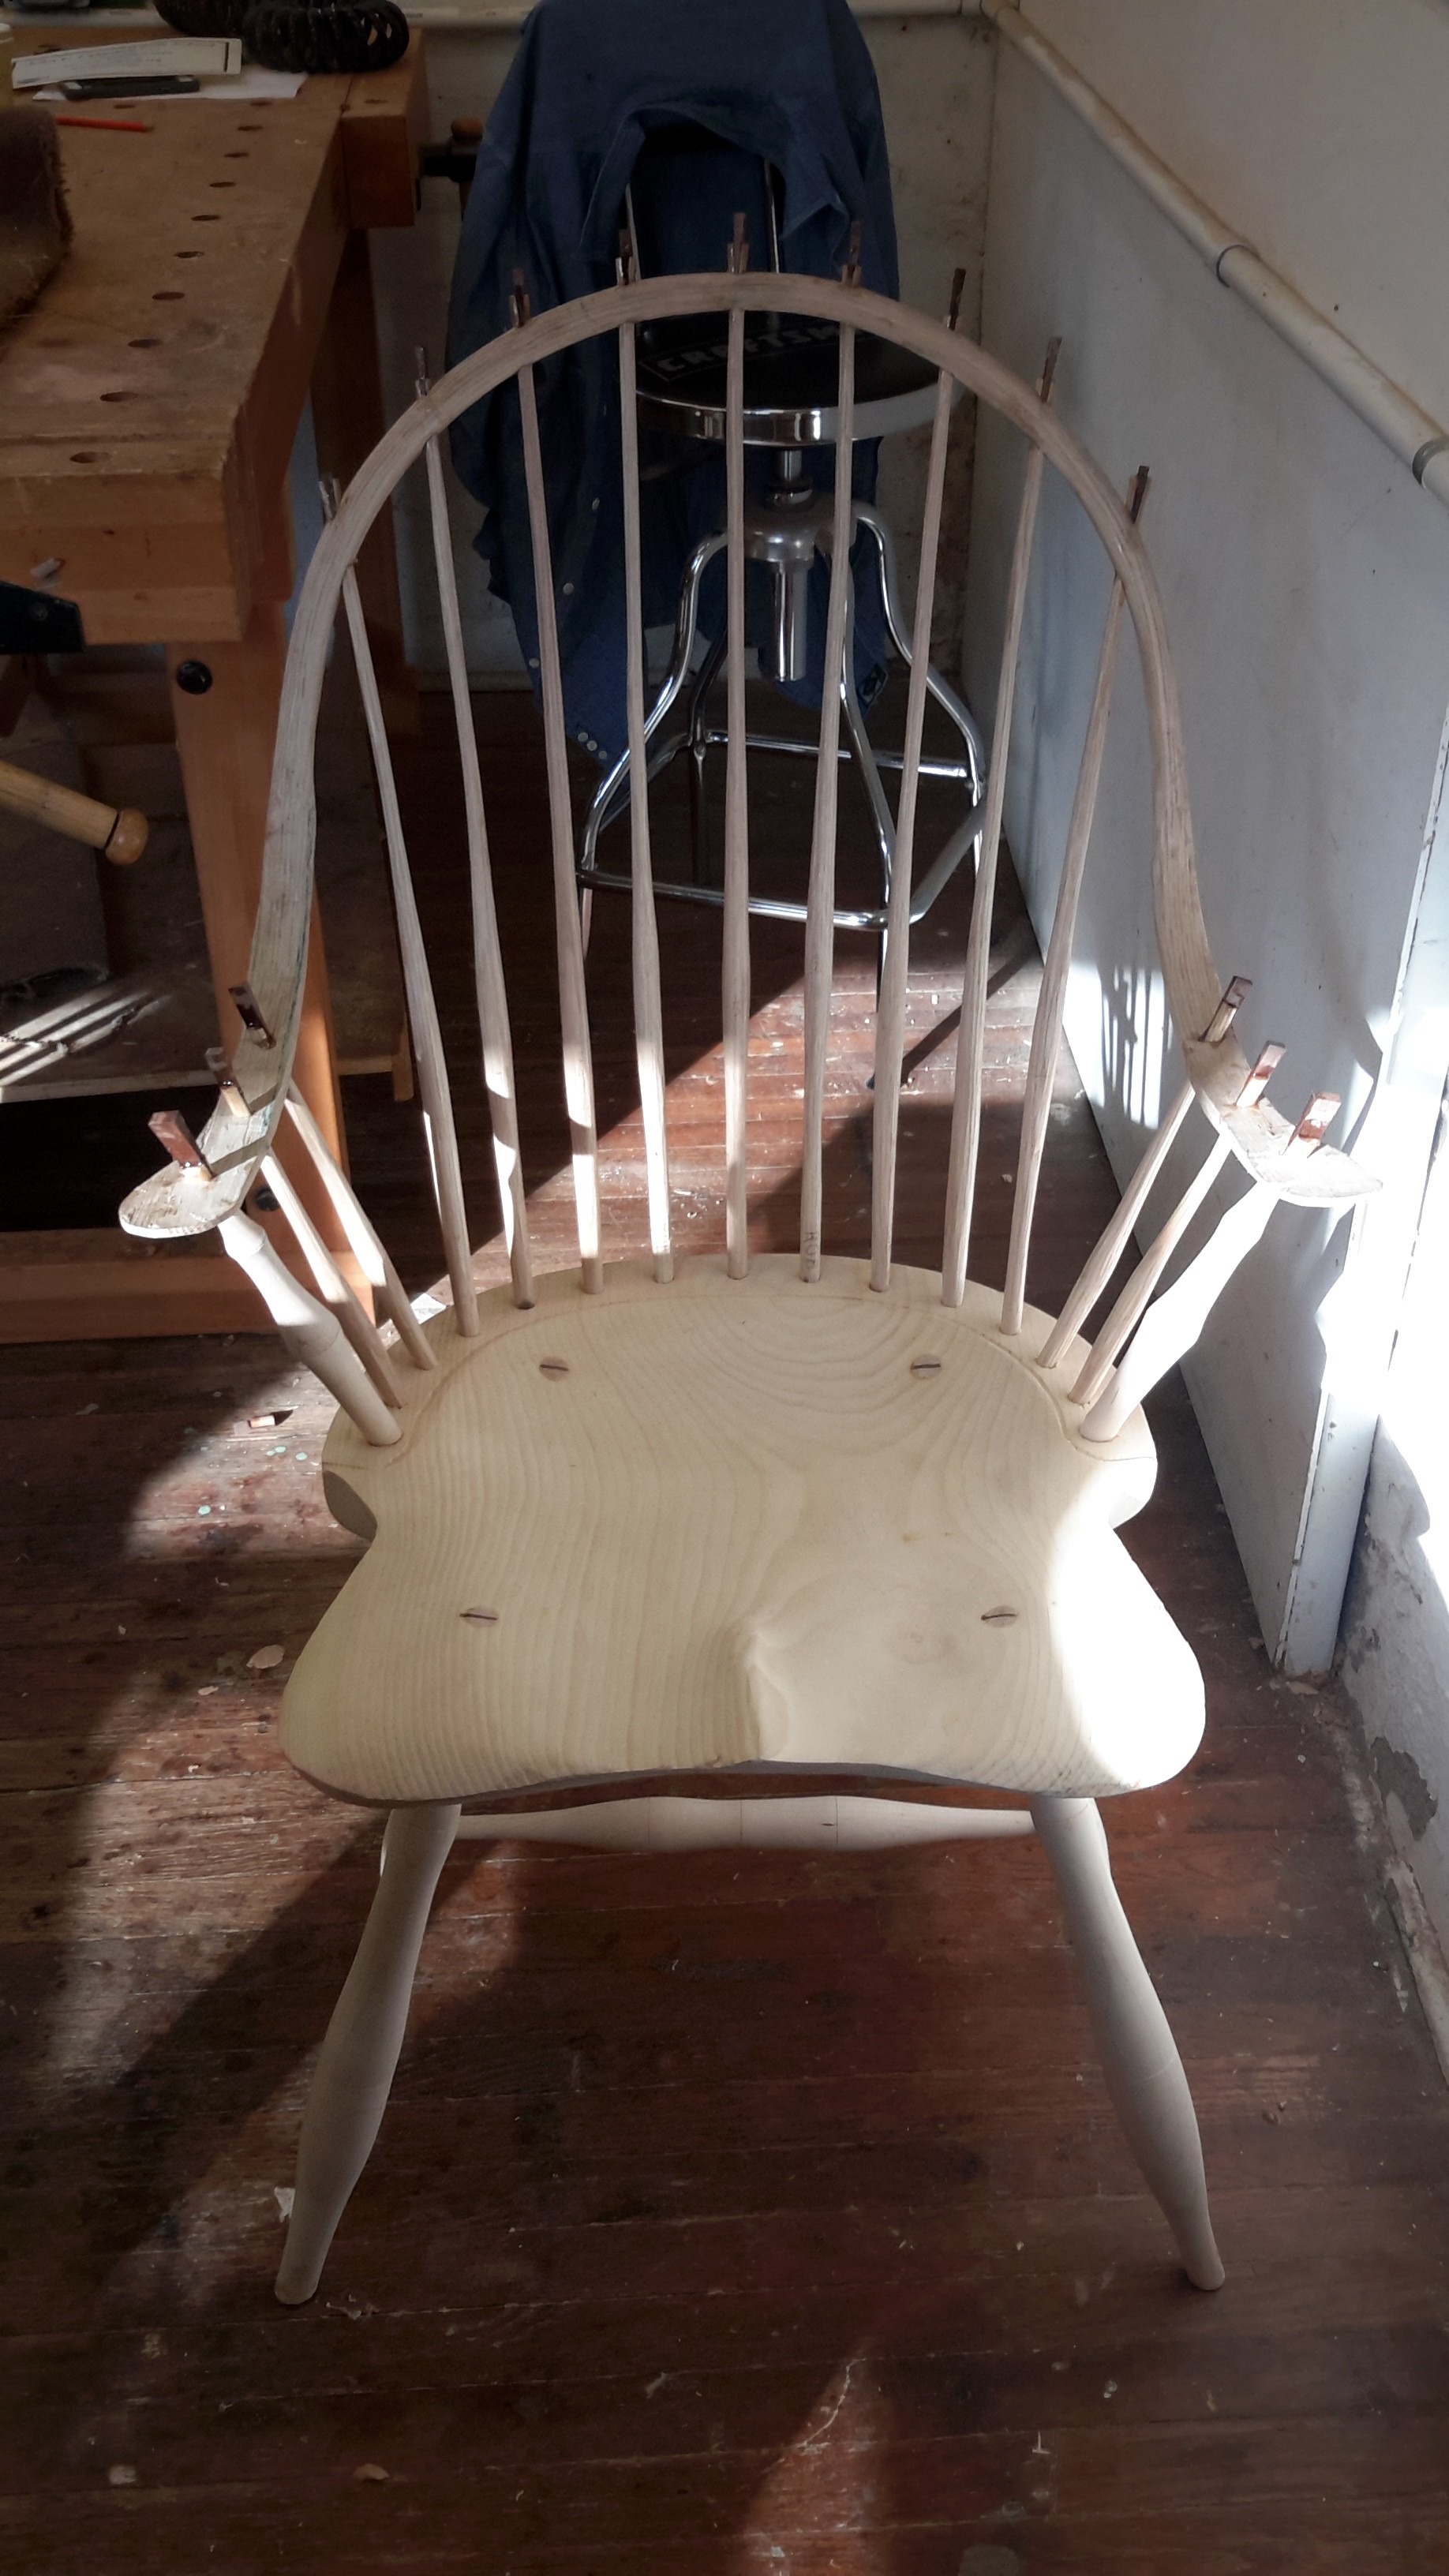
We shaped the final dimensions of the continuous arm and now, quite frankly did an operation that had my hands shaking with nervous energy. The drill bit for the spindles left only 1/8″ on either side of the continuous arm, and all I could see was drilling through the side accidentally and ruining the continuous arm! Lots of angst at this step. So, 15 holes got drilled successfully, and I had to take a moment to collect myself!
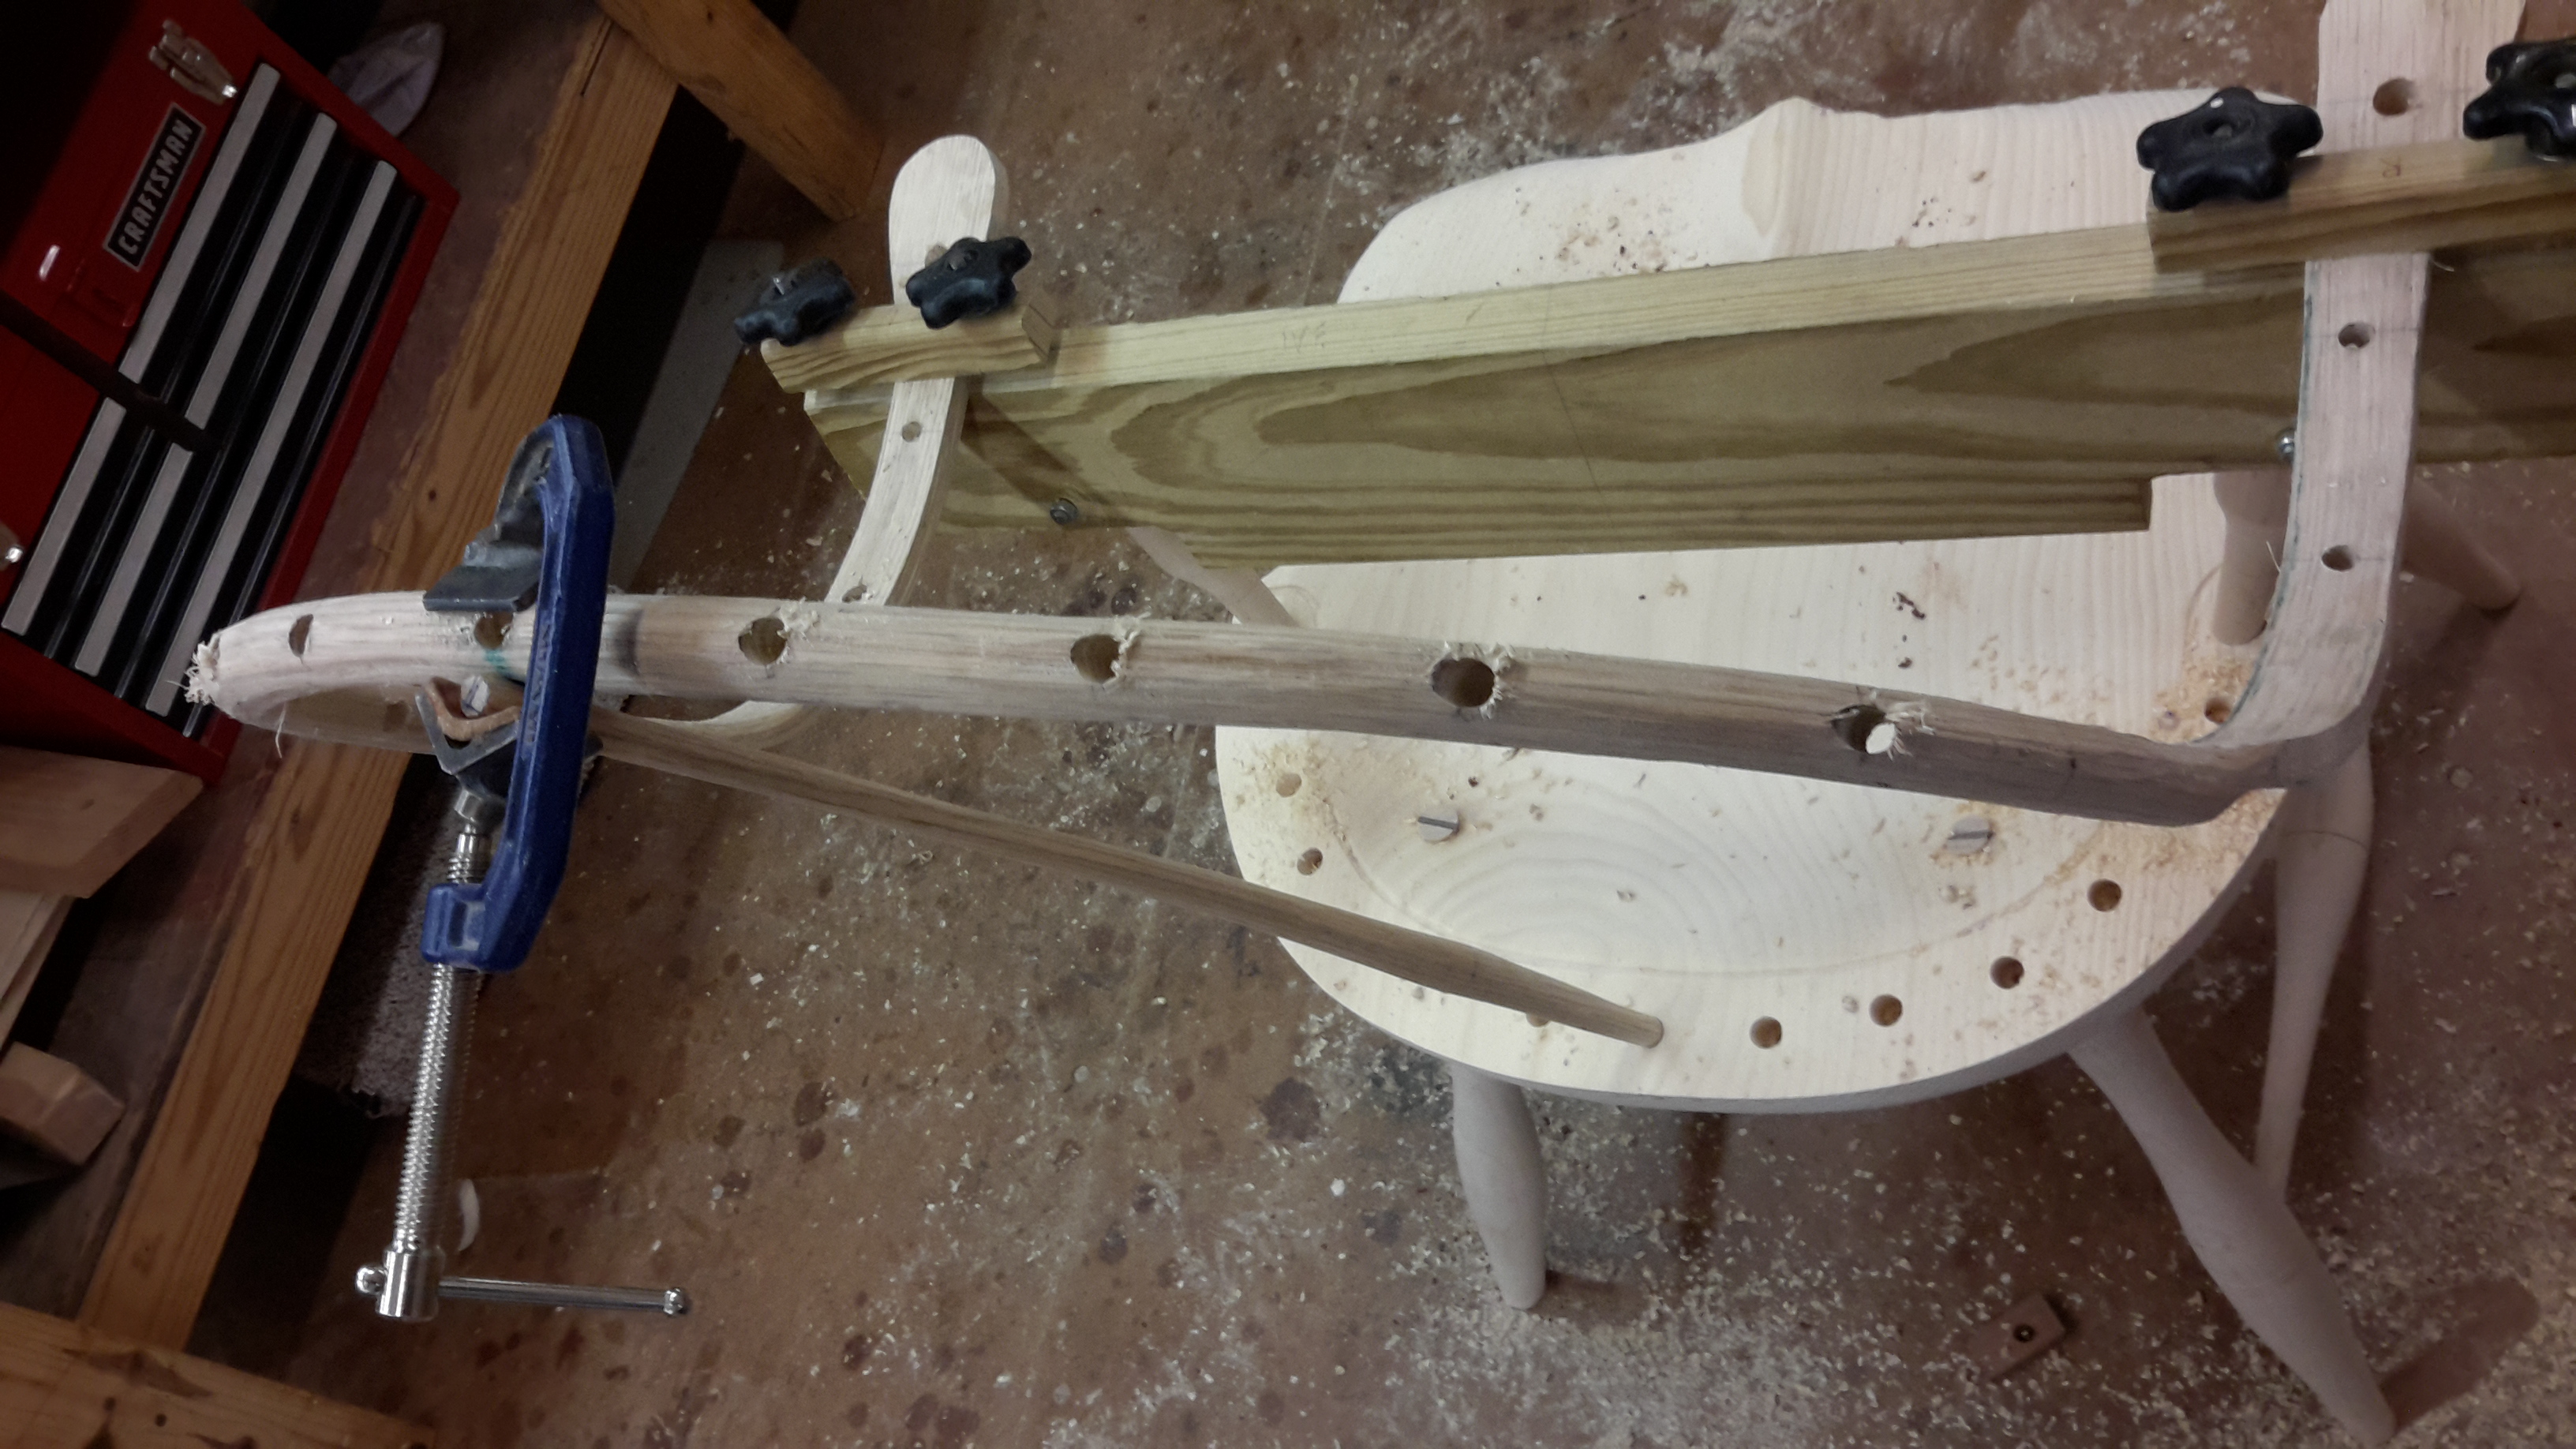
The next few steps were a bit of a blur. It took 2 sets of experience hands and my inexperience hands to get 13 unruly spindles, 2 arm spindles, the seat chair and the continuous arm to come together as one piece. Once we had the entire chair dry fit, we took it apart again! We cut wedge slices to use on the top of the spindles and top and bottom of the arm spindles. Once the spindles were sliced to receive the wedges, we got the glue ready to use.
We glued and wedged the spindles into the chair and continuous arm and checked that everything had gone back to the measurements we had marked in our dry fitting. With some gentle and some not so gentle taps of the hammer for some “fine” adjustments we were finally witness to one fine seating implement! A chair is born!
Some images of the work done on the last day-
Marking the seat and continuous arm for the proper placement-
Sighting down the middle spindle to ensure it was straight with the rest of the chair parts-
Aligning the continuous arm, the height, length and angle all have to be checked an marked-
Some additional alignments being checked!-
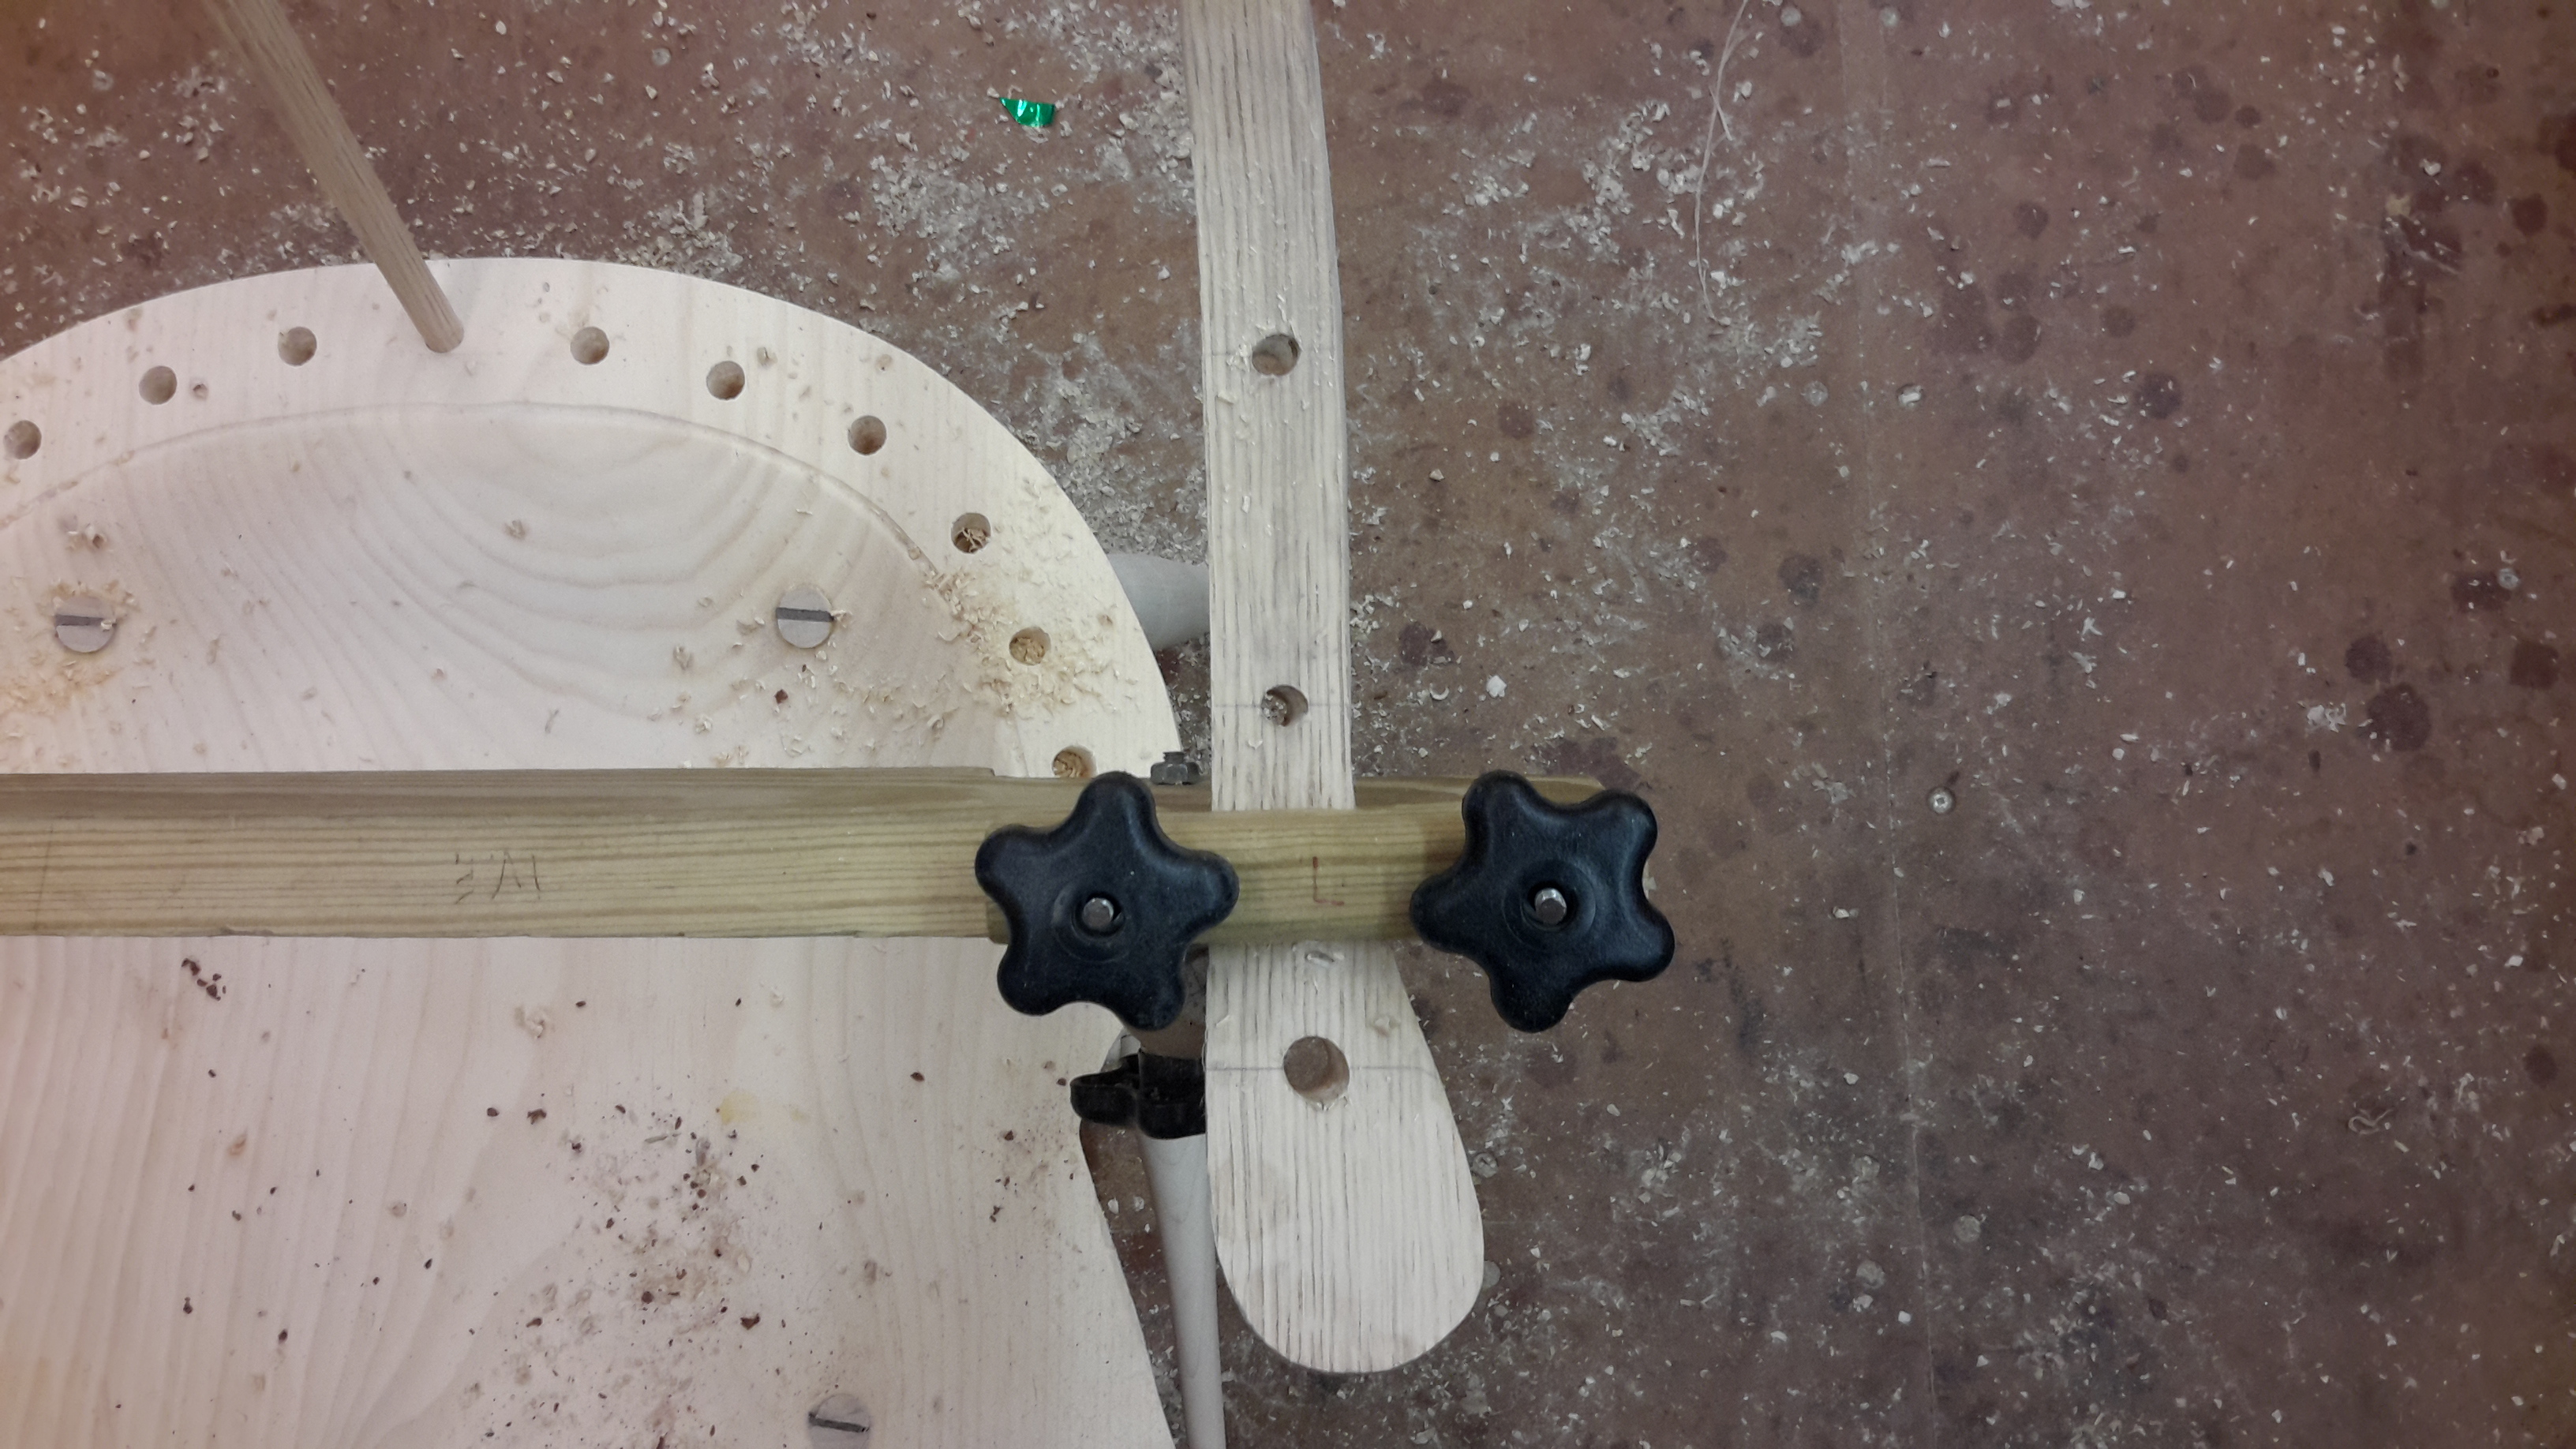
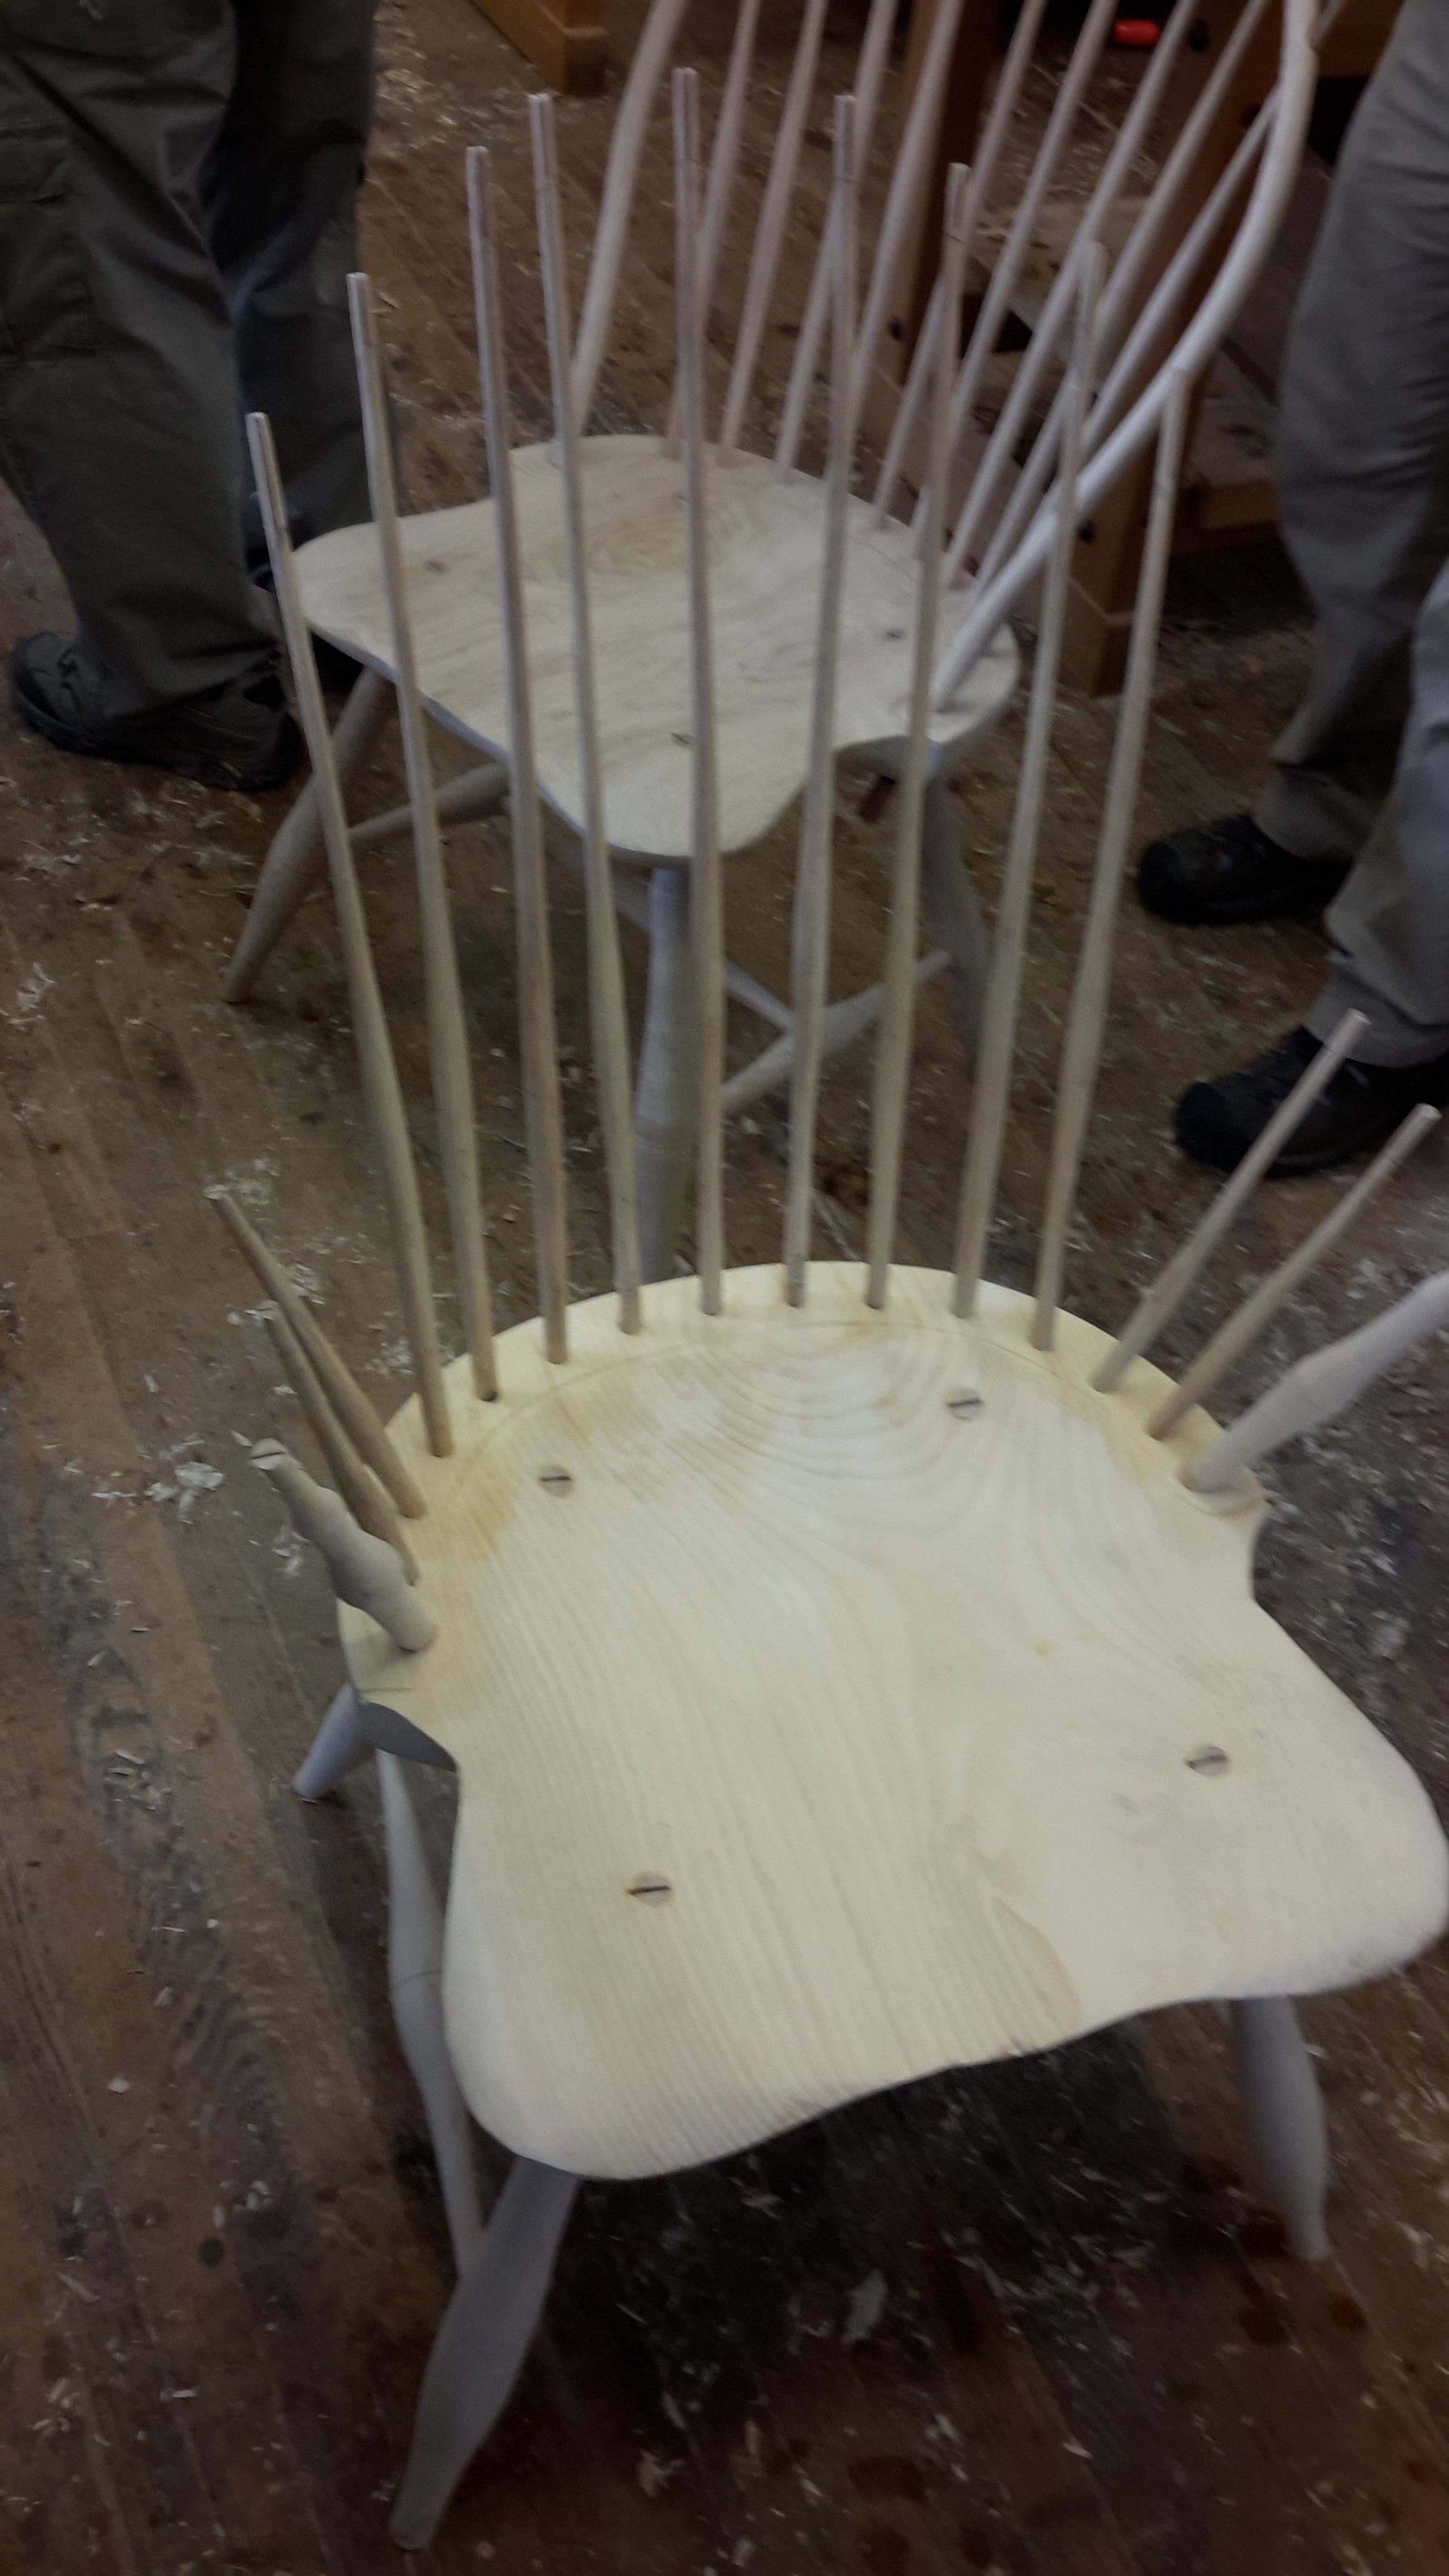
Dry fitting for the spindle…part one…
Dry fitting part…two….
The final assembly! The wedges are driven home on the continuous arm back spindles and the arm spindles-
